
How to Diagnose Excessive Burrs in a Punching Machine: A Comprehensive Maintenance Guide


Introduction
In the high-precision world of metal fabrication, the quality of a punched edge is the ultimate indicator of machine health and process efficiency. When operators notice jagged, raised edges—commonly known as burrs—it signals that the punching process is no longer operating within optimal parameters. To diagnose excessive burrs in a punching machine, one must look beyond the surface and understand the mechanical relationship between the punch, the die, and the material being processed.
Excessive burrs are not merely a cosmetic issue; they represent a significant increase in secondary processing costs, such as deburring, grinding, or sanding. Furthermore, they indicate that the tooling is experiencing unnecessary stress, which can lead to premature failure of the punch and die sets. For HARSLE machine owners, maintaining clean edges is essential for high-throughput production environments where quality control is paramount.
This guide provides a deep dive into the root causes of burr formation and offers a systematic approach to troubleshooting. By understanding the physics of the shearing process, operators can identify whether the issue stems from improper clearance, dull tooling, or mechanical misalignment. Mastering these diagnostic steps will ensure your HARSLE equipment continues to deliver the precision your clients demand.
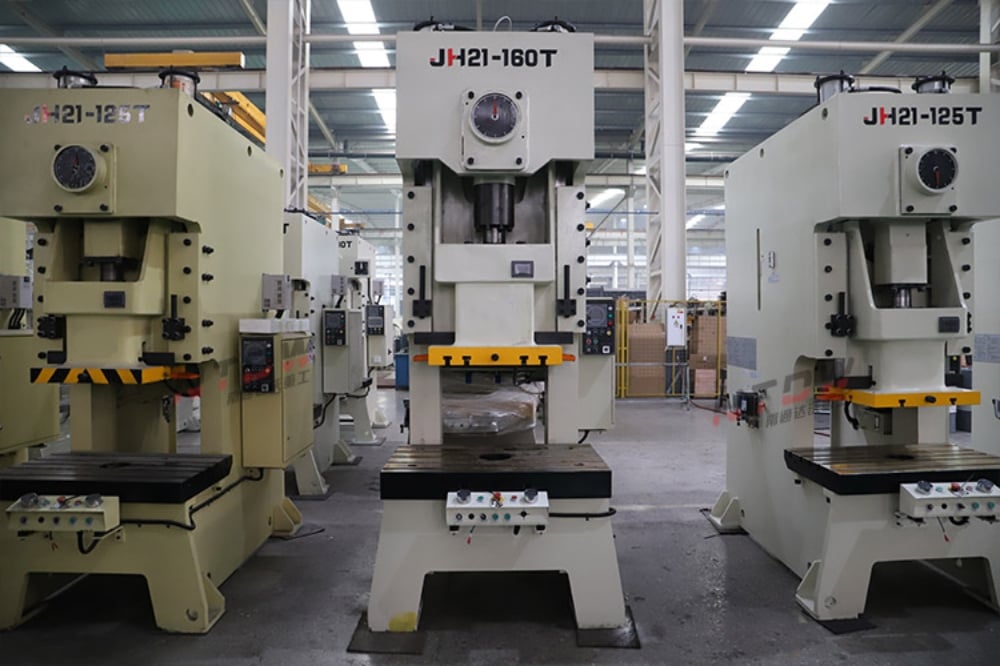
Key Considerations for Burr Formation
The primary cause of burr formation is the loss of the “clean break” in the shearing process. During a standard punching cycle, the punch penetrates the material, creating a fracture zone that meets the fracture zone created by the die. When these two zones align perfectly, the material shears cleanly. When they do not, the material is essentially torn rather than cut, resulting in a burr.
One of the most critical factors to consider is the material thickness versus the die clearance. If the clearance is too large, the material is pulled into the gap between the punch and the die before it can be sheared. This results in a rollover on the top edge and a significant burr on the bottom edge. Conversely, if the clearance is too tight, the punch may rub against the die, causing galling and rapid tool wear.
Material properties also play a significant role. High-tensile strength materials require different clearance settings compared to softer aluminum or mild steel. If you are switching between material types without adjusting your tooling setup, you are likely to encounter burring issues. Always consult the material specification sheets provided by your supplier to ensure your clearance settings are calibrated correctly for the specific yield strength of the metal.
Finally, consider the condition of the machine’s ram and guide systems. If the ram has developed play or the guide bushings are worn, the punch will not enter the die with the necessary precision. Even a fraction of a millimeter of misalignment can cause the punch to strike the edge of the die, leading to uneven burrs that appear on only one side of the punched hole.
Technical Details: How to Diagnose Excessive Burrs in a Punching Machine
To effectively diagnose excessive burrs in a punching machine, you must perform a systematic inspection of the entire tooling assembly. Start by examining the punch face. If the punch is dull, it will push the material into the die rather than shearing it cleanly. A dull punch increases the force required for the stroke, which can lead to machine vibration and further degradation of the edge quality.
Next, inspect the die for signs of chipping or wear. A die with a chipped edge will leave a distinct burr pattern that repeats in every part. Use a magnifying glass or a digital microscope to check the cutting edges of both the punch and the die. If you see rounded edges or micro-cracks, it is time for a professional regrind. HARSLE recommends keeping a log of the number of hits per tool to predict when maintenance is required before burrs become visible.
Check the die clearance using a feeler gauge. The clearance should be uniform around the entire perimeter of the punch. If the clearance is inconsistent, the punch is likely misaligned. This is often caused by a loose punch holder or a worn turret station. Ensure that all locking mechanisms are tightened to the manufacturer’s torque specifications and that the turret is indexed correctly.
Another technical aspect to investigate is the stripper plate. The stripper plate must hold the material firmly against the die during the punching process. If the stripper plate is not applying sufficient pressure, the material will lift as the punch retracts, causing the edges to tear and creating a burr. Ensure that the stripper springs are not fatigued and that the plate is parallel to the die surface.
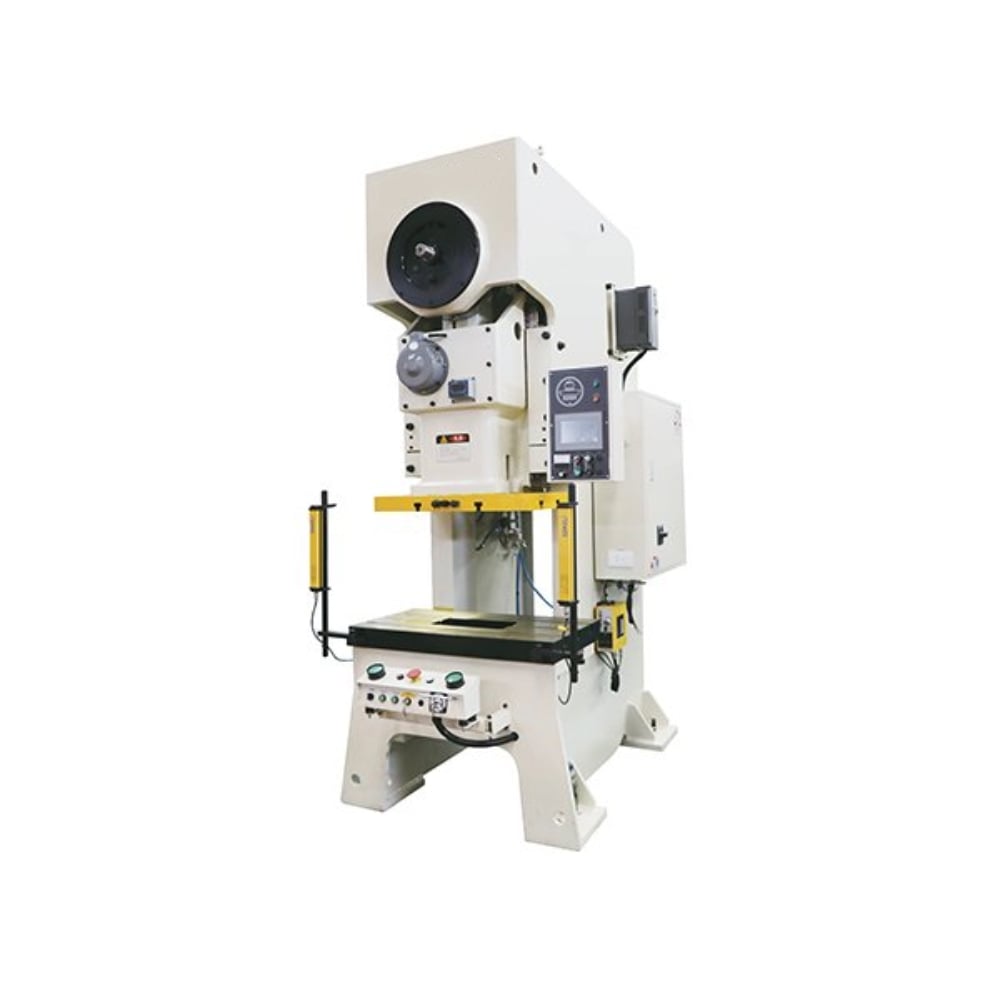
Selection Advice for High-Quality Punching
When selecting tooling for your HARSLE punching machine, prioritize high-grade tool steel that is compatible with the materials you process most frequently. Investing in coated tooling, such as TiN (Titanium Nitride) or other PVD coatings, can significantly reduce friction and galling, which are common precursors to burr formation. While the initial cost is higher, the extended tool life and improved edge quality offer a superior return on investment.
Consider the geometry of the punch tip. For thicker materials, using a shear angle on the punch face can reduce the required punching force and minimize the shock to the machine. This reduction in force helps maintain the integrity of the punch-die alignment over longer production runs. However, ensure that the shear angle is appropriate for the material thickness to avoid uneven stress distribution.
When choosing a punching machine, look for models that feature advanced hydraulic systems and rigid frame construction. HARSLE machines are engineered to minimize deflection under load, which is a critical factor in preventing burrs. A machine with a high-precision ram guidance system will maintain the necessary punch-to-die alignment even during high-speed operation, reducing the frequency of manual adjustments.
Finally, establish a preventative maintenance schedule that includes regular lubrication of the turret and ram components. Friction is the enemy of precision. By keeping the moving parts of your punching machine well-lubricated and free of debris, you ensure that the machine operates smoothly, reducing the mechanical vibrations that contribute to premature tool wear and burr formation.
FAQ: Troubleshooting Punching Machine Burrs
- Q: How often should I regrind my punch and die?
A: This depends on the material type and thickness. As a rule of thumb, regrind when the burr height exceeds 10% of the material thickness. - Q: Why are burrs appearing on only one side of the hole?
A: This is a classic sign of misalignment. Check the punch holder, the turret station, and the ram for any play or wear. - Q: Can the wrong lubricant cause burrs?
A: Yes. Using an incorrect lubricant can lead to galling, where material sticks to the punch, effectively changing the clearance and causing burrs. - Q: Does machine speed affect burr formation?
A: Excessive speed can lead to vibration. If you notice burrs at high speeds but not at low speeds, check the machine’s stability and mounting. - Q: What is the ideal die clearance?
A: Generally, clearance should be 10% to 20% of the material thickness per side, depending on the material’s hardness. Always refer to your HARSLE manual.
Conclusion
Learning how to diagnose excessive burrs in a punching machine is a fundamental skill for any metal fabrication professional. By systematically checking the tooling condition, verifying die clearance, and ensuring the machine’s mechanical stability, you can eliminate burrs and maintain the high standards required for your products. Remember that burrs are a symptom, not the root cause; by addressing the underlying mechanical issues, you extend the life of your HARSLE equipment and improve the overall efficiency of your shop floor.
Consistency is the key to success in metal fabrication. By implementing a rigorous maintenance schedule and investing in high-quality tooling, you can prevent the majority of burring issues before they impact your production line. If you find that burrs persist despite your best efforts, do not hesitate to contact HARSLE technical support for a more detailed analysis of your specific machine configuration and application requirements.












