
Punching Machine Tooling Guide: Punches, Dies, and Wear Prevention


Technical Overview: The Anatomy of Punching Machine Tooling
In the world of high-precision metal fabrication, the punching machine serves as a cornerstone for efficiency and productivity. At the heart of this process lies the Punching Machine Tooling, a sophisticated assembly comprising the punch and the die. Understanding the synergy between these two components is essential for any operator looking to achieve clean, burr-free cuts while extending the lifespan of their machinery. HARSLE emphasizes that the tooling is not merely an accessory but the primary interface between the machine’s force and the raw material.
The punch, typically mounted on the upper turret or ram, acts as the male component that exerts the shearing force. Conversely, the die, located in the lower turret or bolster, provides the female support that defines the shape and size of the hole. The precision of the clearance between these two parts determines the quality of the edge finish. When the clearance is perfectly calibrated, the material experiences a clean fracture; when it is off, the result is excessive burrs, rapid tool wear, and potential damage to the machine frame.
Modern punching machine tooling is engineered from high-grade tool steels, often treated with specialized coatings like Titanium Nitride (TiN) or Titanium Carbonitride (TiCN). These coatings are designed to reduce friction and heat buildup during the punching cycle. As the punch penetrates the sheet metal, the friction generated can lead to ‘galling’—a phenomenon where material adheres to the punch surface, leading to poor hole quality and eventual tool failure. By selecting the right material and coating, fabricators can significantly enhance their throughput.
Furthermore, the geometry of the punch tip plays a critical role in the punching process. Flat-faced punches are standard for general-purpose work, but specialized geometries such as shear-ground or roof-top punches are often employed to reduce the required punching force. By distributing the cutting load over a longer duration, these geometries minimize the shock load on the machine and reduce the noise levels in the workshop. HARSLE provides a wide range of tooling geometries tailored to specific material thicknesses and hardness levels.
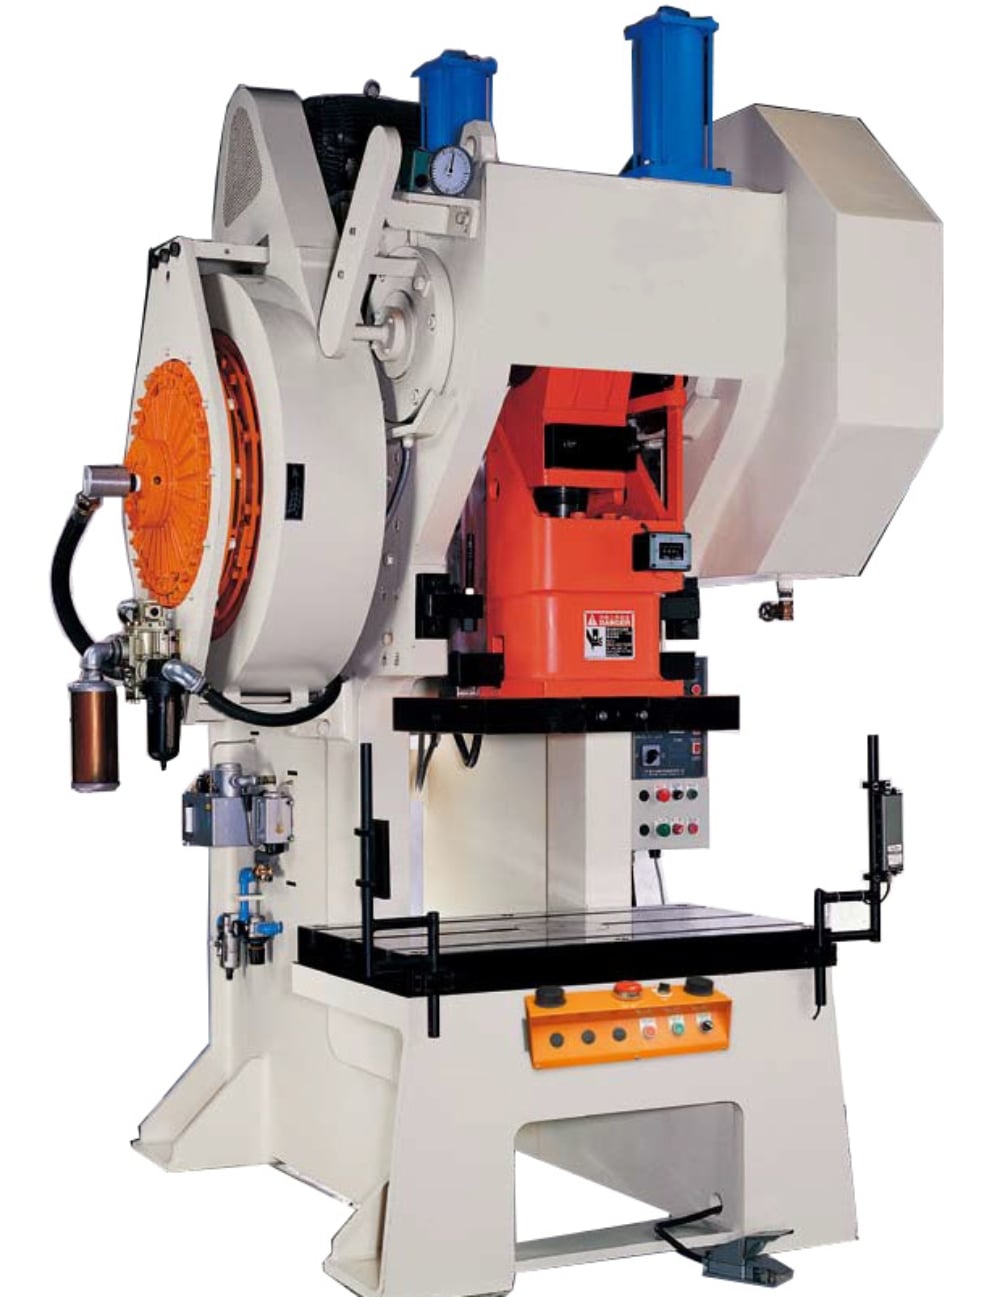
Core Parameters: Defining Tooling Performance
To optimize Punching Machine Tooling: Punches, Dies, Wear Prevention, one must first master the core parameters that govern the process. The most critical parameter is the ‘die clearance.’ Clearance is defined as the gap between the punch and the die opening. If the clearance is too tight, the punch will experience excessive friction, leading to rapid wear and potential breakage. If the clearance is too loose, the material will bend into the die before shearing, resulting in large burrs and poor dimensional accuracy.
Another vital parameter is the ‘stripper clearance.’ The stripper plate is responsible for holding the sheet metal flat against the die while the punch retracts. If the stripper clearance is insufficient, the sheet may lift with the punch, causing ‘slug pulling’—a common issue where the scrap material is pulled back up through the hole. This not only ruins the workpiece but can also cause catastrophic damage to the punch tip if the slug is struck again during the next cycle.
The ‘punching force’ is a calculation that every operator must understand. It is determined by the perimeter of the shape being punched, the thickness of the material, and the shear strength of the material. Exceeding the machine’s rated tonnage by using oversized tooling or punching material that is too thick will lead to premature fatigue of the machine’s hydraulic or mechanical drive systems. HARSLE machines are equipped with overload protection, but proper tooling selection remains the first line of defense.
Finally, the ‘tooling alignment’ is a parameter that is often overlooked. Even the highest quality punch and die will fail prematurely if they are not perfectly aligned. Modern CNC punching machines utilize sophisticated turret alignment systems to ensure that the punch and die centers are concentric. Regular inspection of the turret bushings and the punch guide assemblies is necessary to maintain this alignment over the life of the machine.
Calculation Method: Determining Optimal Die Clearance
Calculating the correct die clearance is a mathematical exercise that directly impacts the longevity of your Punching Machine Tooling. The general rule of thumb for mild steel is to set the total clearance at approximately 15% to 20% of the material thickness. For harder materials like stainless steel, this percentage may increase to 25% or more to account for the material’s higher work-hardening properties.
The formula for total clearance (C) is typically expressed as: C = (Material Thickness × Percentage) / 2. This calculation provides the clearance on each side of the punch. For example, if you are punching 3mm mild steel with a 20% clearance factor, the total clearance would be 0.6mm, meaning a 0.3mm gap on each side of the punch. Using this formula ensures that the fracture lines from the punch and die meet perfectly in the middle of the material thickness.
When dealing with complex shapes, the perimeter of the shape must be considered. For non-circular shapes, the clearance should be uniform around the entire perimeter to ensure even wear. If the clearance is uneven, the punch will be subjected to side-loading forces, which can cause the punch to deflect and strike the edge of the die, leading to chipping or total tool failure. HARSLE recommends using precision-ground shims or adjustable die holders to fine-tune these clearances.
It is also important to account for the ‘shear’ of the punch. Shear is the grinding of the punch face at an angle to reduce the initial impact force. While shear reduces the tonnage required, it also increases the distance the punch must travel to complete the cut. When calculating the clearance for sheared punches, the effective thickness of the material being sheared at any given moment is reduced, which can sometimes allow for slightly tighter clearances than those used for flat-faced punches.
Parameter Table: Recommended Clearances
| Material Type | Thickness (mm) | Clearance (% of thickness) | Typical Application |
|---|---|---|---|
| Mild Steel | 1.0 – 3.0 | 15% – 20% | General Fabrication |
| Stainless Steel | 1.0 – 3.0 | 20% – 25% | Food/Medical Equipment |
| Aluminum | 1.0 – 4.0 | 10% – 15% | Aerospace/Automotive |
| Brass/Copper | 0.5 – 2.0 | 10% – 12% | Electrical Components |
This table serves as a baseline for HARSLE machinery users. Always consult your specific material data sheets, as variations in alloy composition can significantly affect the required clearance. If you notice excessive burrs, increase the clearance slightly; if you notice ‘dishing’ or deformation of the hole edges, decrease the clearance.
Common Engineering Mistakes in Tooling Management
One of the most frequent mistakes in the industry is the failure to sharpen punches and dies at the correct intervals. Many operators wait until the burr height becomes visible to the naked eye before sharpening. By this time, the tool has already undergone significant stress, and the amount of material that must be removed during sharpening is much greater, which shortens the total life of the tool. A proactive sharpening schedule based on the number of hits is far more cost-effective.
Another common error is the improper lubrication of the tooling. While some modern punching machines are designed for ‘dry’ punching, most applications benefit significantly from the application of a high-quality punching oil. Lubrication reduces the friction between the punch and the material, prevents galling, and helps flush away metal chips. Using the wrong type of lubricant, or failing to apply it consistently, is a leading cause of premature tool wear.
Ignoring the condition of the punch guide is a mistake that leads to ‘tool chatter.’ The guide is responsible for keeping the punch vertical and stable. Over time, the guide can become worn, allowing the punch to wobble. This wobble causes the punch to strike the die unevenly, leading to chipped edges and poor hole quality. Regularly checking the guide for signs of wear and replacing the guide bushings is essential for maintaining precision.
Finally, many fabricators fail to store their tooling correctly. Punching machine tooling is precision equipment and should be stored in a clean, dry environment. Stacking punches and dies on top of each other or leaving them exposed to humidity can lead to corrosion and surface damage. HARSLE recommends using dedicated tooling cabinets with foam inserts to protect the cutting edges and ensure that the tools are ready for use at a moment’s notice.
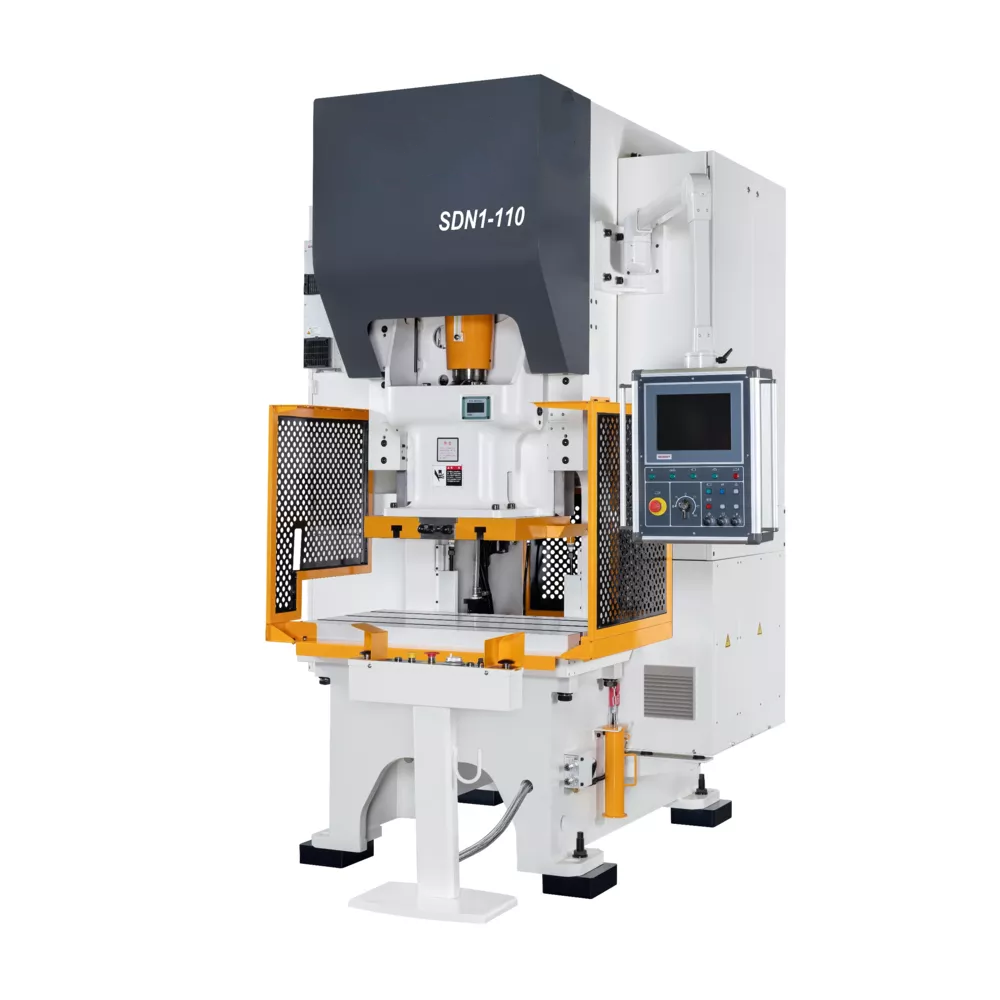
Selection Checklist: Choosing the Right Tooling
When selecting Punching Machine Tooling: Punches, Dies, Wear Prevention, consider the following checklist to ensure you are making the right investment for your HARSLE equipment:
- Material Compatibility: Does the tool steel grade match the hardness of the material you are punching?
- Coating Requirements: Will a TiN or TiCN coating provide the necessary friction reduction for your specific application?
- Geometry Selection: Is a flat-faced punch sufficient, or would a shear-ground punch reduce your machine’s load?
- Clearance Accuracy: Does the die provide the correct clearance for your material thickness?
- Maintenance Accessibility: Is the tooling design easy to disassemble for cleaning and sharpening?
- Manufacturer Reputation: Are you sourcing from a reputable supplier that provides technical support and consistent quality?
- Budget vs. Longevity: While premium tooling has a higher upfront cost, does it offer a lower cost-per-hole over its lifetime?
By following this checklist, you can ensure that your tooling investment aligns with your production goals. Remember that the cheapest tool is rarely the most economical in the long run. High-quality tooling reduces downtime, improves product quality, and protects your machine from unnecessary stress.
FAQ: Frequently Asked Questions
How often should I sharpen my punching tools?
Sharpening frequency depends on the material type, thickness, and the number of hits. As a general rule, sharpen when the burr height reaches 10% of the material thickness. Do not wait for the tool to become visibly dull.
What causes slug pulling?
Slug pulling is usually caused by insufficient stripper force, worn punch tips, or incorrect die clearance. Ensure your stripper springs are in good condition and that your die clearance is not too large.
Can I use the same tooling for different materials?
While some tools are versatile, it is best practice to dedicate specific sets to specific materials. For example, using a tool for stainless steel and then switching to aluminum can lead to cross-contamination and accelerated wear.
How do I prevent galling on my punches?
Galling is prevented by using proper lubrication, selecting the right tool coating, and ensuring that the punch is not overheating. If galling occurs, remove the material buildup immediately and polish the punch surface.
Does HARSLE provide custom tooling solutions?
Yes, HARSLE offers custom tooling design services to meet unique fabrication requirements. Contact our technical team with your specifications to receive a tailored solution for your punching machine.












