Why Your Punching Machine Is Making Burrs: Troubleshooting Tips for Cleaner Holes


Introduction: Understanding the Burr Problem in Metal Fabrication
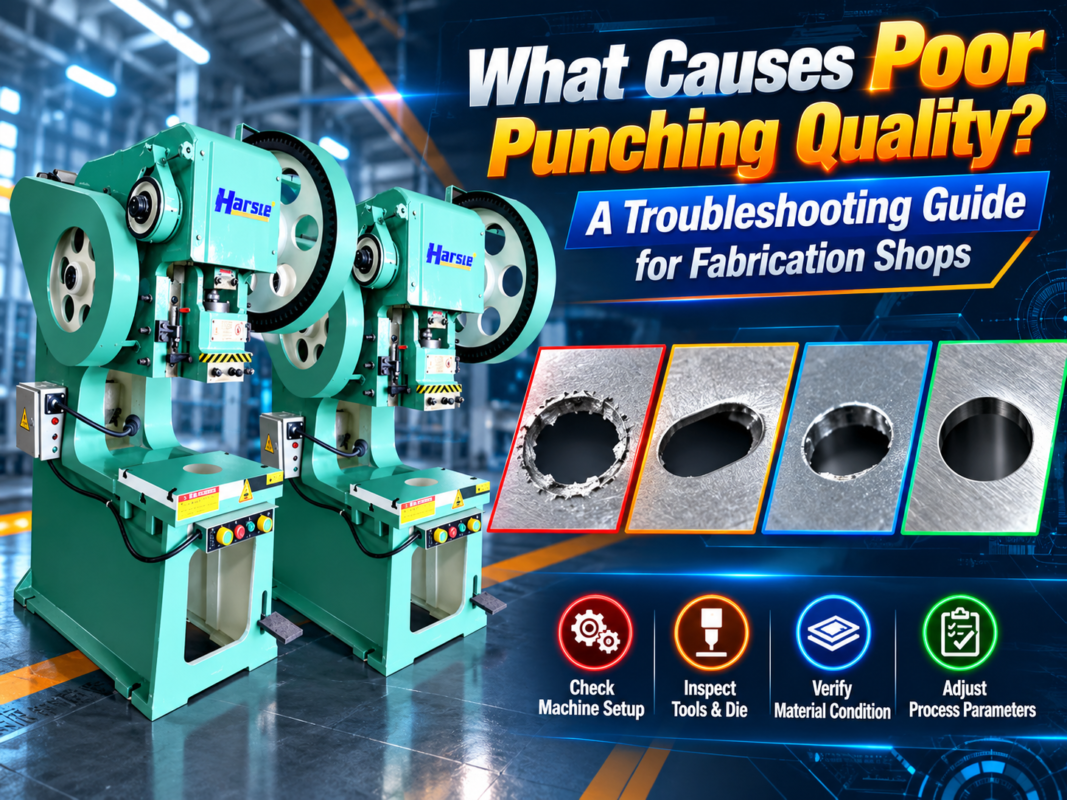
In the high-precision world of metal fabrication, the quality of your finished product is often defined by the cleanliness of the holes produced by your punching machine. When you notice that your punching machine is making burrs, it is not just a cosmetic issue; it is a signal that your production process is deviating from optimal parameters. Burrs are the jagged, raised edges that remain on the underside of a punched hole, and they represent a significant challenge for manufacturers aiming for high-quality output.
Understanding why your punching machine is making burrs: troubleshooting tips for cleaner holes is essential for any shop floor manager or machine operator. Burrs can lead to downstream assembly issues, safety hazards for workers handling the parts, and increased costs due to secondary deburring operations. By identifying the root cause of these imperfections, you can save time, reduce waste, and extend the lifespan of your tooling.
At HARSLE, we emphasize that a punching machine is a precision instrument. When it begins to produce burrs, it is usually a symptom of mechanical wear, improper setup, or material-specific challenges. This guide will walk you through the technical intricacies of the punching process, helping you diagnose the issue and restore your machine to peak performance.
Whether you are operating a manual turret punch or a high-speed CNC punching machine, the physics of the shear process remains the same. The interaction between the punch, the die, and the sheet metal must be perfectly synchronized. When this synchronization is disrupted, the metal is torn rather than sheared, resulting in the formation of burrs. Let’s dive into the key considerations that influence this process.
Key Considerations: The Physics of the Punching Process
The primary reason your punching machine is making burrs often lies in the clearance between the punch and the die. Clearance is the gap between the perimeter of the punch and the opening of the die. If this gap is too large, the material is pulled into the die rather than being cleanly sheared, which creates a significant burr. Conversely, if the clearance is too small, the punch may rub against the die, causing excessive heat and rapid tool wear.
Material thickness and type also play a critical role. Different metals have different shear strengths and ductility. For instance, punching stainless steel requires different clearance settings compared to mild steel or aluminum. If you are using a standard clearance setting for a material that is significantly harder or softer than what the tooling was designed for, you will inevitably encounter burr issues.
Tool sharpness is another non-negotiable factor. As a punch and die set wears down, the cutting edges become rounded. A dull tool loses its ability to cleanly penetrate the material, forcing the metal to stretch and tear at the edges. Regular inspection of your tooling is a fundamental part of punching machine maintenance that many operators overlook until the burr height becomes unacceptable.
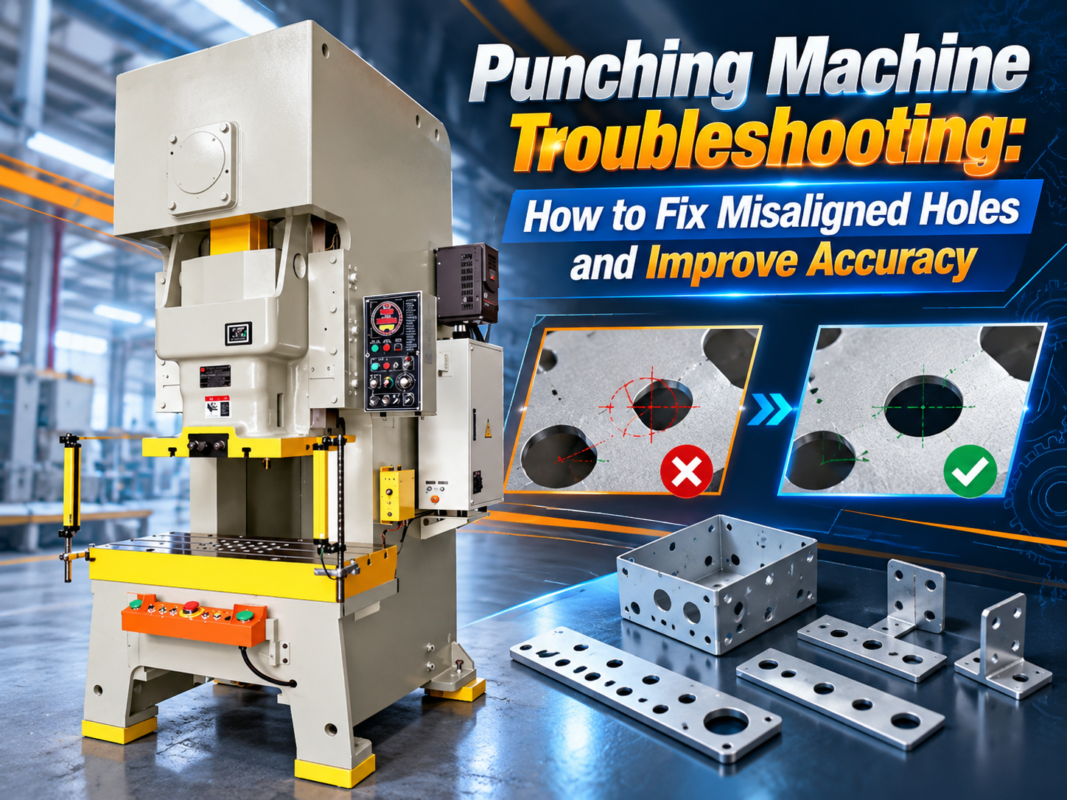
Finally, consider the alignment of the machine components. If the punch is not perfectly centered within the die, the clearance will be uneven around the perimeter of the hole. This unevenness results in a burr on one side of the hole while the other side may look relatively clean. Ensuring that your machine’s ram and die holder are perfectly aligned is a critical troubleshooting step.
Technical Details: Troubleshooting and Optimization
When you are troubleshooting why your punching machine is making burrs, start by inspecting the punch and die for signs of chipping or galling. Galling occurs when material from the sheet metal adheres to the punch, creating a rough surface that tears the metal during the next stroke. If you see material buildup on your tools, you must clean them thoroughly and consider using a lubricant or a different coating on the punch.
Check the stripper plate pressure. The stripper plate is responsible for holding the sheet metal flat against the die during the punching process. If the stripper pressure is insufficient, the material will lift as the punch retracts, which can cause the metal to deform and create burrs. Increasing the spring pressure or ensuring the stripper is making firm contact with the workpiece can often resolve this issue.
Another technical aspect to investigate is the punching speed. While high-speed punching is desirable for productivity, it can sometimes lead to vibration or material deformation if the machine is not properly secured or if the tooling is not designed for high-impact forces. Reducing the speed slightly can help you determine if the burrs are a result of mechanical instability or tool-related issues.
Consider the use of specialized coatings on your punches. Titanium Nitride (TiN) or other advanced coatings can reduce friction between the tool and the workpiece. This reduction in friction prevents the material from sticking to the punch, which is a common cause of burr formation in high-volume production environments. Investing in high-quality tooling is often the most effective way to achieve cleaner holes consistently.
Selection Advice: Choosing the Right Equipment
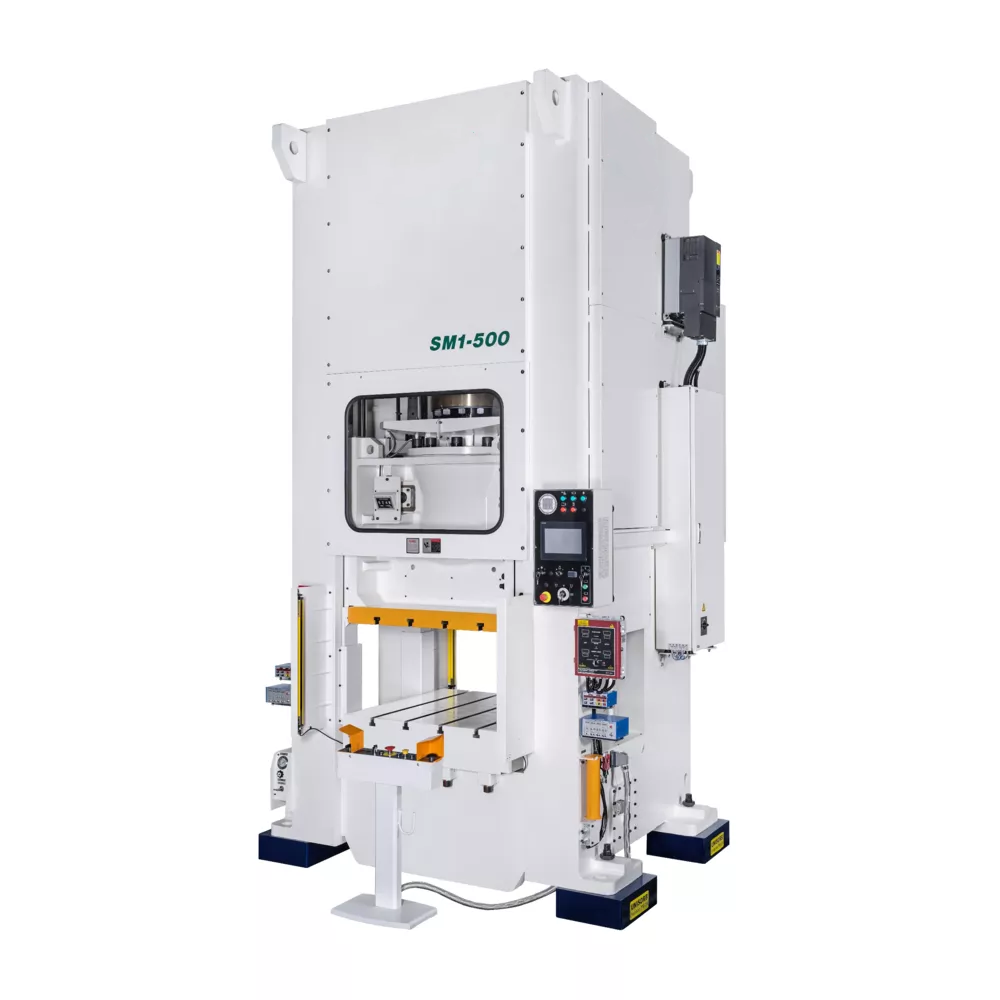
When selecting a punching machine or replacement tooling, it is important to match the equipment to your specific production needs. If you frequently work with a variety of materials, look for a machine that offers quick-change tooling systems and precise clearance adjustment capabilities. A machine that allows for easy tool maintenance will save you significant downtime in the long run.
Consider the rigidity of the machine frame. A machine with a robust, stress-relieved frame will experience less deflection during the punching process. Deflection is a silent killer of hole quality; even a fraction of a millimeter of frame movement can cause the punch and die to misalign, leading to burrs. HARSLE machines are engineered with high-rigidity frames to ensure consistent performance under heavy loads.
Evaluate the software and control systems. Modern CNC punching machines come with advanced features that allow for better control over the punching stroke and speed. Some systems can even monitor tool wear and alert the operator when it is time to sharpen or replace the punch. Investing in smart technology can help you stay ahead of the burr problem before it impacts your production quality.
Finally, always consult with the manufacturer regarding the recommended tooling for your specific applications. Providing the manufacturer with details about the material thickness, type, and hole geometry will allow them to recommend the optimal punch and die clearance. Following these recommendations from the start is the best way to avoid the frustration of troubleshooting burrs later on.
FAQ: Common Questions About Punching Machine Burrs
- Q: How often should I sharpen my punch and die?
A: This depends on the material type and the volume of production. As a rule of thumb, inspect your tools every 5,000 to 10,000 hits. If you notice any rounding of the edges or visible burrs on the parts, it is time to sharpen. - Q: Can lubrication help reduce burrs?
A: Yes, proper lubrication reduces friction and heat, which helps prevent material from sticking to the punch. Use a high-quality metalworking lubricant suitable for your specific material. - Q: Why do I only get burrs on one side of the hole?
A: This is a classic sign of misalignment. Check the alignment of your punch and die, and ensure that the die holder is securely fastened and not tilted. - Q: Does the material type affect burr formation?
A: Absolutely. Harder materials like stainless steel require different clearances and more frequent tool maintenance than softer materials like aluminum or mild steel. - Q: What is the most common cause of burrs?
A: The most common cause is improper clearance between the punch and the die, followed closely by dull tooling.
Conclusion: Maintaining Quality in Metal Fabrication
Addressing the issue of why your punching machine is making burrs: troubleshooting tips for cleaner holes is a vital skill for any professional in the metal fabrication industry. By focusing on the fundamentals—proper clearance, sharp tooling, machine alignment, and appropriate lubrication—you can significantly improve the quality of your output and the efficiency of your shop floor. Remember that burrs are not an inevitable part of the punching process; they are a sign that your machine needs attention.
At HARSLE, we are committed to providing the industrial machinery and expert guidance you need to succeed. Whether you are looking for a new punching machine or need advice on optimizing your current setup, our team is here to help. By implementing the troubleshooting tips outlined in this guide, you can ensure that your punching machine consistently delivers clean, high-quality holes that meet the most demanding standards.
Regular maintenance and a proactive approach to tooling management are the hallmarks of a successful fabrication business. Do not wait for burrs to become a recurring problem; integrate these checks into your daily routine and enjoy the benefits of a smoother, more efficient production process. With the right equipment and the right knowledge, you can master the art of precision punching.