
Punching Machine Tooling Guide for Standard Holes, Slots, and Custom Shapes


Technical Overview of Punching Machine Tooling
In the realm of modern metal fabrication, the efficiency and precision of a punching machine are fundamentally dictated by the quality and design of its tooling. Punching machine tooling for standard holes, slots, and custom shapes serves as the interface between the raw sheet metal and the finished component. Understanding the mechanics of this interaction is critical for any operator or shop manager looking to optimize production cycles and minimize material waste.
The tooling assembly typically consists of a punch and a die. The punch, mounted in the upper turret or ram, exerts force onto the workpiece, while the die, positioned in the lower turret or bolster, provides the necessary support and clearance for the material to be sheared. When these components are perfectly aligned and maintained, they produce clean, burr-free edges that meet stringent industrial standards.
Standard tooling is designed for high-volume, repeatable tasks. Whether you are producing circular holes for fasteners or rectangular slots for ventilation, standard tooling provides the most cost-effective solution. These tools are manufactured from high-grade tool steels, such as M2 or D2, which are heat-treated to withstand the high-impact forces inherent in the punching process. Choosing the right material grade is the first step in ensuring long-term tooling reliability.
Custom shapes, on the other hand, require specialized engineering. When a project demands unique geometries—such as complex tabs, louvers, or non-standard slots—custom tooling must be designed to account for material flow and stress distribution. HARSLE emphasizes that custom tooling design is not just about the final shape, but about how the punch interacts with the material to prevent deformation or premature tool wear.
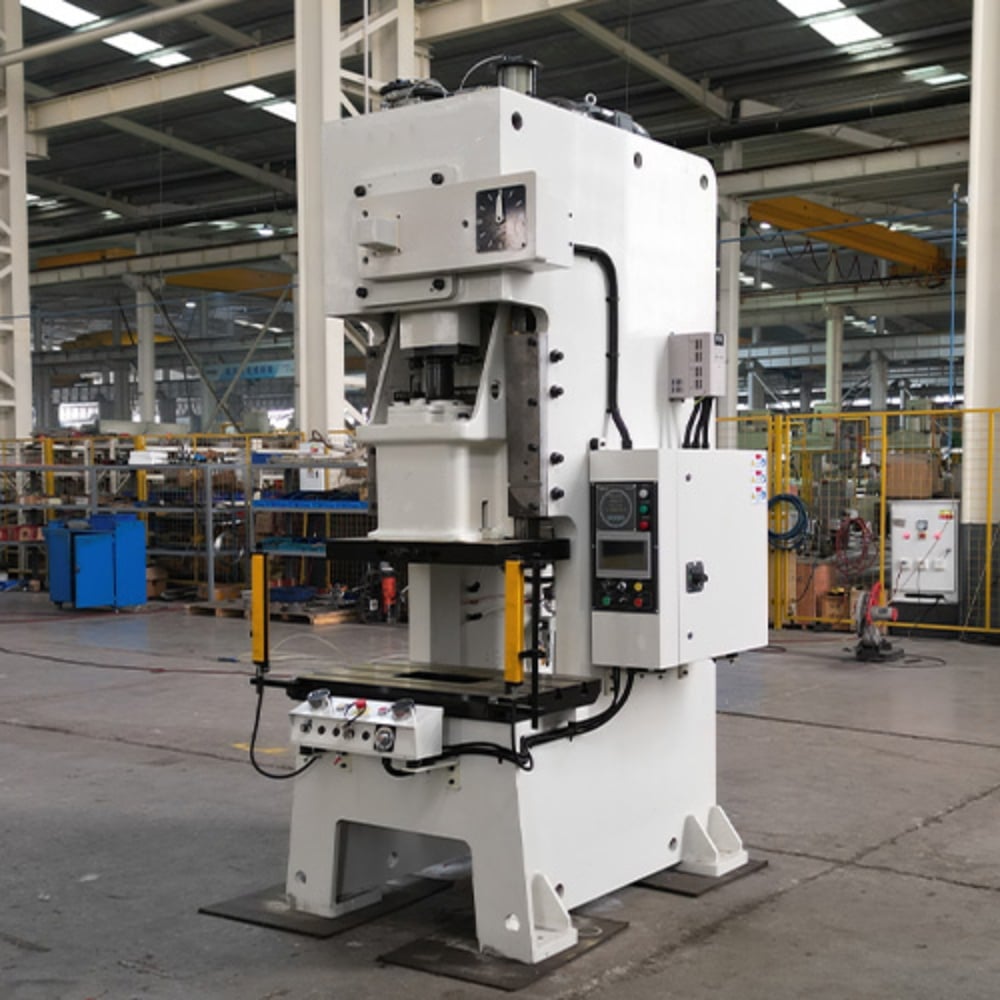
The evolution of punching technology has moved toward quick-change systems. These systems allow operators to swap out standard hole punches and slotting tools in seconds, significantly reducing machine downtime. By integrating advanced tool management software, shops can track the number of hits per tool, ensuring that maintenance is performed before the tooling degrades to the point of producing defective parts.
Ultimately, the goal of any punching operation is to achieve a balance between speed, accuracy, and tool longevity. By mastering the technical nuances of how different shapes affect the punch press, fabricators can push the boundaries of what their HARSLE equipment can achieve, turning complex designs into reality with minimal effort.
Core Parameters for Tooling Selection
Selecting the correct tooling involves a deep dive into several core parameters that directly influence the quality of the finished product. The most critical of these is the clearance between the punch and the die. Clearance is defined as the gap between the punch perimeter and the die opening. If the clearance is too tight, the machine will require excessive force, leading to rapid tool wear and potential damage to the press ram.
Conversely, if the clearance is too wide, the material will bend rather than shear, resulting in large, unsightly burrs and poor hole quality. For standard holes, the clearance is typically calculated as a percentage of the material thickness, usually ranging from 10% to 20% depending on the material type—such as mild steel, stainless steel, or aluminum. Precision in this calculation is the hallmark of a professional fabrication shop.
Another vital parameter is the punch geometry. For standard holes, a flat-faced punch is common. However, for thicker materials or larger slots, a shear angle is often ground into the punch face. This shear angle allows the punch to enter the material gradually, reducing the total tonnage required and minimizing the shock load on the machine. This is particularly important when working with high-tensile materials that are prone to work hardening.
The material of the punch and die must also be matched to the workpiece. For abrasive materials like stainless steel, specialized coatings such as Titanium Nitride (TiN) or Titanium Carbonitride (TiCN) can significantly extend tool life. These coatings reduce friction and prevent galling, a common issue where material adheres to the punch face, leading to poor surface finish and increased stripping force.
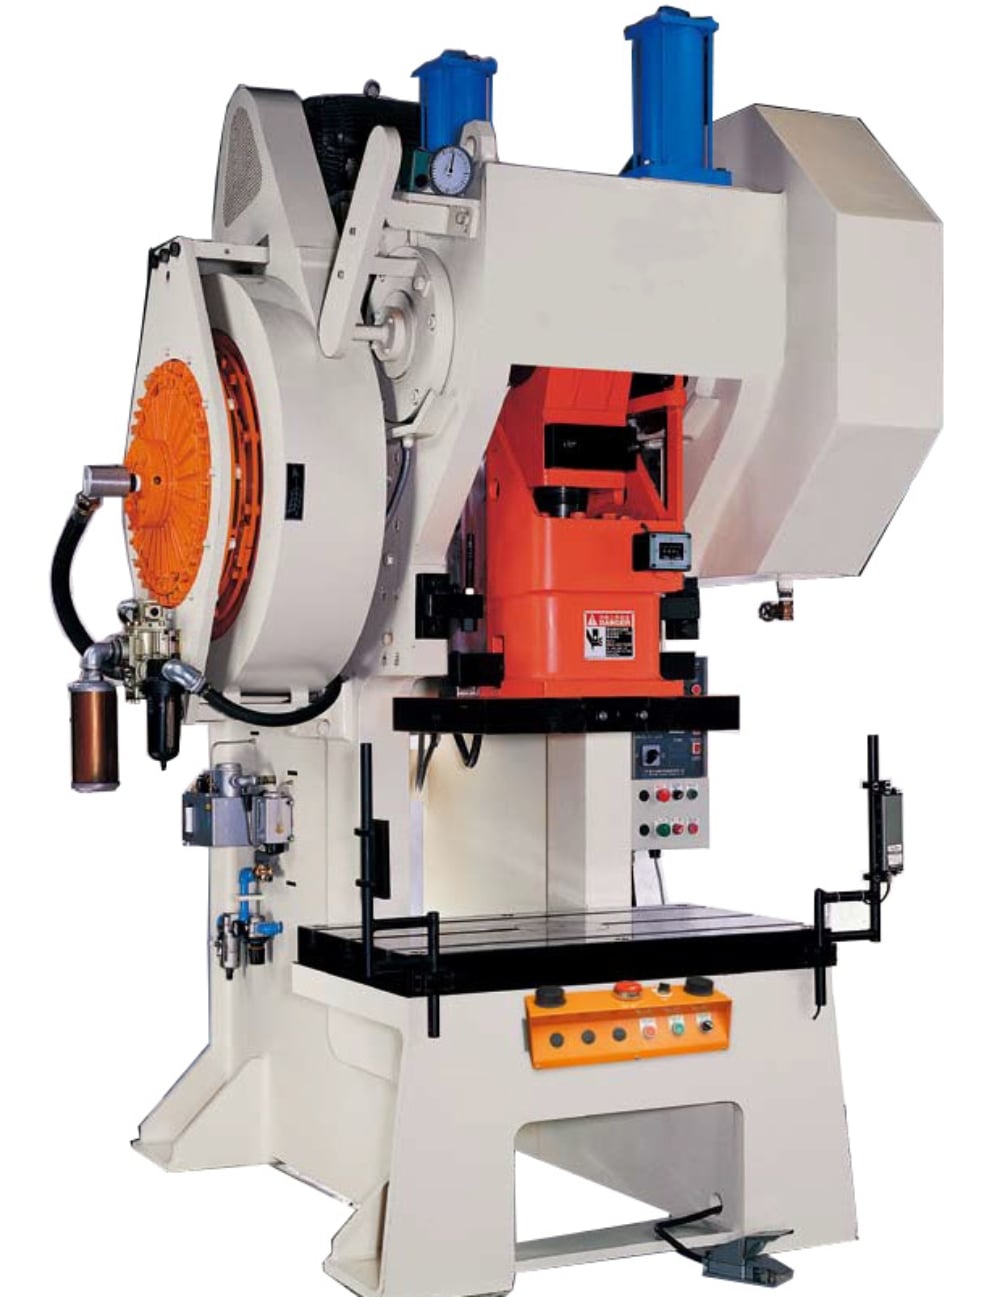
Stripping force is a parameter often overlooked by beginners. The stripper plate must be designed to hold the material firmly against the die while the punch retracts. If the stripping force is insufficient, the material may lift with the punch, causing misalignment or even breaking the tool. HARSLE recommends checking the spring tension in the stripper assembly regularly to ensure consistent performance across all hole sizes and shapes.
Finally, consider the turret configuration. In CNC punching machines, the turret must be balanced to prevent vibration. When using large, custom-shaped tools, it is essential to distribute the weight evenly across the turret stations. Failure to do so can lead to uneven wear on the turret bearings and a decrease in the overall accuracy of the machine over time.
Calculation Method for Punching Force
Calculating the required punching force is essential to prevent machine overload and ensure the longevity of your HARSLE punching equipment. The basic formula for calculating punching force is: Force (F) = Perimeter (L) × Material Thickness (t) × Shear Strength (S). This calculation provides the baseline tonnage required to shear through the material.
The perimeter (L) is the total length of the cut. For a standard circular hole, this is the circumference (π × diameter). For slots, it is the sum of the straight edges and the curved ends. For custom shapes, you must calculate the total length of the entire boundary. It is important to note that the shear strength (S) varies significantly between materials; for instance, stainless steel requires significantly more force than mild steel of the same thickness.
Once the baseline force is determined, you must apply a safety factor. HARSLE recommends a safety factor of at least 15-20% to account for tool dullness. As a punch begins to wear, the force required to shear the material increases. If you operate at the absolute limit of your machine’s capacity, a dull tool could cause the machine to stall or trigger an emergency stop, potentially damaging the workpiece.
When using tools with a shear angle, the force calculation changes. The shear angle effectively reduces the instantaneous contact area between the punch and the material. The formula becomes: F_effective = F_total × (1 – (h/t)), where ‘h’ is the shear depth and ‘t’ is the material thickness. This reduction in force is a major advantage when working with heavy-gauge materials that might otherwise exceed the machine’s rated tonnage.
It is also crucial to consider the stripping force in your calculations. Generally, the stripping force is estimated to be about 5-10% of the total punching force. If your calculation shows that you are near the machine’s maximum capacity, you must ensure that your stripping mechanism is robust enough to handle the increased load without failing or causing the punch to stick in the material.
For complex custom shapes, it is often beneficial to use simulation software to model the punching process. This allows you to visualize the stress distribution and identify potential weak points in the tool design. By performing these calculations before committing to a custom tool design, you can avoid costly mistakes and ensure that your HARSLE machine operates within its optimal performance envelope.
Punching Machine Tooling Parameter Table
| Parameter | Standard Holes | Slots | Custom Shapes |
|---|---|---|---|
| Clearance (% of thickness) | 10% – 15% | 12% – 18% | 15% – 25% |
| Punch Geometry | Flat Face | Shear Angle | Complex/Stepped |
| Material Grade | M2 / D2 Steel | D2 / PM Steel | PM / Carbide |
| Stripping Force | Low | Medium | High |
| Maintenance Interval | Standard | Frequent | Very Frequent |
Common Engineering Mistakes
One of the most common mistakes in punching machine operation is the failure to properly lubricate the tooling. Friction is the enemy of precision. Without adequate lubrication, the heat generated during the punching process can cause the material to weld to the punch, leading to galling and premature tool failure. Always use high-quality punching oil or specialized lubricants recommended by HARSLE to minimize friction and extend the life of your standard and custom tools.
Another frequent error is ignoring the signs of tool dullness. Many operators wait until the punch produces a visible burr before sharpening it. However, by the time a burr is visible, the tool has already been subjected to excessive stress, and the quality of the parts produced has likely been compromised for several hundred hits. Implementing a strict hit-count tracking system is the best way to prevent this. Sharpen your tools based on the number of hits rather than visual inspection alone.
Improper turret alignment is a silent killer of punching machine tooling. If the punch and die are not perfectly centered, the punch will strike the edge of the die, leading to chipping and catastrophic failure. This often happens after a crash or during a tool change. Regularly check the alignment of your turret stations using a precision alignment tool to ensure that your standard holes and custom shapes are always punched with perfect concentricity.
Overloading the machine by attempting to punch material that exceeds the rated thickness or shear strength is a dangerous practice. While the machine might be able to force the punch through the material, doing so puts immense strain on the hydraulic system and the turret bearings. This leads to long-term degradation of the machine’s accuracy. Always consult the HARSLE machine manual to verify the maximum tonnage and material thickness limits for your specific model.
Finally, failing to store tooling properly is a common oversight. Punching tools are precision instruments. Leaving them on a workbench where they can be knocked over or exposed to moisture leads to corrosion and damage. Use dedicated storage racks or cabinets to keep your tooling clean, organized, and protected. A well-maintained tool library is the foundation of an efficient and productive fabrication shop.
Selection Checklist for Punching Tooling
- Material Compatibility: Ensure the tool steel grade is suitable for the material you are punching (e.g., stainless steel vs. aluminum).
- Clearance Verification: Confirm that the die clearance is correctly calculated for the specific material thickness and type.
- Coating Requirements: Evaluate if a specialized coating (TiN, TiCN) is needed to reduce friction and improve tool life.
- Geometry Check: Determine if a shear angle is required to reduce tonnage and improve edge quality for your specific shape.
- Stripper Selection: Verify that the stripper plate provides adequate force to prevent material lifting.
- Turret Balance: Ensure that the weight of the tool is balanced within the turret to prevent vibration and bearing wear.
- Maintenance Schedule: Establish a hit-count-based sharpening schedule before the first use of the tool.
- Storage Plan: Prepare a clean, dry, and organized storage area for all standard and custom tooling.
FAQ: Punching Machine Tooling
How often should I sharpen my punching tools?
Sharpening frequency depends on the material type, thickness, and the number of hits. As a rule of thumb, monitor the burr height. Once the burr reaches 10% of the material thickness, it is time to sharpen. For high-volume production, track the hit count and sharpen at set intervals.
Can I use the same tool for different materials?
While some tools are versatile, it is best practice to dedicate specific tools to specific materials. Using a tool for both mild steel and stainless steel can lead to cross-contamination and accelerated wear. Always check the tool manufacturer’s recommendations for material compatibility.
What is the advantage of custom-shaped tooling?
Custom-shaped tooling allows for the production of complex parts in a single hit, which significantly increases throughput and reduces the need for secondary operations like milling or laser cutting. It is an investment that pays off in reduced cycle times and improved part consistency.
How do I prevent galling on my punches?
Galling is caused by heat and friction. To prevent it, ensure proper lubrication, use the correct die clearance, and consider applying anti-galling coatings to your punches. If galling persists, check your stripping force and ensure the tool is sharp.
Why is my machine struggling to punch through the material?
If your machine is struggling, it is likely due to either a dull tool, insufficient clearance, or exceeding the machine’s tonnage capacity. Check the tool sharpness first, then verify your clearance calculations and the material’s shear strength.












