
How to Diagnose Press Brake Backgauge Errors and Restore Accurate Positioning


Introduction to Press Brake Backgauge Precision
In the world of precision metal fabrication, the backgauge is the unsung hero of the press brake. While the hydraulic system provides the force and the tooling defines the shape, the backgauge ensures that every bend occurs at the exact millimeter required by the design. When a backgauge loses its accuracy, the consequences are immediate and costly: wasted material, failed quality inspections, and disrupted production schedules. Understanding how to diagnose press brake backgauge errors and restore accurate positioning is a fundamental skill for any operator or maintenance technician working with HARSLE machinery.
Modern CNC press brakes rely on complex multi-axis backgauge systems. These systems move with incredible speed and stop with micron-level precision. However, the industrial environment is harsh. Dust, vibration, thermal fluctuations, and mechanical wear all conspire against the accuracy of the machine. A backgauge error isn’t always a catastrophic failure; often, it is a subtle drift that grows over time, leading to parts that are ‘almost’ right but ultimately out of tolerance.
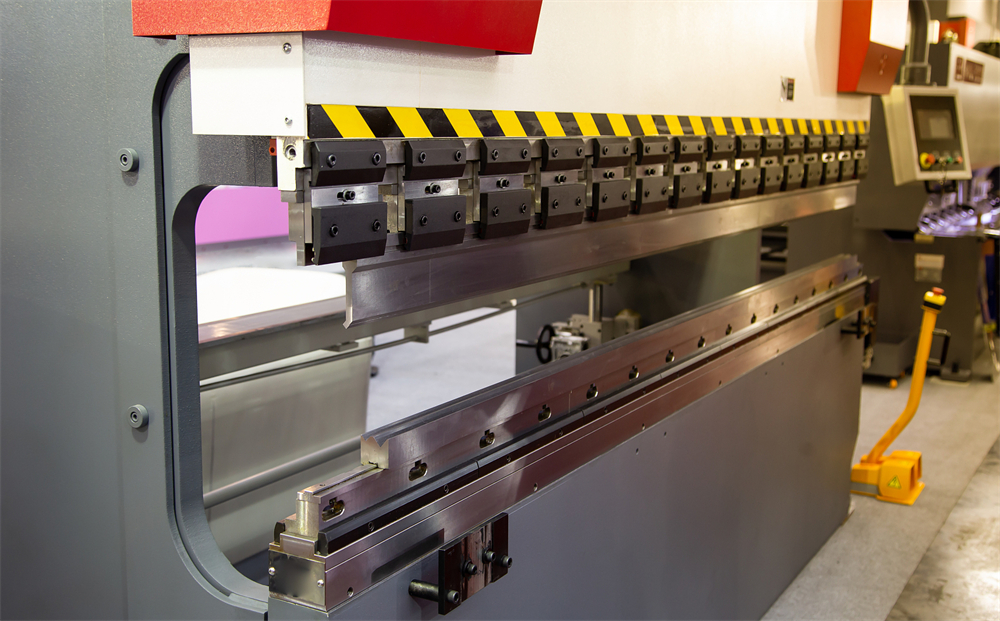
This guide is designed to walk you through the systematic process of identifying where a backgauge system is failing. We will explore the mechanical components that provide the physical movement, the electrical systems that control that movement, and the software parameters that tie it all together. By the end of this article, you will have a clear roadmap for restoring your press brake to its factory-specified accuracy, ensuring your HARSLE equipment continues to deliver world-class results.
Key Considerations Before Troubleshooting
Before diving into the mechanical guts of the machine, it is essential to understand the environment and the context of the error. Not all positioning errors are caused by the backgauge itself. Sometimes, the issue lies in the setup or the material. The first step in how to diagnose press brake backgauge errors and restore accurate positioning is to rule out external variables that mimic mechanical failure.
1. Material Consistency and Springback
If you notice that your flange lengths are inconsistent, check your material first. Variations in sheet thickness, grain direction, or tensile strength can cause the material to sit differently against the backgauge fingers. If the material is bowed or has burrs from a previous cutting process, it may not make flush contact with the stop, leading to perceived inaccuracies that have nothing to do with the backgauge’s actual position.
2. Tooling Alignment
The backgauge measures distance relative to the center of the V-die. If the die is not perfectly centered or if the punch is slightly offset, the backgauge will appear to be out of calibration. Always verify that your tooling is seated correctly and that the CNC controller’s tool library matches the physical tools installed on the machine. A common mistake is using a die with a different V-opening than what is programmed, which shifts the bend line and makes the backgauge seem ‘wrong’.
3. Environmental Factors
Temperature swings in a fabrication shop can cause significant thermal expansion in long ball screws. If your shop is freezing in the morning and sweltering by the afternoon, the physical length of the backgauge components can change by several microns. High-end HARSLE machines often include thermal compensation, but in extreme environments, manual recalibration throughout the day may be necessary to maintain high-precision tolerances.
4. Lubrication and Cleanliness
The most common cause of ‘stuttering’ or positioning errors is simple neglect. Metal dust and scale from the bending process act as an abrasive. If the linear guides and ball screws are not cleaned and lubricated regularly, the friction increases. This puts strain on the servo motors, leading to following errors or physical lag. Before performing a deep diagnostic, ensure the machine is clean and all grease points are serviced according to the HARSLE maintenance manual.
Technical Details: Mechanical and Electrical Diagnosis
To effectively diagnose press brake backgauge errors and restore accurate positioning, you must treat the system as a combination of mechanical hardware and electronic feedback loops. Most errors fall into one of these two categories.
Mechanical Component Inspection
The mechanical assembly consists of the motor, the coupling, the ball screw, the linear rails, and the gauge bar itself. Start by checking the mechanical ‘play’ or backlash. With the power off, try to physically move the backgauge fingers. There should be almost zero perceptible movement. If you feel a ‘clunk’ or a slight wiggle, you likely have a worn ball nut or a loose coupling between the motor and the screw.
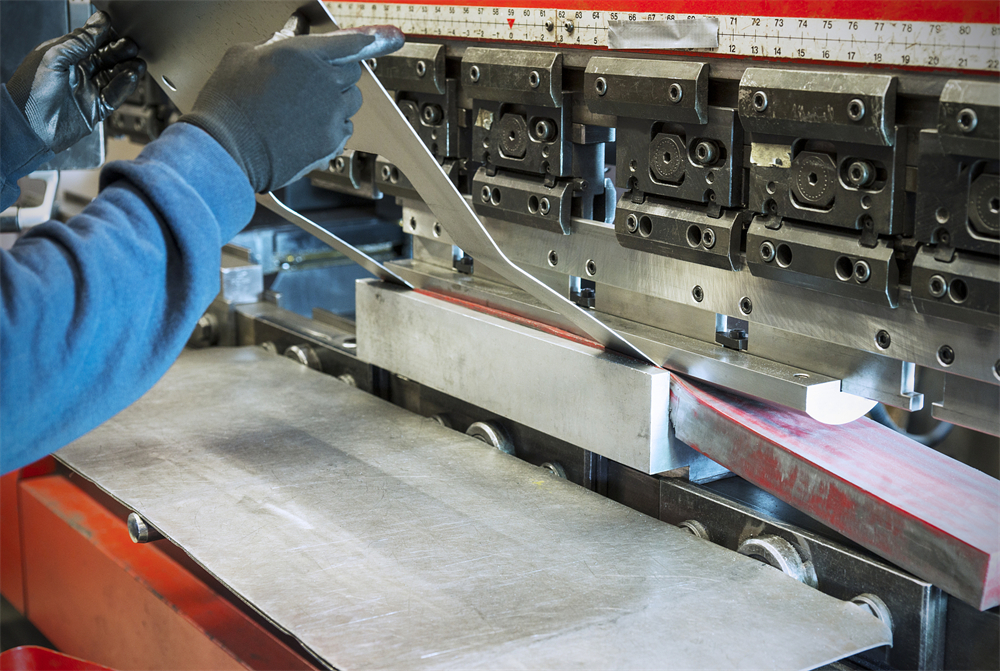
Inspect the linear guide rails for pitting or uneven wear. If the backgauge moves smoothly in the center but binds at the far ends of the X-axis, the rails may be misaligned or the frame of the machine may have shifted. Use a dial indicator to check the parallelism of the gauge bar relative to the bed of the press brake. If the bar is not parallel, your bends will be tapered, even if the CNC thinks the position is correct.
Electrical and Control System Diagnosis
If the mechanics are sound, the error is likely electronic. Modern HARSLE press brakes use AC servo motors with high-resolution encoders. The encoder tells the CNC exactly where the motor is. If the encoder is failing or if there is electrical noise in the signal cable, the controller may receive ‘ghost’ readings. Look for error codes on your CNC screen, such as ‘Following Error,’ ‘Encoder Communication Error,’ or ‘Drive Fault.’
Check the cables for any signs of pinching or fraying. Because the backgauge moves constantly, the cables are subject to repetitive flexing. A broken wire inside the cable carrier can cause intermittent errors that are notoriously difficult to find. Ensure that the grounding of the machine is solid; electrical interference from nearby welding equipment can sometimes ‘confuse’ the sensitive electronics of the backgauge controller.
The Homing and Calibration Process
Every time a press brake is powered on, it must perform a ‘homing’ sequence. The backgauge moves to a physical limit switch or a reference mark on the encoder to establish its ‘zero’ point. If the limit switch is dirty or loose, the zero point will be inconsistent. To restore accurate positioning, you must perform a manual calibration. This involves moving the backgauge to a known position (e.g., 100mm), measuring the actual distance from the center of the die with a caliper or master block, and then updating the ‘offset’ parameter in the CNC software to match the physical reality.
Selection Advice: Upgrading or Replacing Backgauge Systems
Sometimes, a backgauge is so worn or outdated that repair is no longer cost-effective. When looking to diagnose press brake backgauge errors and restore accurate positioning through replacement or upgrading to a new HARSLE machine, consider the following selection criteria:
- Number of Axes: A basic X-axis (in/out) is sufficient for simple boxes, but complex parts require R (up/down), Z1/Z2 (left/right), and potentially X1/X2 for tapered bends. Choosing a 4-axis or 6-axis backgauge significantly reduces setup time.
- Drive System: Look for high-precision ball screws and linear guides from reputable brands. The quality of these components determines the longevity of the machine’s accuracy.
- Speed and Acceleration: In high-volume production, the speed at which the backgauge repositions can be the bottleneck. HARSLE machines are designed with high-speed servos to minimize ‘wait time’ between bends.
- Finger Design: Ensure the backgauge fingers are robust and have multiple contact points. Some fingers are designed with ‘flip-up’ capabilities to prevent interference with the workpiece during the bending cycle.
- Software Integration: The CNC controller should offer an intuitive interface for calibrating the backgauge. Features like ‘graphic 2D/3D programming’ allow the operator to see potential collisions before they happen, protecting the backgauge from mechanical damage.
When selecting a new machine, prioritize the rigidity of the backgauge frame. A flimsy backgauge will vibrate when the sheet is pushed against it, leading to inconsistent dimensions. HARSLE utilizes heavy-duty aluminum extrusions or steel frames for their backgauge assemblies to ensure maximum stability under industrial loads.
Frequently Asked Questions (FAQ)
Why does my backgauge position drift throughout the day?
This is most commonly caused by thermal expansion. As the machine runs, the ball screws heat up and expand. It can also be caused by a loose coupling on the servo motor shaft that is slowly slipping. Ensure your shop temperature is regulated and check all mechanical fasteners for tightness.
How do I know if the error is mechanical or electrical?
A mechanical error usually produces physical symptoms like noise, vibration, or visible play. An electrical error usually results in a CNC alarm or a backgauge that ‘jumps’ or refuses to move despite the motor humming. If the backgauge moves to the wrong spot but stays there consistently, it is likely a calibration (software) issue.
What is ‘Backlash’ and how do I fix it?
Backlash is the ‘dead space’ in a screw mechanism where the motor turns but the gauge doesn’t move. While high-quality ball screws minimize this, some backlash is inevitable over time. Most CNC controllers have a ‘Backlash Compensation’ parameter where you can enter the measured play, and the software will automatically compensate for it during movement.
How often should I calibrate my backgauge?
For high-precision work, a quick check at the start of every shift is recommended. A full calibration using master blocks should be performed monthly or whenever the tooling is changed significantly. Always recalibrate after any mechanical maintenance or if the machine has been moved.
Can I add more axes to my existing backgauge?
In many cases, yes, but it requires a CNC controller that supports additional axes and the physical mounting space on the backgauge beam. It is often more economical to purchase a machine with the required axes pre-installed, such as the multi-axis configurations offered by HARSLE.
Conclusion: Maintaining Long-Term Accuracy
Learning how to diagnose press brake backgauge errors and restore accurate positioning is an investment in your shop’s productivity. A well-maintained backgauge doesn’t just produce better parts; it reduces stress on the operator and extends the lifespan of the entire press brake. By following a systematic approach—checking the environment, inspecting mechanical components, verifying electrical signals, and performing regular calibrations—you can ensure that your HARSLE equipment remains a precision instrument for years to come.
Remember that precision is a habit, not a one-time event. Regular cleaning, proper lubrication, and attentive operation are the best defenses against backgauge errors. When errors do occur, don’t ignore them. Small deviations are often the early warning signs of mechanical wear that, if addressed early, can be fixed with a simple adjustment rather than an expensive component replacement. Stay proactive, keep your sensors clean, and always trust your measurements. With these practices, your press brake will continue to be the cornerstone of your fabrication success.












