
How to Fix Laser Cutting Machine Misalignment for Better Accuracy: A Comprehensive HARSLE Guide


Introduction to Laser Cutting Precision
In the high-stakes world of metal fabrication, precision is the difference between a profitable production run and a pile of scrap metal. For operators using advanced HARSLE laser cutting systems, the beam’s path is the heart of the operation. When that path deviates even by a fraction of a millimeter, the result is poor edge quality, inconsistent kerf widths, and dimensional inaccuracies that can compromise the integrity of the final product. Understanding how to fix laser cutting machine misalignment for better accuracy is not just a maintenance task; it is a critical skill for maximizing the ROI of your industrial machinery.
Misalignment often occurs gradually due to thermal expansion, mechanical vibrations, or simple wear and tear on the gantry and optical components. Whether you are working with fiber lasers or CO2 systems, the optical train—consisting of the resonator, bending mirrors, and the focus lens—must remain perfectly centered. This guide provides a deep dive into the diagnostic and corrective procedures required to restore your machine to factory-level performance.
Achieving consistent results requires a disciplined approach to maintenance. By identifying the root causes of beam drift, operators can implement preventative measures that extend the lifespan of consumables and improve overall throughput. In this article, we will explore the technical nuances of beam alignment, the tools required for the job, and the best practices for maintaining long-term accuracy in your fabrication facility.
Key Considerations for Laser Beam Integrity
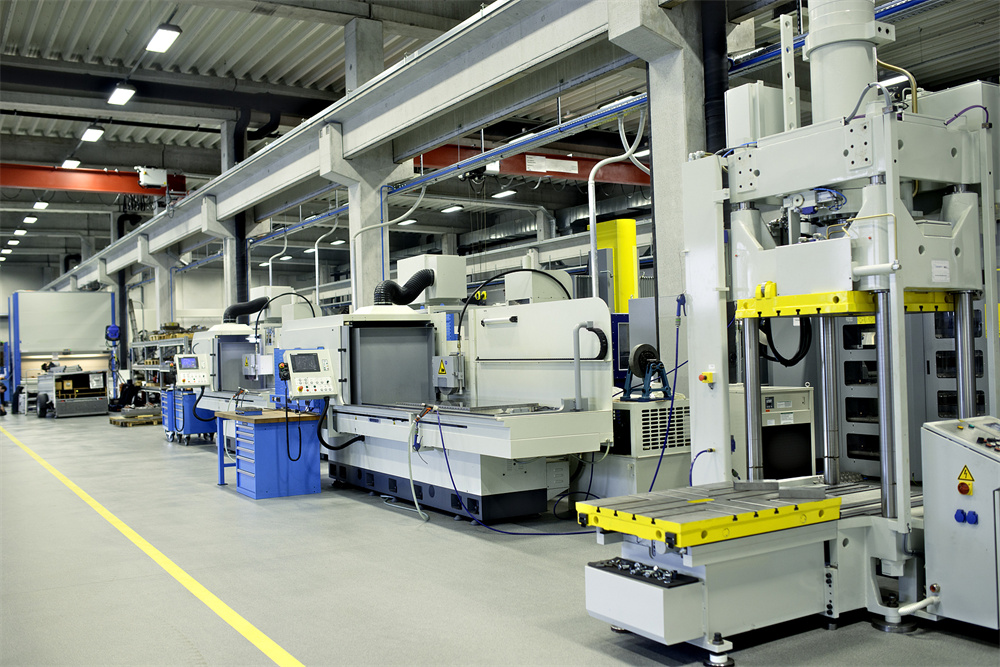
Before diving into the mechanical adjustments, it is essential to understand the environmental and operational factors that influence beam stability. The environment of a metal fabrication shop is inherently harsh, characterized by temperature fluctuations, dust, and vibration. These elements can cause the optical mounts to shift over time, leading to the need for recalibration. A stable foundation is the first step in ensuring that your laser cutting machine operates within its specified tolerances.
Thermal stability is perhaps the most overlooked factor in laser alignment. As the machine warms up, the frame and the optical housing expand. If the machine is not allowed to reach a thermal equilibrium before calibration, the alignment performed in the morning may be invalid by the afternoon. Always ensure the machine has been running for at least 30 to 60 minutes before attempting any fine-tuning of the beam path.
Vibration from nearby heavy machinery, such as press brakes or shearing machines, can also contribute to the loosening of mirror mounts. Regularly inspecting the hardware that secures your optics is a simple yet effective way to prevent misalignment. Furthermore, the quality of the assist gas and the cleanliness of the protective cover glass play a role in how the beam interacts with the material. If the beam is not centered through the nozzle, the resulting turbulence can cause the beam to deflect, mimicking the symptoms of mechanical misalignment.
Finally, consider the role of the software and the CNC controller. Sometimes, what appears to be a mechanical misalignment is actually a calibration error in the machine’s coordinate system. Before adjusting physical mirrors, verify that your machine’s home position and axis offsets are correctly configured in the HARSLE control interface. This systematic approach saves time and prevents unnecessary adjustments to the optical train.
Technical Details: The Step-by-Step Alignment Process
To fix laser cutting machine misalignment for better accuracy, you must follow a methodical process. The goal is to ensure the beam is perfectly centered through every aperture and mirror in the system. Start by using thermal paper or a specialized beam alignment tool to check the beam’s position at the first mirror, then the second, and finally at the nozzle. If the beam is hitting the edge of an aperture, it will cause heating and potential damage to the optical components.
The first step is to check the beam at the resonator exit. If the beam is not centered here, the issue lies within the laser source itself, which may require professional service. Once the resonator output is confirmed, move to the first bending mirror. Use a piece of thermal paper to mark the beam’s impact point. If the mark is not centered, adjust the mirror mount screws until the beam hits the center of the target. Repeat this process for all subsequent mirrors, working your way toward the cutting head.
When you reach the focus lens, extreme caution is required. The lens must be clean and perfectly centered within the nozzle assembly. If the beam is off-center as it passes through the nozzle, it will create an uneven kerf and potentially damage the nozzle tip. Use a centering tool or a piece of masking tape over the nozzle tip to fire a low-power pulse. The resulting hole should be perfectly centered. If it is not, adjust the nozzle centering screws until the pulse is dead-center.
After making adjustments, always perform a test cut on a scrap piece of material. Check the edge quality and the perpendicularity of the cut. If the cut is tapered or shows excessive slag on one side, it indicates that the beam is still not perfectly perpendicular to the material surface. Fine-tune the head tilt if your machine supports it, or re-verify the mirror alignment if the issue persists. Documenting these adjustments in a maintenance log is vital for tracking the machine’s performance over time.
Selection Advice: Choosing the Right Equipment for Maintenance
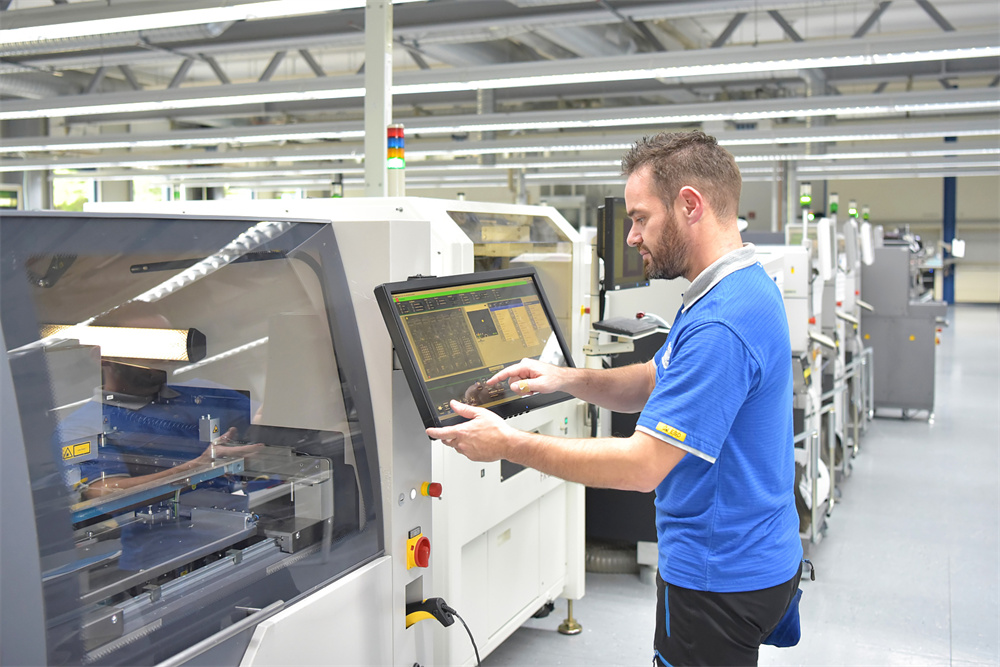
When selecting tools for laser maintenance, quality is paramount. You should invest in high-grade alignment targets, digital calipers, and precision levels. For HARSLE laser cutting machines, using the manufacturer-recommended alignment kits ensures that you are working with tools designed for the specific geometry of your system. Avoid using improvised tools, as they can lead to inaccurate measurements and potential damage to the delicate optical coatings.
Consider the importance of an optical cleaning kit. Many alignment issues are actually caused by debris on the lenses rather than mechanical shifts. A high-quality lens cleaning solution, lint-free wipes, and an air blower should be part of your daily maintenance routine. By keeping the optics clean, you reduce the heat absorption that causes thermal drift, thereby maintaining alignment for longer periods.
If your facility handles a high volume of production, consider investing in an automated beam alignment system if your machine supports it. These systems use sensors to detect beam drift and can provide real-time feedback to the operator. While the initial investment is higher, the reduction in downtime and the improvement in part consistency often pay for the system within the first year of operation.
Finally, when purchasing replacement parts, always opt for OEM-certified components. Third-party mirrors or lenses may have different focal lengths or coating specifications that can disrupt the beam path and make alignment nearly impossible. Maintaining the integrity of the optical train starts with using parts that are engineered to work in harmony with your HARSLE laser cutting machine.
Frequently Asked Questions (FAQ)
- How often should I check the alignment of my laser cutting machine?
For heavy-duty industrial use, we recommend a weekly check of the beam centering and a full alignment calibration every three months or after any major maintenance. - Why is my laser cut tapered on one side?
Tapered cuts are often a sign that the laser beam is not perpendicular to the material surface. Check the nozzle centering and ensure the cutting head is perfectly square to the table. - Can dust affect laser alignment?
Yes, dust particles can scatter the laser beam and cause localized heating on optical surfaces, which leads to thermal expansion and misalignment. Keep your machine environment clean. - What is the best way to clean laser optics?
Use only manufacturer-approved cleaning solutions and lint-free wipes. Gently wipe in a circular motion and never touch the optical surface with your bare fingers, as oils can cause permanent damage. - Does HARSLE provide training for laser maintenance?
Yes, HARSLE offers comprehensive training programs for operators and maintenance staff to ensure they can handle routine alignment and troubleshooting effectively.
Conclusion: Sustaining Long-Term Accuracy
Mastering how to fix laser cutting machine misalignment for better accuracy is a journey of continuous improvement. By understanding the mechanical, thermal, and optical variables at play, you can transform your HARSLE laser cutting machine from a standard tool into a high-precision instrument. Remember that alignment is not a one-time fix but a core component of your preventative maintenance strategy.
Consistency in your fabrication process leads to higher customer satisfaction, reduced material waste, and a more efficient workflow. Whether you are cutting thin-gauge sheet metal or thick structural plates, the principles of beam alignment remain the same. Stay diligent, keep your optics clean, and never hesitate to consult your HARSLE service documentation when in doubt.
By prioritizing these maintenance practices, you ensure that your investment in metal fabrication equipment continues to yield high-quality parts for years to come. The precision of your output is a direct reflection of the care you put into your machinery. Keep your beam centered, your optics clean, and your production line moving with the confidence that your HARSLE machine is operating at its peak potential.












