
Comprehensive Guide: How to Troubleshoot Press Brake Servo and CNC Axis Faults


Introduction to CNC Press Brake Axis Systems
In the modern metal fabrication landscape, the precision of a CNC press brake is its most defining characteristic. At the heart of this precision lies the complex interplay between the CNC controller, servo drives, and the mechanical axes. When a machine fails to reach its programmed position or throws a cryptic error code, production grinds to a halt. Understanding how to troubleshoot press brake servo CNC axis faults is not just a maintenance skill; it is a vital operational necessity for any high-output shop. HARSLE machines are engineered for durability, but like all high-precision industrial equipment, they require systematic diagnosis when electronic or mechanical discrepancies arise.
A CNC press brake typically operates multiple axes, including the primary Y1 and Y2 axes for ram movement, and various backgauge axes such as X (depth), R (height), and Z1/Z2 (lateral movement). Each of these axes is controlled by a closed-loop servo system. This means the CNC controller sends a command, the servo drive executes it via the motor, and an encoder or linear scale provides feedback to ensure the command was executed perfectly. When this loop is broken, a fault occurs. This guide will delve deep into the technical nuances of these systems, providing a roadmap for technicians to identify, isolate, and resolve axis-related issues effectively.
Key Considerations Before Troubleshooting
Before diving into the electrical cabinets or dismantling the backgauge, safety and preparation are paramount. Industrial machinery carries significant risks from high-voltage electricity and high-pressure hydraulics. Always implement Lockout/Tagout (LOTO) procedures when performing physical inspections. Furthermore, ensure you have the machine’s electrical schematics and the specific manual for the CNC controller (such as Delem, Cybelec, or ESA) and the servo drives (such as Yaskawa, Delta, or Estun) used in your HARSLE machine.
Environmental factors often play a hidden role in axis faults. Excessive heat in the electrical cabinet can cause servo drives to trip on thermal overload. Similarly, metallic dust from the fabrication floor can infiltrate connectors, causing intermittent communication errors. Before assuming a component has failed, verify that the shop environment is within the machine’s operating specifications. Check for stable incoming power; voltage fluctuations are a leading cause of “undervoltage” or “overvoltage” faults in sensitive servo electronics.
Another critical consideration is the distinction between a mechanical bind and an electrical failure. A servo motor might trip because it is physically unable to move the axis due to a lack of lubrication or a crashed backgauge. Always attempt to manually rotate the lead screw (if safe and possible) to feel for resistance. If the axis moves freely by hand but the motor stalls, the issue is likely electrical or electronic. If the axis is jammed, the problem is mechanical.
Technical Details: Understanding the Axis Architecture
The Y1 and Y2 Axes: Ram Synchronization
The Y1 and Y2 axes control the left and right cylinders of the ram, respectively. Unlike the backgauge axes, these are often controlled through a combination of hydraulic valves and linear scales. The CNC controller monitors the position of each side via high-precision linear encoders. If the deviation between Y1 and Y2 exceeds a pre-set parameter (often as small as 0.01mm), the machine will trigger a “Sync Error” and stop to prevent damage to the frame or the tooling. Troubleshooting these axes involves checking the cleanliness of the linear scales and ensuring the proportional valves are receiving the correct voltage signals.
The Backgauge Axes (X, R, Z)
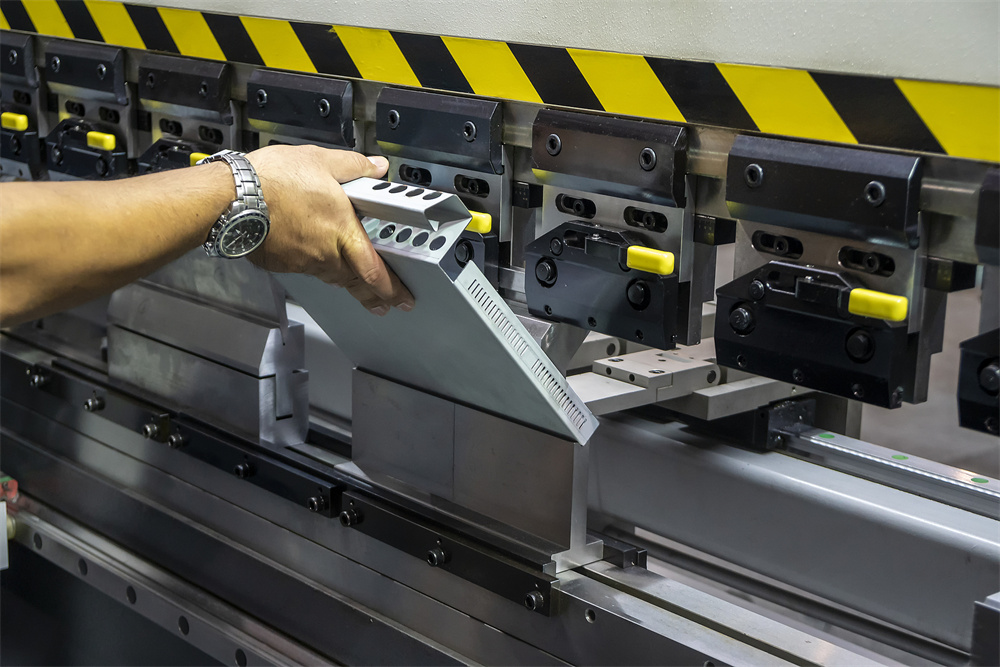
The backgauge axes are typically driven by AC servo motors connected to ball screws via timing belts or direct couplings. The X-axis is the most frequently moved component, making it susceptible to wear. The R-axis (vertical) often carries the weight of the gauge fingers, requiring a brake on the servo motor to prevent it from dropping when power is lost. Faults here often manifest as “Positioning Deviation” or “Overload.” These are frequently caused by debris on the guide rails or a loose timing belt that causes the encoder to lose track of the actual physical position.
Feedback Loops and Encoders
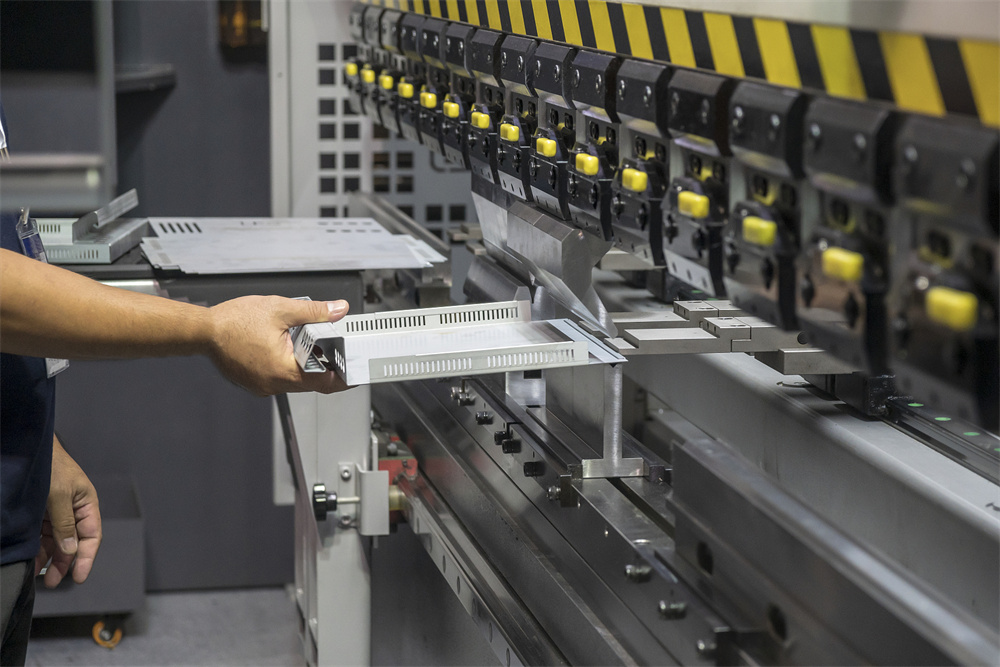
The servo system relies on feedback. Most HARSLE machines use absolute or incremental encoders built into the motor, or external linear scales. If the feedback signal is noisy or interrupted, the drive will lose control. Common causes include damaged encoder cables (often due to constant flexing in cable tracks) or electromagnetic interference (EMI) from poorly grounded components. Ensuring that all shielded cables are properly grounded is a fundamental step in resolving intermittent axis “ghost” faults.
Step-by-Step Troubleshooting for Common Faults
1. Diagnosing “Servo Alarm” Errors
When the CNC screen displays a generic “Servo Alarm,” the first step is to look at the digital display on the servo drive itself inside the electrical cabinet. The drive will show a specific code (e.g., AL-01, E-07). Cross-reference this code with the drive manufacturer’s manual. Common codes include:
- Overcurrent: Often indicates a short circuit in the motor windings or a seized mechanical axis.
- Overvoltage: Usually occurs during rapid deceleration; check the regenerative resistor.
- Encoder Error: Check the cable connections between the motor and the drive.
2. Resolving Positioning Deviation
If the machine reaches the target but the actual bend is incorrect, or if the controller shows a “Positioning Error,” check the mechanical coupling. A loose set screw on a coupling can cause the motor to turn while the ball screw remains stationary or slips. Additionally, check the “Gain” settings in the CNC parameters. If the gain is too low, the axis will be sluggish; if too high, it will vibrate or overshoot. However, parameters should only be adjusted by experienced technicians as they are factory-set for optimal performance.
3. Handling Communication Faults (EtherCAT/CANopen)
Modern HARSLE press brakes often use bus communication like EtherCAT to link the controller to the drives. If an entire bank of axes goes offline, the issue is likely the communication cable or the master controller. Inspect the RJ45 or specialized bus connectors for signs of vibration-induced loosening. A single faulty cable in a daisy-chain configuration can bring down all subsequent axes in the line.
Selection Advice: Choosing a Reliable CNC System
When purchasing a new press brake, the quality of the servo and CNC system is the most important factor for long-term reliability. HARSLE prioritizes world-class components to minimize the need for troubleshooting. Here is what to look for in a high-quality system:
| Component | Preferred Specification | Why It Matters |
|---|---|---|
| CNC Controller | Delem DA-66T / ESA S640 | User-friendly interface and robust diagnostic tools. |
| Servo Drives | Yaskawa or Estun High-Bus | High response speed and excellent heat dissipation. |
| Linear Scales | Givi Misure or Heidenhain | High resolution (0.001mm) and resistance to oil/dust. |
| Electrical Components | Schneider or Siemens | Global availability for easy replacement and reliability. |
Beyond components, consider the machine’s frame rigidity. A frame that flexes excessively can cause the Y1 and Y2 axes to work harder to maintain synchronization, leading to premature wear on the hydraulic seals and servo valves. HARSLE utilizes finite element analysis (FEA) to ensure that the mechanical structure complements the electronic precision, reducing the frequency of axis faults caused by structural instability.
Maintenance Strategies to Prevent Axis Faults
Proactive maintenance is the best way to avoid having to troubleshoot press brake servo CNC axis faults during a rush job. Establish a weekly, monthly, and semi-annual checklist. Weekly, ensure that the backgauge rails and ball screws are wiped clean and lightly lubricated. Dust buildup acts as an abrasive, wearing down the precision ground surfaces and increasing the load on the servo motors.
Monthly, inspect the cooling fans in the electrical cabinet. If a fan fails, the servo drives will overheat, leading to intermittent shutdowns that are notoriously difficult to diagnose. Also, check the tension of the timing belts on the X and R axes. A belt that is too loose will cause backlash, while a belt that is too tight will put excessive radial load on the motor bearings, leading to premature failure.
Semi-annually, perform a full calibration check. Use a dial indicator to verify that the physical movement of the backgauge matches the CNC display. If there is a discrepancy, it may be necessary to adjust the reference point (homing) parameters in the CNC. Check all electrical terminals for tightness; thermal cycling can cause screw terminals to loosen over time, leading to arcing or signal loss.
Frequently Asked Questions (FAQ)
Why does my press brake show a Y-axis synchronization error?
A synchronization error occurs when the Y1 and Y2 axes are not at the same height within the allowed tolerance. This is usually caused by air in the hydraulic lines, a faulty proportional valve, or a dirty linear scale that is providing incorrect position data to the controller.
Can I swap servo drives to test for a fault?
Yes, if the axes use identical drive models, you can swap them to see if the fault follows the drive or stays with the motor/cable. However, ensure you backup the drive parameters first, as each drive is tuned for its specific axis (e.g., the X-axis drive will have different settings than the R-axis drive).
What causes a “Soft Limit” error on the CNC?
A soft limit error is a software-defined boundary. It means the CNC is preventing the axis from moving further to avoid a mechanical crash. This often happens if the workpiece dimensions are entered incorrectly or if the machine’s reference point has shifted and needs to be re-homed.
How often should I calibrate the backgauge?
For high-precision work, a quick check should be done weekly. A formal calibration using precision blocks or a laser interferometer should be performed every six months or after any mechanical collision (crash).
Why is my servo motor making a high-pitched squealing noise?
This is usually “servo hum” caused by high gain settings in the PID loop, causing the motor to vibrate at a high frequency as it tries to hold position. It can also indicate a failing bearing or a mechanical resonance issue in the machine frame.
Conclusion
Troubleshooting press brake servo and CNC axis faults requires a blend of mechanical intuition and electronic diagnostic skill. By understanding the closed-loop nature of these systems and systematically checking the controller, drive, motor, and feedback components, most issues can be resolved with minimal downtime. HARSLE continues to lead the industry by providing machines that are not only high-performing but also designed with serviceability in mind. Regular maintenance, a clean operating environment, and an adherence to safety protocols will ensure your press brake remains a precise and productive asset for years to come. When in doubt, always consult with factory-trained technicians to ensure your machine is calibrated to its original specifications.