
Troubleshooting Punching Machine Burrs on Sheet Metal: What to Check First


Introduction to Punching Machine Burrs
In the precision-driven world of metal fabrication, achieving a clean, burr-free edge is the hallmark of quality. When operating a high-performance punching machine, the sudden appearance of burrs on your sheet metal components can disrupt production schedules, increase secondary processing costs, and compromise the integrity of the final product. Troubleshooting punching machine burrs on sheet metal: check first—this is the mantra every operator and maintenance technician must adopt to minimize downtime.
Burrs are essentially small, raised edges or rough areas remaining on the metal after the punching process. While some minor burring is inevitable as tooling wears, excessive burrs indicate a mechanical or setup issue that requires immediate attention. At HARSLE, we emphasize that understanding the root cause of these defects is the first step toward maintaining high-efficiency production lines. Whether you are using a mechanical punching press or a sophisticated CNC turret punch, the principles of edge quality remain consistent.
This comprehensive guide is designed to walk you through the systematic process of identifying why your machine is producing burrs. By focusing on the most critical variables—tooling condition, clearance, and material properties—you can quickly diagnose and rectify the issue. We will explore the technical nuances of punch and die interaction, the importance of lubrication, and the maintenance schedules that keep your HARSLE equipment running at peak performance.
As you navigate this guide, remember that troubleshooting is a process of elimination. By checking the most common culprits first, you save valuable time and prevent unnecessary wear on your machine components. Let’s dive into the technical details that will help you master your punching operations and ensure every part meets the highest industry standards.
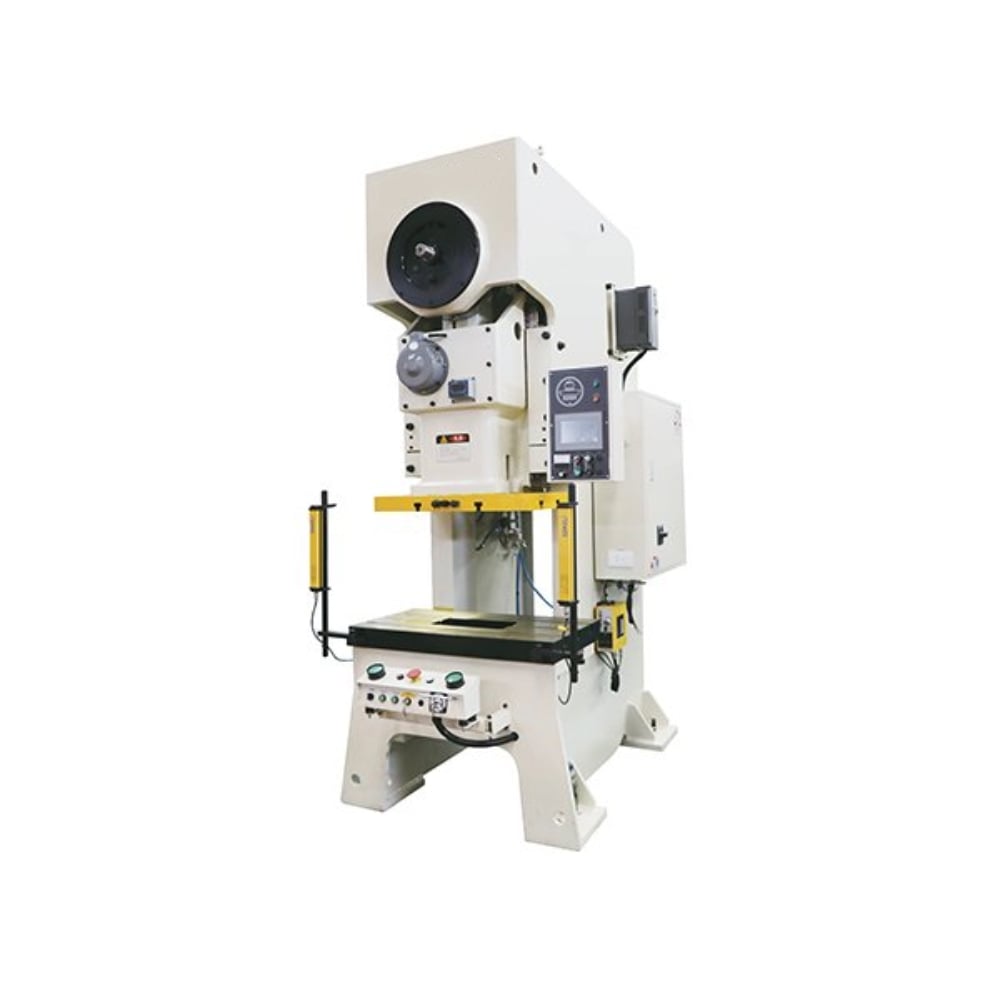
Key Considerations: The Anatomy of a Burr
Before diving into the mechanical adjustments, it is vital to understand what a burr actually represents in the context of metal shearing. A burr is formed when the material is not cleanly severed by the punch and die. Instead of a clean fracture, the material is dragged or deformed, leaving a jagged edge. When troubleshooting punching machine burrs on sheet metal, check first for the clearance between the punch and the die, as this is the most frequent offender.
Clearance refers to the gap between the punch and the die opening. If this gap is too large, the material is pulled into the die rather than sheared, resulting in a large, rolled burr. Conversely, if the clearance is too tight, the punch may rub against the die, causing excessive heat, rapid tool wear, and secondary burring due to the breakdown of the tool edge. Achieving the ‘sweet spot’ for clearance is dependent on the material thickness and type.
Material properties play a significant role in burr formation. Harder materials, such as stainless steel, require different clearance settings compared to softer materials like aluminum or mild steel. If you have recently switched materials without adjusting your tooling parameters, you are likely to encounter burring issues. Always verify that your punch and die set is rated for the specific tensile strength of the material you are currently processing.
Finally, consider the condition of the material surface. If the sheet metal is coated, oily, or contains debris, the friction levels during the punching stroke can change significantly. Clean, well-lubricated material allows for a smoother shearing action. If you notice burrs appearing inconsistently across a sheet, check for surface contaminants or variations in material thickness that might be causing the punch to deflect or the material to shift during the cycle.
Technical Details: Tooling and Alignment
The health of your tooling is the backbone of your punching operation. When troubleshooting punching machine burrs on sheet metal, check first the sharpness of your punch and die. A dull tool loses its ability to create a clean fracture, forcing the machine to exert more pressure to push through the material. This extra force causes the material to stretch and deform, leading to the formation of burrs.
Regular sharpening cycles are non-negotiable. As a rule of thumb, if you notice the punching force increasing or the sound of the machine changing during the stroke, it is time to inspect the edges of your punch. Using a magnifying glass or a digital microscope, examine the cutting edge for signs of chipping or rounding. Even a microscopic amount of wear can lead to significant burring on the underside of the sheet.
Alignment is another critical technical factor. If the punch is not perfectly centered within the die, the clearance will be uneven around the perimeter of the hole. This uneven clearance causes the punch to ‘pinch’ the material on one side while leaving a large gap on the other. This results in a lopsided burr that is difficult to remove and indicates a potential issue with the machine’s ram alignment or the tool holder’s integrity.
To check for alignment, perform a test punch on a thin piece of scrap material and examine the ‘slug’ or the hole. If the slug is distorted or the hole has an irregular shape, your alignment is likely compromised. HARSLE machines are designed with high-precision guides, but over time, vibration or accidental collisions can shift these components. Always ensure that your tool holders are clean and that the punch is seated correctly in the turret or holder assembly.
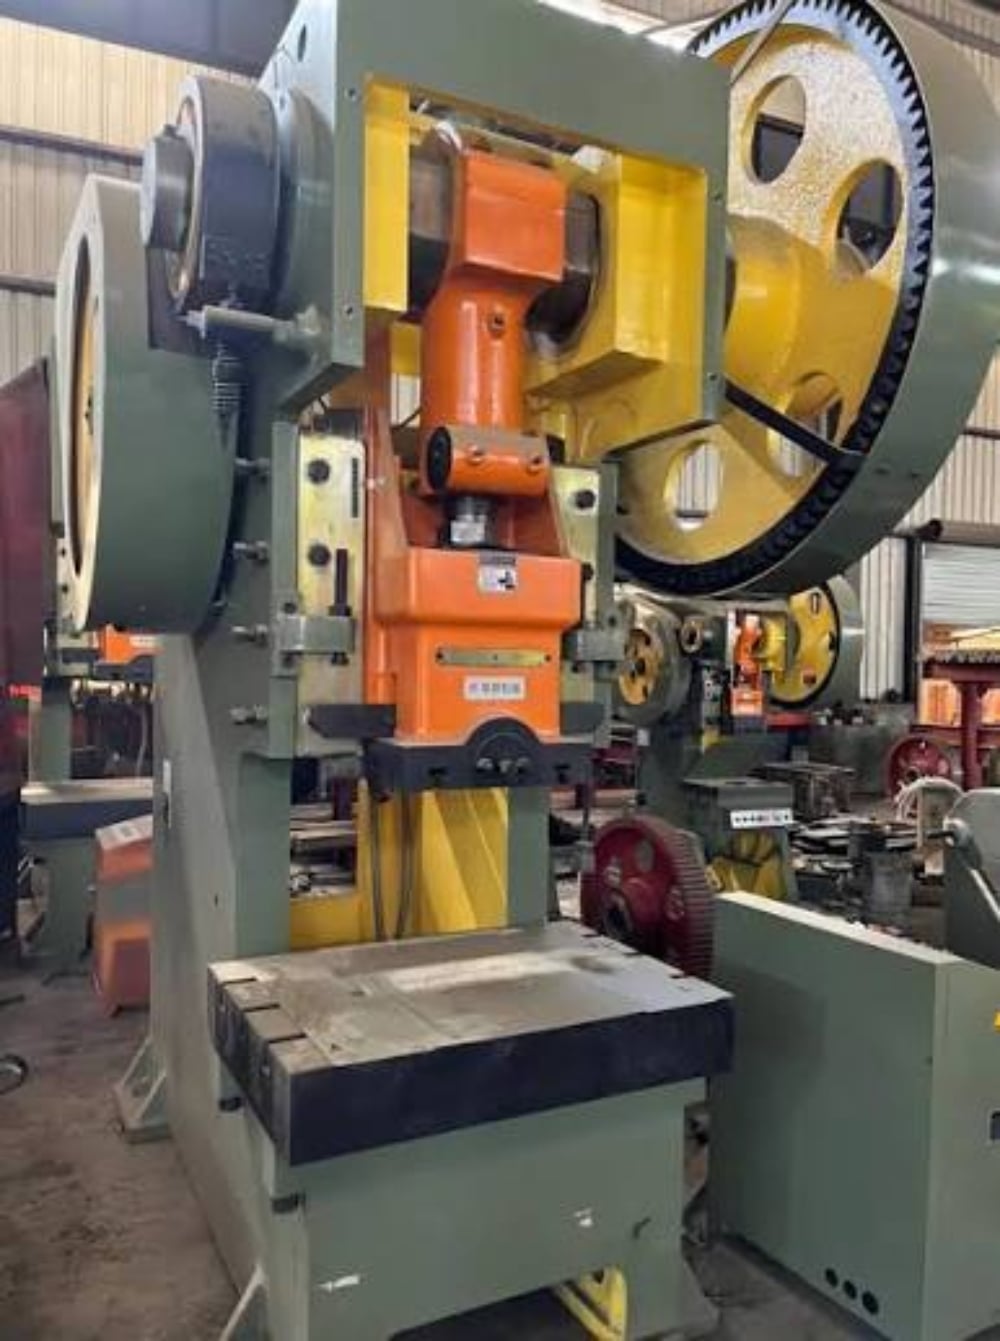
Selection Advice: Choosing the Right Tooling for Your HARSLE Machine
Selecting the right tooling is not just about the shape of the hole; it is about matching the tool geometry to the material and the machine’s capabilities. When you are in the process of troubleshooting punching machine burrs on sheet metal, check first if the tool geometry is appropriate for your application. For example, using a flat-faced punch on thick material can cause excessive shock and burring, whereas a shear-angle punch can distribute the cutting force more effectively.
Consider the coating of your tools. Titanium Nitride (TiN) or other specialized coatings can significantly reduce friction and heat buildup during the punching process. By reducing friction, these coatings prevent the material from ‘galling’ or sticking to the punch, which is a common cause of burrs in high-speed production environments. Investing in high-quality, coated tooling is a proactive step in preventing burr formation.
When buying replacement tooling, always consult the manufacturer’s specifications for your specific HARSLE model. Using generic or poorly manufactured tooling can lead to inconsistent clearances and premature machine wear. Look for suppliers that provide detailed technical data regarding the recommended clearance for various material thicknesses. This data is invaluable when setting up your machine for a new job.
Finally, think about the long-term maintenance of your tool inventory. A well-organized tool room where punches and dies are stored in protective cases and labeled by size and material compatibility will save you hours of troubleshooting. If you find that burrs are a recurring problem, consider implementing a ‘tool life tracking’ system. By knowing exactly how many hits each tool has performed, you can schedule sharpening before the burrs become a production issue.
FAQ: Common Troubleshooting Questions
- Q: How often should I sharpen my punch and die?
A: There is no fixed number, as it depends on material thickness and type. However, if you notice an increase in punching force or visible burrs, it is time to sharpen. - Q: Can lubrication help reduce burrs?
A: Yes, proper lubrication reduces friction between the punch and the material, which helps in achieving a cleaner shear and extends tool life. - Q: Why do I only get burrs on one side of the hole?
A: This is a classic sign of misalignment. Check the punch-to-die clearance and ensure the punch is properly centered. - Q: Does material thickness affect burr size?
A: Absolutely. Thicker materials require more precise clearance settings. If the clearance is too large for the thickness, the material will be pulled into the die, creating a large burr. - Q: What is the first thing I should check when burrs appear?
A: Always check the sharpness of the punch and die, followed by the clearance settings. These two factors account for the vast majority of burring issues.
Conclusion: Maintaining Excellence in Fabrication
Troubleshooting punching machine burrs on sheet metal is a skill that combines technical knowledge with a disciplined approach to maintenance. By following the steps outlined in this guide—checking tool sharpness, verifying clearance, ensuring proper alignment, and selecting the right tooling—you can effectively eliminate burrs and maintain the high quality your customers expect. Remember, the goal is to move from reactive troubleshooting to proactive maintenance.
At HARSLE, we are committed to providing not only the best industrial machinery but also the knowledge to keep it operating at peak efficiency. Your punching machine is a precision instrument; treat it with the care it deserves, and it will reward you with years of reliable, high-quality production. If you continue to experience issues after performing these checks, do not hesitate to contact our technical support team for further assistance.
Consistency is the key to success in metal fabrication. By standardizing your setup procedures and keeping a close eye on your tooling condition, you can minimize the variables that lead to defects. Use this guide as a reference in your shop, and share these best practices with your team to ensure that everyone is aligned on the importance of quality control. With the right approach, burr-free punching is not just a goal—it is a standard part of your daily operation.