
Press Brake Safety Light Curtain Faults: Troubleshooting and Reset Tips


Introduction to Press Brake Safety Light Curtain Faults
In the modern metal fabrication industry, safety is not merely a regulatory requirement; it is the cornerstone of operational efficiency. Among the various safety mechanisms integrated into high-performance machinery, the safety light curtain stands out as a critical component for protecting operators from the high-tonnage forces of a press brake. However, like any sophisticated electronic component, these systems can encounter issues. Understanding Press Brake Safety Light Curtain Faults: Troubleshooting Reset Tips is essential for any shop manager or operator looking to minimize downtime while maintaining a rigorous safety standard.
A safety light curtain works by creating a sensing screen of infrared beams. If any beam is interrupted, the system sends a stop signal to the machine’s control circuit, instantly halting the ram’s movement. While this is vital for preventing accidents, false triggers or system failures can lead to frustrating production delays. This guide aims to provide a deep dive into the technical nuances of these systems, specifically focusing on how to identify faults and implement effective reset procedures for HARSLE and other industrial press brakes.
When a light curtain fails, the press brake usually enters a ‘safe state,’ meaning it will not cycle. This can be caused by anything from a simple misalignment to complex internal circuit failures. By mastering the troubleshooting process, maintenance teams can quickly distinguish between a minor environmental interference and a hardware failure that requires replacement parts. In the following sections, we will explore the key considerations, technical specifications, and practical steps to keep your safety systems functioning at peak performance.
Key Considerations for Safety Light Curtain Reliability
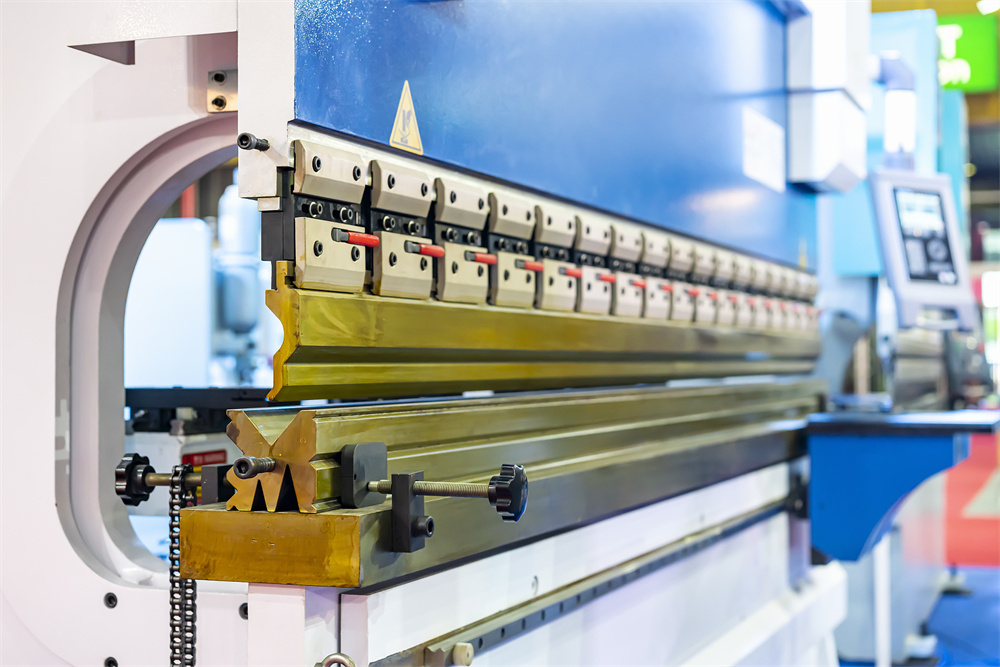
Before diving into specific troubleshooting steps, it is important to understand the factors that influence the reliability of a light curtain. The environment of a metal fabrication shop is often harsh, characterized by metallic dust, vibrations, and fluctuating electrical loads. These factors can significantly impact the performance of optical sensors. One of the primary considerations is the ‘Safety Integrity Level’ (SIL) or ‘Performance Level’ (PL) of the device. Most modern press brakes utilize Type 4 light curtains, which offer the highest level of fault tolerance and self-checking capabilities.
Another key consideration is the physical installation. Light curtains must be mounted at a specific ‘safety distance’ from the point of operation. This distance is calculated based on the machine’s overall stopping time. If the light curtain is moved or the machine’s braking system degrades, the safety distance may no longer be sufficient, leading to potential hazards even if the light curtain itself is functioning correctly. Regular audits of this distance are a vital part of a comprehensive maintenance strategy.
Environmental factors such as ambient light interference can also cause intermittent faults. While most high-quality light curtains, like those used on HARSLE machines, are designed to filter out sunlight or welding flashes, extreme conditions can still trigger false stops. Furthermore, the accumulation of oil mist or fine dust on the optical lenses can attenuate the infrared signal, leading to ‘weak signal’ errors. Establishing a routine cleaning schedule is the simplest yet most effective way to prevent these common Press Brake Safety Light Curtain Faults.
Finally, the integration between the light curtain and the CNC controller must be seamless. Modern CNC systems monitor the status of the safety circuit in real-time. If there is a communication lag or a mismatch in the expected logic states, the controller will throw an error code. Understanding these codes is the first step in the troubleshooting process, as they often point directly to the source of the problem, whether it be a synchronization issue or a physical beam obstruction.
Technical Details: How Light Curtains Interface with Press Brakes
To effectively troubleshoot Press Brake Safety Light Curtain Faults: Troubleshooting Reset Tips, one must understand the technical architecture of the system. A standard safety light curtain consists of a transmitter (emitter) and a receiver. The transmitter sends out pulses of infrared light that are sequentially scanned. The receiver is programmed to recognize only the specific pulse pattern from its corresponding transmitter, which prevents interference from other nearby light curtains.
The output of the receiver is typically connected to a Safety Relay or a Safety PLC. These devices use ‘Output Signal Switching Devices’ (OSSDs). OSSDs are designed to detect short circuits to the power supply, to ground, or between the two outputs. This ‘self-monitoring’ capability is what makes the system ‘fail-safe.’ If a wire is cut or a component fails internally, the OSSD outputs will turn off, and the press brake will stop. This is a critical distinction from standard industrial sensors which might fail in the ‘on’ position.
Advanced features like ‘Muting’ and ‘Blanking’ add layers of complexity to the technical setup. Muting allows the safety function to be temporarily suspended during the non-hazardous part of the machine cycle (e.g., the upstroke). Blanking allows certain beams to be ignored so that a workpiece or a conveyor can pass through the sensing field without stopping the machine. Faults often occur when these functions are misconfigured or when the sensors used to trigger the muting sequence become misaligned.
Common Error Indicators and Their Meanings
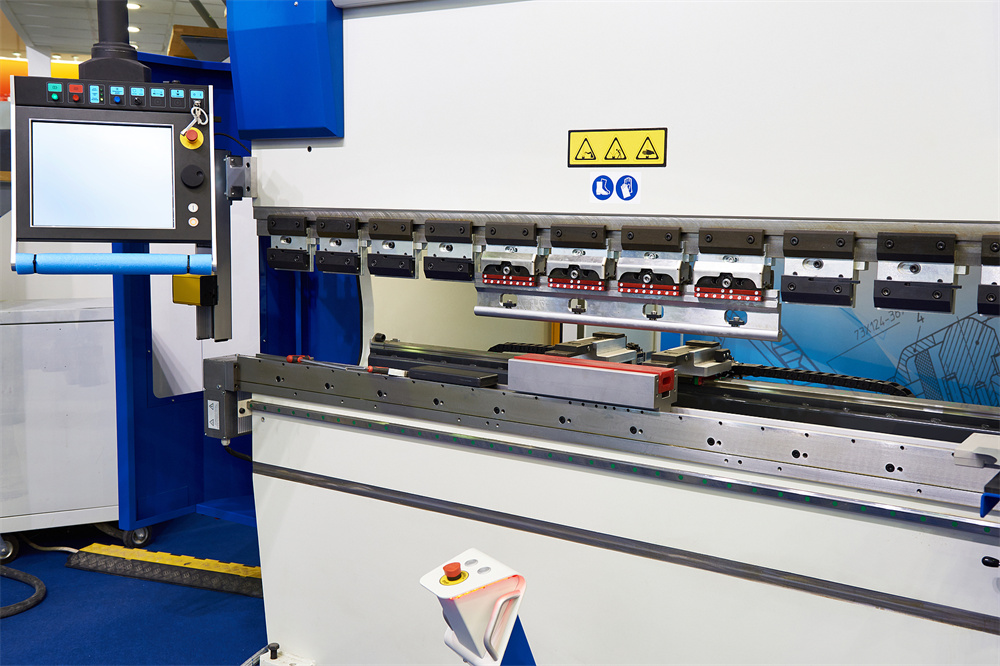
Most light curtains feature a series of LED indicators on both the transmitter and receiver units. These LEDs are the primary diagnostic tool for operators. A solid green light usually indicates that all beams are clear and the system is operational. A solid red light indicates that one or more beams are blocked or that the system has detected a fault. However, the flashing patterns are where the real diagnostic information lies.
For instance, a specific number of red flashes might indicate an ‘Alignment Fault.’ This means the receiver is not seeing enough light from the transmitter to guarantee a reliable safety field. Another pattern might indicate an ‘External Device Monitoring (EDM) Fault,’ suggesting that the safety relay or the machine’s main contactors are not responding correctly to the light curtain’s signals. Referencing the manufacturer’s manual for these specific flash codes is the most efficient way to begin the troubleshooting process.
Troubleshooting and Reset Tips: A Step-by-Step Guide
When faced with Press Brake Safety Light Curtain Faults: Troubleshooting Reset Tips, follow this systematic approach to identify and resolve the issue. Before performing any maintenance, ensure the machine is in a safe state and follow all lockout/tagout procedures if you are opening electrical cabinets.
Step 1: Visual Inspection and Cleaning
The most common cause of light curtain failure is physical obstruction or dirt. Start by cleaning the lenses of both the transmitter and receiver with a soft, lint-free cloth and a non-abrasive cleaner. Check for any physical damage to the housing or the cables. Even a small dent in the mounting bracket can throw the beams out of alignment. Ensure that no tools, workpieces, or scrap metal are protruding into the sensing field.
Step 2: Alignment Verification
If the system indicates an alignment fault, you must realign the units. Most modern systems have an ‘Alignment Mode’ where the LEDs change color or frequency as the alignment improves. Loosen the mounting brackets slightly and slowly rotate or tilt the units until the ‘All Clear’ signal is achieved. It is important to check alignment at both the top and bottom of the curtain, as a slight tilt can cause the beams to miss the receiver at the far end.
Step 3: Checking the Power Supply
Light curtains require a stable 24V DC power supply. Use a multimeter to check the voltage at the transmitter and receiver. If the voltage drops below 19V or exceeds 29V, the units may enter a fault state. Check for loose wiring in the junction boxes or the main electrical cabinet. Vibration from the press brake can sometimes loosen screw terminals over time, leading to intermittent power loss.
Step 4: Resetting the System
Once the physical cause of the fault has been addressed, the system usually requires a manual reset. This is a safety requirement to ensure that an operator has consciously verified the area is clear. The reset is typically performed via a push-button on the control panel. If the system does not reset, check the reset circuit itself. A faulty reset button or a broken wire in the reset loop will prevent the light curtain from returning to a green state.
Step 5: Advanced Diagnostics (OSSD and EDM)
If the light curtain shows a green light but the press brake still won’t move, the problem likely lies in the interface. Check the OSSD outputs. If the light curtain is clear, both OSSD1 and OSSD2 should be at 24V. If one is missing, the safety relay will prevent the machine from starting. Additionally, check the EDM (External Device Monitoring) signal. This signal tells the light curtain that the machine’s contactors have actually opened. If a contactor is stuck, the light curtain will detect the mismatch and lock out the system.
Selection Advice: Choosing the Right Safety System
When purchasing a new press brake or retrofitting an older model, selecting the right light curtain is paramount. For HARSLE machines, we recommend systems that offer integrated diagnostic displays. These displays provide clear text descriptions of faults rather than cryptic flash codes, significantly reducing troubleshooting time. Furthermore, consider the ‘Resolution’ of the light curtain. For finger protection, a resolution of 14mm is required, while hand protection typically requires 30mm.
Another factor is the ‘Operating Range.’ Ensure the light curtain can span the entire length of your press brake bed with sufficient signal strength to spare. For very long machines, you may need high-power models to overcome the natural attenuation of the infrared signal over distance. Also, look for units with robust IP65 or IP67 ratings to protect against the ingress of dust and moisture, which are common in metalworking environments.
Finally, consider the ease of integration. Systems that support industrial communication protocols like IO-Link can provide detailed telemetry to your CNC controller, allowing for predictive maintenance. For example, the system can alert you when the signal strength is dropping due to dust buildup *before* it causes a machine stoppage. This proactive approach is the hallmark of a modern, efficient fabrication shop.
Frequently Asked Questions (FAQ)
1. Why does my light curtain trip when there is nothing in the way?
This is often caused by ‘Optical Crosstalk’ from another light curtain nearby or by reflections from shiny surfaces like stainless steel workpieces or polished machine parts. Adjusting the scanning angle or using ‘Code Settings’ (if available) to differentiate between adjacent units can solve this. Also, check for heavy vibration which might be momentarily misaligning the beams.
2. Can I bypass the light curtain for a specific job?
Bypassing a safety device is a serious violation of safety standards and can lead to severe injury. Instead of bypassing, use the ‘Muting’ or ‘Blanking’ functions provided by the manufacturer. These functions are designed to allow specific production needs while maintaining a high level of safety. Always ensure these functions are set up by a qualified technician.
3. How often should I test the light curtain?
A ‘Trip Test’ should be performed at the start of every shift. This involves using a test piece (usually a rod of a specific diameter) to interrupt the beams at various points along the curtain to ensure the machine stops immediately. This simple daily check ensures that the internal logic and the machine’s braking system are both functioning correctly.
4. What is the difference between a Type 2 and a Type 4 light curtain?
Type 4 light curtains have higher levels of redundancy and continuous self-checking. They are required for high-risk applications like press brakes. Type 2 curtains are less expensive but only perform a self-check at power-up or periodically, making them unsuitable for the primary point-of-operation protection on a press brake.
5. My light curtain has a ‘Lockout’ state. What does this mean?
A lockout state is a severe fault where the light curtain determines it can no longer operate safely. This usually requires a power cycle (turning the machine off and on) to clear, but only after the underlying hardware issue (like a short circuit or internal component failure) has been repaired.
Conclusion: Maintaining a Culture of Safety and Efficiency
Mastering Press Brake Safety Light Curtain Faults: Troubleshooting Reset Tips is more than just a technical skill; it is a commitment to the well-being of your workforce and the longevity of your equipment. While faults can be frustrating, they are a sign that the safety system is doing its job—preventing the machine from operating in an unsafe condition. By following a systematic troubleshooting approach—cleaning, aligning, checking power, and verifying the interface—most issues can be resolved quickly.
At HARSLE, we emphasize that a well-maintained machine is a safe machine. Regular training for operators on how to interpret light curtain signals and perform basic resets can prevent minor issues from escalating into major downtime. As technology continues to evolve, staying informed about the latest safety standards and diagnostic tools will ensure that your metal fabrication operations remain both productive and accident-free. Remember, the goal is not just to reset the fault, but to understand why it occurred and prevent its recurrence through proactive maintenance and proper operation.


