
Punching Machine Die Clearance Explained for Clean Cuts and Lower Tool Wear


Technical Overview: The Mechanics of Die Clearance
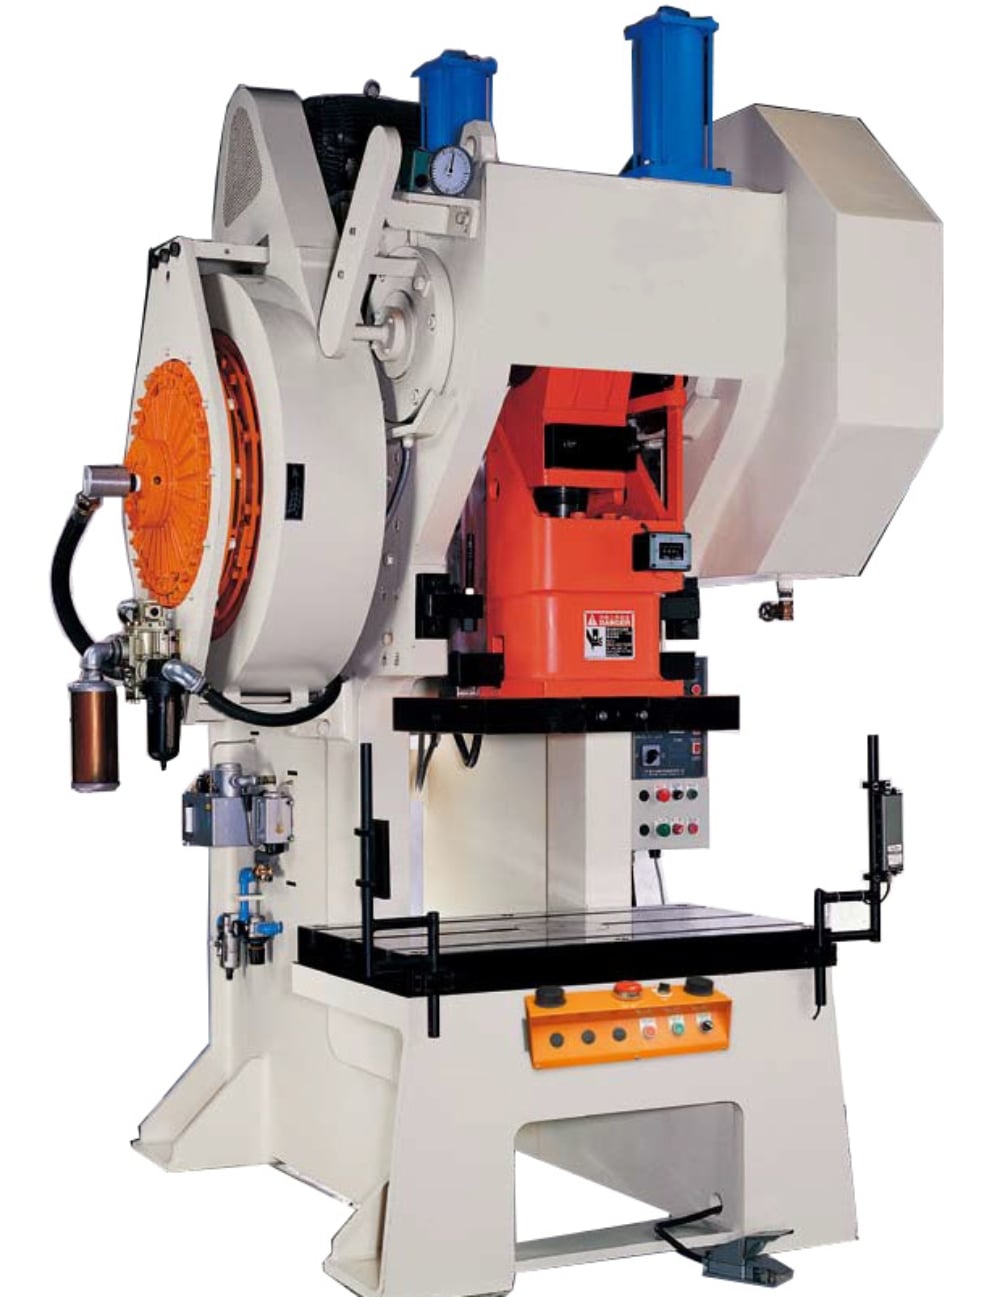
In the realm of precision metal fabrication, the term ‘die clearance’ refers to the intentional gap between the punch and the die opening. While it might seem like a minor adjustment, it is arguably the most critical factor in determining the quality of a punched hole and the longevity of the tooling. When a HARSLE punching machine engages a workpiece, the process isn’t just a simple ‘cut’; it is a complex sequence of elastic deformation, plastic flow, and eventual fracture. Understanding this sequence is the first step toward achieving clean cuts and lower tool wear.
The punching process begins as the punch makes contact with the material. Initially, the material undergoes elastic deformation, followed by plastic deformation where the metal begins to flow into the die. As the punch penetrates deeper, fractures initiate from both the cutting edge of the punch and the cutting edge of the die. In an ideal scenario—facilitated by perfect die clearance—these two fracture lines meet precisely. When they meet, the slug is released cleanly, leaving a hole with a smooth ‘shiny band’ and a consistent fracture zone. If the clearance is incorrect, these fractures do not align, leading to secondary shearing, excessive burrs, and increased pressure on the machine components.
For operators using high-performance HARSLE equipment, maintaining the correct clearance ensures that the machine operates within its designed tonnage limits. Improper clearance forces the machine to work harder, which can lead to hydraulic overheating, frame stress, and premature failure of the punch guide assemblies. By optimizing this single parameter, fabricators can significantly reduce their cost-per-hole and improve the aesthetic quality of their finished products.
Core Parameters Influencing Die Clearance
Several variables dictate the required die clearance for any given job. The most prominent is material thickness. As a general rule, thicker materials require larger clearances to allow the fracture lines to travel further through the cross-section of the metal. However, thickness is not the only factor; the mechanical properties of the material, such as tensile strength and ductility, play a vital role. For instance, stainless steel, which is significantly harder and more work-hardening than mild steel, requires a different clearance profile to prevent the punch from ‘galling’ or sticking.
Another core parameter is the ‘Total Clearance’ versus ‘Clearance Per Side.’ In the industry, clearance is almost always discussed as ‘Total Clearance,’ which is the difference between the diameter of the die and the diameter of the punch. If you are punching a 10mm hole in a 2mm sheet, and your total clearance is 20%, the die diameter would be 10.4mm. Understanding this distinction is vital for programming CNC punching machines and ordering replacement tooling from HARSLE. Miscalculating this by half (confusing total for per-side) can result in catastrophic tool failure or immediate machine jamming.
Furthermore, the type of punching operation—whether it is high-speed nibbling, heavy-duty piercing, or forming—will influence the clearance choice. High-speed operations generate significant heat; therefore, a slightly larger clearance might be employed to facilitate better heat dissipation and lubrication flow. Conversely, for high-precision electronic components where edge squareness is paramount, a tighter clearance might be tolerated at the expense of more frequent tool sharpening.
Calculation Method for Optimal Clearance
Calculating the correct die clearance is a blend of science and empirical data. The standard formula used by HARSLE engineers and industry professionals is based on a percentage of the material thickness (T). The general formula is: Clearance = Material Thickness × Percentage Factor. The percentage factor varies based on the material type and the desired edge quality.
- Mild Steel (Cold Rolled): Typically requires a total clearance of 15% to 20% of the material thickness. For a 3mm sheet, the clearance would be 0.45mm to 0.60mm.
- Stainless Steel: Due to its high tensile strength and tendency to work-harden, it requires a larger clearance, usually between 20% and 25%. This prevents the punch from becoming trapped in the material.
- Aluminum (Soft Alloys): Aluminum is more ductile and prone to ‘slug pulling.’ A tighter clearance of 10% to 15% is often recommended to ensure the fracture occurs quickly and cleanly.
- High-Tensile Materials: For specialized alloys, clearances can go as high as 30% to ensure the fracture lines meet without causing excessive shock to the punching machine’s hydraulic system.
It is important to note that these percentages are for ‘Total Clearance.’ If your tooling software asks for ‘Clearance Per Side,’ you must divide these values by two. Using the correct calculation method not only ensures clean cuts but also minimizes the ‘snap-through’ shock. Snap-through occurs when the material finally fractures; if the clearance is too tight, the energy buildup is immense, causing a loud bang and sending vibrations through the machine frame, which accelerates wear on the HARSLE punch drive.
Parameter Table: Die Clearance Reference
The following table provides a quick reference for total die clearance based on common material thicknesses and types. These values are optimized for HARSLE punching machines to balance edge quality with tool longevity.
| Material Thickness (mm) | Mild Steel (20%) | Stainless Steel (25%) | Aluminum (12%) | Copper/Brass (15%) |
|---|---|---|---|---|
| 1.0 mm | 0.20 mm | 0.25 mm | 0.12 mm | 0.15 mm |
| 1.5 mm | 0.30 mm | 0.38 mm | 0.18 mm | 0.23 mm |
| 2.0 mm | 0.40 mm | 0.50 mm | 0.24 mm | 0.30 mm |
| 3.0 mm | 0.60 mm | 0.75 mm | 0.36 mm | 0.45 mm |
| 4.0 mm | 0.80 mm | 1.00 mm | 0.48 mm | 0.60 mm |
| 6.0 mm | 1.20 mm | 1.50 mm | 0.72 mm | 0.90 mm |
Note: These are recommended starting points. Depending on the specific grade of the alloy (e.g., 304 vs 316 stainless), minor adjustments of +/- 2% may be required to achieve the perfect balance between a clean burnish and a minimal burr.
Common Engineering Mistakes in Die Clearance Selection
One of the most frequent mistakes in metal fabrication is using a “one-size-fits-all” die for various material thicknesses. Operators often try to punch 1mm and 3mm mild steel using the same die to save setup time. This is a recipe for disaster. When the clearance is too tight for the material (e.g., using a 1mm-optimized die for 3mm plate), the fracture lines do not meet. This creates a secondary shear, which looks like a double-stepped edge on the hole. This process requires significantly more tonnage, leading to rapid dulling of the punch and potential cracking of the die.
Conversely, excessive clearance is equally problematic. When the gap is too wide, the material is drawn into the die rather than being sheared. This results in a large, heavy burr on the bottom of the workpiece and a significant ‘roll-over’ at the top of the hole. Not only does this look unprofessional, but it also necessitates a secondary deburring process, increasing labor costs. Furthermore, excessive clearance increases the likelihood of ‘slug pulling,’ where the waste material sticks to the punch and is pulled back up out of the die, potentially damaging the next part or the tool itself.
Another common error is ignoring the condition of the tool edges. Even with the perfect clearance, a dull punch will act as if the clearance is too tight, while a dull die will act as if the clearance is too loose. Regular maintenance and sharpening of HARSLE tools are essential. When tools are sharpened, the clearance remains the same, but the ability of the tool to initiate the fracture is restored. Failure to account for the ‘shear angle’ on large punches can also lead to miscalculations in tonnage and clearance requirements, especially in heavy-duty applications.
Selection Checklist for Punching Machine Operators
To ensure consistent quality and protect your HARSLE punching machine, follow this checklist before starting any new production run:
- Verify Material Specifications: Confirm the exact thickness and type of material. Use a micrometer if necessary, as ‘nominal’ thicknesses can vary.
- Calculate Total Clearance: Use the percentage formula (e.g., 20% for mild steel) to determine the required total gap.
- Inspect Punch and Die Condition: Check for chips, galling, or dullness. A sharp tool is required for the clearance to work effectively.
- Check Tool Alignment: Ensure the punch and die are perfectly centered. Even the correct clearance won’t help if the punch is hitting one side of the die.
- Lubrication: Apply appropriate punching oil or lubricant. This reduces friction in the burnish zone and helps the slug eject cleanly.
- Test Punch: Perform a sample punch on scrap material. Inspect the hole for the ‘shiny band’ (should be about 1/3 of the thickness) and the fracture zone.
- Monitor Tonnage: If your HARSLE machine has a tonnage monitor, ensure the pressure is within the expected range for that material and clearance.
- Slug Inspection: Look at the slug. It should be relatively flat with a clean shear. A cup-shaped slug indicates the clearance is too wide.
Frequently Asked Questions (FAQ)
What happens if I use a die clearance that is too small?
Using a clearance that is too small (tight) causes the fracture lines from the punch and die to miss each other. This results in ‘secondary shearing,’ which requires more force and generates excessive heat. You will notice the punch dulling very quickly, and the machine will experience higher stress levels, potentially leading to hydraulic or mechanical failure over time.
How does die clearance affect ‘slug pulling’?
Slug pulling often occurs when the clearance is too large or when there is a vacuum created between the punch and the slug. A tighter clearance can sometimes help by creating a cleaner break, but usually, slug pulling is solved by using ‘slug-hugger’ dies or urethane-tipped punches. However, maintaining the correct clearance is the first step in preventing the slug from becoming deformed and wedged.
Can I use the same clearance for Aluminum and Stainless Steel?
No. Aluminum is soft and gummy, requiring a tighter clearance (around 10-12%) to prevent the edges from rolling over. Stainless steel is hard and work-hardens, requiring a much larger clearance (20-25%) to allow the fracture to occur without the punch getting stuck in the material. Using aluminum clearance on stainless steel will likely break the punch.
Does the shape of the hole affect the clearance?
Generally, the clearance percentage remains the same regardless of the shape (round, square, or oblong). However, for sharp corners on square or rectangular punches, the stress concentration is higher. In these cases, ensuring the clearance is uniform around the entire perimeter is vital to prevent the corners of the punch from chipping.
How often should I check my die clearance?
Clearance should be checked every time you change material thickness or type. Even if you are running the same material, it is good practice to inspect the quality of the cut every few hundred hits to ensure that tool wear hasn’t effectively changed the performance of the clearance.
Why does HARSLE recommend specific clearances for their machines?
HARSLE machines are engineered for high precision and durability. The recommended clearances are designed to optimize the machine’s hydraulic efficiency and protect the high-precision guiding systems. Following these guidelines ensures that you get the maximum ROI from your equipment and maintain the manufacturer’s warranty standards.












