
Punching Machine Die Damage: Root Causes and Practical Repair Steps


Introduction to Punching Machine Die Longevity
In the high-stakes world of metal fabrication, the punching machine serves as the backbone of production efficiency. However, even the most robust HARSLE punching machine is only as effective as the tooling it employs. Punching machine die damage: root causes and practical repair steps represent a critical knowledge base for any shop floor manager or maintenance technician. When dies fail prematurely, it leads to costly downtime, inconsistent part quality, and significant financial losses.
Understanding the lifecycle of a die is not merely about reactive maintenance; it is about proactive engineering. Dies are subjected to immense compressive forces, lateral stresses, and frictional heat during every stroke. Over time, these factors contribute to wear, chipping, and catastrophic failure. By mastering the root causes of these issues, operators can extend the lifespan of their tooling significantly.
This guide explores the technical nuances of die degradation. We will examine why dies fail, how to diagnose the early warning signs, and the practical steps required to restore them to peak operational condition. Whether you are operating a turret punch or a single-station hydraulic press, the principles of tool care remain universal.
At HARSLE, we believe that equipment longevity is built on a foundation of education. By integrating these maintenance practices into your daily workflow, you ensure that your metal fabrication equipment remains a reliable asset for years to come. Let us delve into the mechanics of die health and the strategies that keep your production line moving.
Key Considerations: Identifying the Root Causes of Die Damage
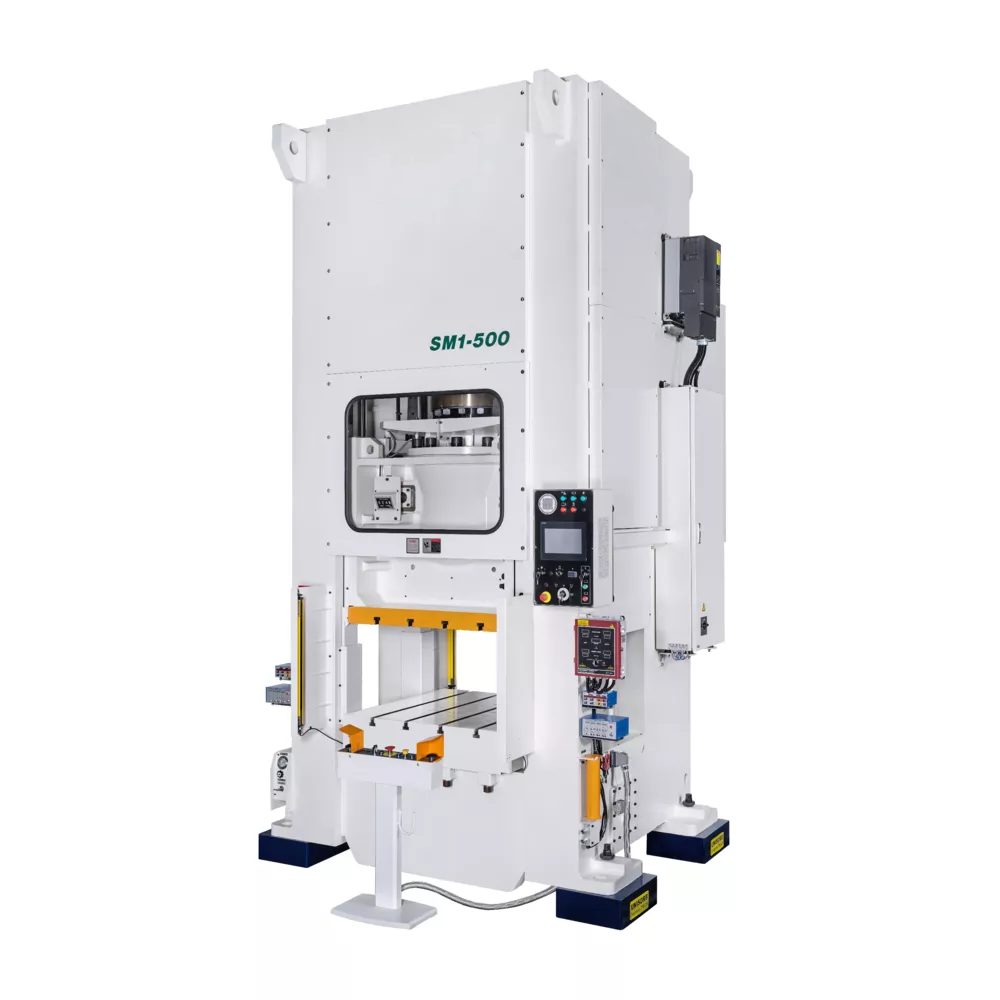
The first step in addressing punching machine die damage: root causes and practical repair steps is identifying the ‘why’ behind the failure. Most die damage is not an accident; it is the result of cumulative stress or improper setup. One of the most common culprits is incorrect clearance. If the gap between the punch and the die is too tight, the material is sheared rather than punched, leading to excessive heat and rapid edge dulling.
Material thickness and hardness also play a pivotal role. Attempting to punch high-tensile steel with tooling designed for mild steel will inevitably lead to chipping or deformation. Operators must always verify that the material specifications match the tooling capabilities. Furthermore, improper lubrication is a frequent oversight. Without adequate lubrication, the friction between the punch and the workpiece increases, causing galling—a process where material from the workpiece welds itself to the punch surface.
Alignment issues are another major contributor to premature wear. If the punch is not perfectly centered within the die, the tool will experience uneven loading. This lateral force can cause the punch to deflect, leading to contact with the die wall. Over time, this ‘nibbling’ of the die edge ruins the cutting geometry and necessitates expensive regrinding or total replacement.
Finally, we must consider the impact of machine vibration and clamping issues. If the workpiece is not securely clamped, it may shift during the punching cycle. This movement creates unpredictable forces on the die, often resulting in sudden, catastrophic fractures. Regular inspection of the clamping system and the machine’s structural integrity is essential to prevent these avoidable failures.
Technical Details: The Mechanics of Die Wear and Failure
To effectively manage punching machine die damage: root causes and practical repair steps, one must understand the metallurgical changes occurring at the cutting edge. As a punch enters the material, it undergoes a cycle of elastic deformation, plastic deformation, and finally, fracture. If the tool material is not properly heat-treated or if the coating is compromised, the cutting edge will begin to round off, increasing the force required to punch the hole.
Galling, as mentioned previously, is a chemical-mechanical failure. When the punch surface reaches high temperatures, the protective oxide layer breaks down, allowing the workpiece material to bond with the tool steel. Once this bond is formed, the next stroke will pull the bonded material away, taking microscopic pieces of the tool steel with it. This creates a rough surface that accelerates further galling, eventually leading to a complete tool failure.
Chipping is another common technical failure, often caused by shock loading. This occurs when the punch hits the material at an angle or when the punch is not fully retracted before the workpiece moves. The brittle nature of high-speed steel or carbide tooling makes them susceptible to these sudden impacts. Understanding the fracture toughness of your specific tooling material is vital for setting appropriate machine parameters.
Thermal fatigue is a silent killer of dies. In high-speed punching operations, the rapid cycling between high heat (during the punch) and cooling (during the return stroke) creates internal stresses within the metal. Over thousands of cycles, these stresses manifest as micro-cracks. If left unmonitored, these micro-cracks propagate until the die suffers a structural failure, often resulting in a shattered tool that can damage the machine’s turret or ram.
Practical Repair Steps: Restoring Die Functionality
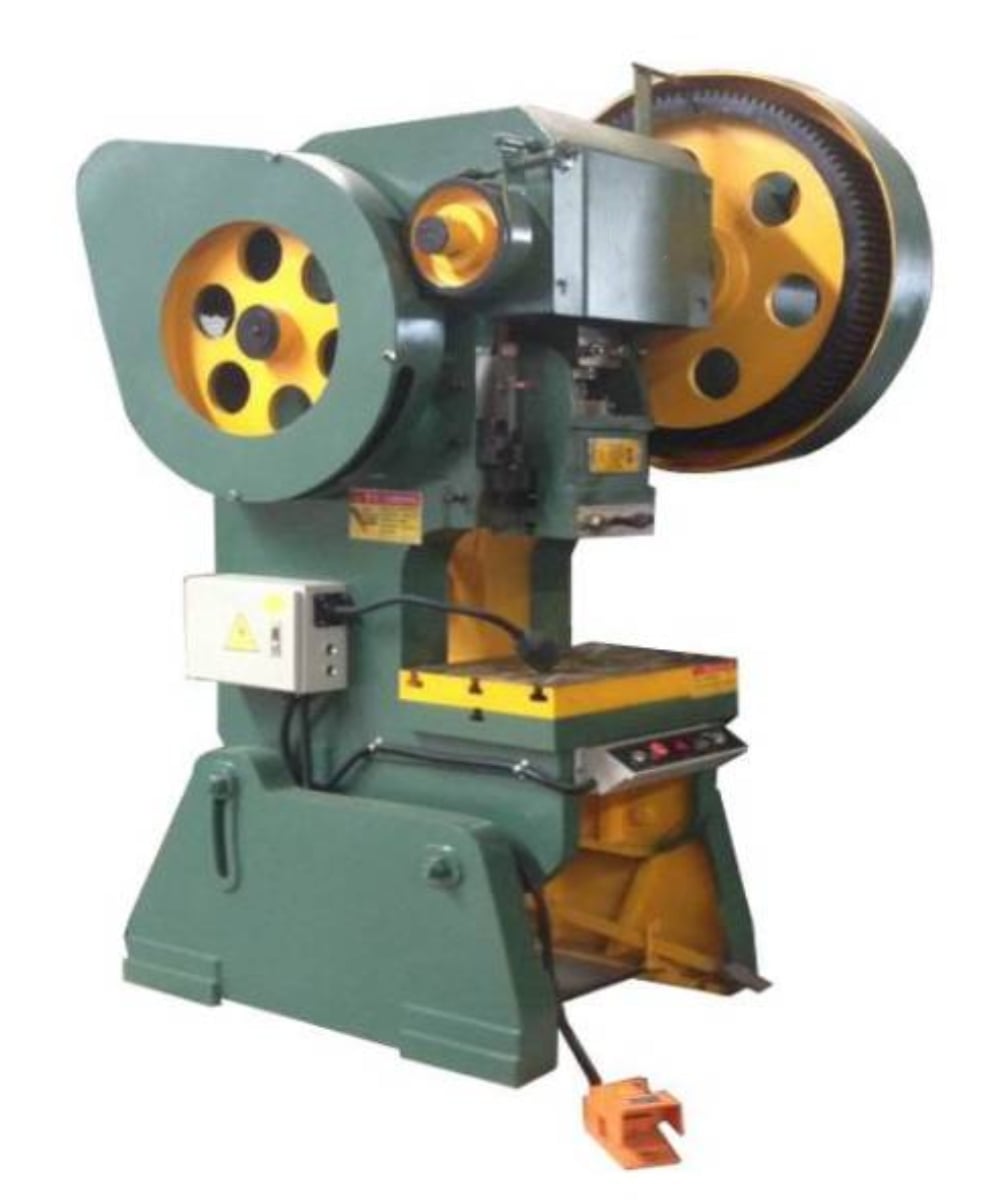
When damage is identified, immediate action is required to prevent further degradation. The first practical step in the repair process is a thorough cleaning and inspection. Use a magnifying glass or a digital microscope to assess the extent of the wear. If the damage is limited to minor dulling, a simple regrinding process may be sufficient. Ensure that the grinding wheel is dressed properly and that coolant is used to prevent overheating the tool steel, which could ruin its temper.
For galling, the repair process involves removing the bonded material without altering the tool’s dimensions. Fine-grit abrasive stones or specialized chemical cleaners can be used to gently remove the buildup. Never use a file or coarse grinding wheel, as this will remove too much material and destroy the clearance tolerances. Once the surface is clean, it should be polished to a mirror finish to reduce friction for future operations.
If the die has suffered from chipping, the repair becomes more complex. The damaged area must be ground down until the chip is completely removed. This effectively changes the height of the die, which may require the use of shims to maintain the correct shut height of the punching machine. Always document the amount of material removed so that the machine’s stroke depth can be adjusted accordingly.
In cases of severe structural damage or cracks, repair is often not feasible or safe. Attempting to weld or re-harden a cracked die is rarely successful and poses a significant safety risk to the operator. In these instances, the only practical step is replacement. Maintaining a inventory of spare tooling for high-usage applications is a best practice that minimizes downtime and ensures that your HARSLE equipment remains productive.
Selection Advice: Choosing the Right Tooling for Your HARSLE Machine
Selecting the correct tooling is the most effective way to avoid the need for frequent repairs. When choosing dies, consider the material type, thickness, and the complexity of the shape. For abrasive materials like stainless steel, consider using powder metallurgy steels or specialized coatings like Titanium Nitride (TiN) or Titanium Carbonitride (TiCN). These coatings provide a hard, low-friction surface that significantly resists galling and wear.
The clearance between the punch and die is another critical selection factor. A general rule of thumb is 10% to 15% of the material thickness per side, but this can vary based on the material’s ductility. Always consult the HARSLE technical manual or your tooling supplier’s recommendations for the specific material you are processing. Using the wrong clearance is the fastest way to damage a new set of tools.
Consider the design of the die itself. For complex shapes, a sectional die design may be preferable. Sectional dies allow for the replacement of individual segments if one part of the shape wears faster than others, rather than replacing the entire die block. This modular approach is highly cost-effective for long-term production runs.
Finally, invest in high-quality tool holders and alignment systems. Even the best die will fail if it is held in a loose or misaligned holder. Ensure that your HARSLE punching machine is equipped with high-precision tool stations that provide rigid support and accurate centering. By prioritizing quality in your initial selection, you reduce the frequency of maintenance and ensure a higher return on your investment.
Frequently Asked Questions (FAQ)
- How often should I regrind my punching dies? Regrinding frequency depends on the material being punched and the volume of production. As a rule, inspect the cutting edge after every 5,000 to 10,000 hits. If you notice burrs on the workpiece, it is time to regrind.
- Can I use the same die for different material thicknesses? It is generally not recommended. Die clearance is optimized for specific material thicknesses. Using a die designed for thin material on thick material will cause excessive stress and potential tool breakage.
- What is the best way to prevent galling? Use a high-quality lubricant, ensure the punch is properly polished, and consider using coated tooling. Proper clearance is also essential to prevent the punch from rubbing against the die wall.
- How do I know if a die is beyond repair? If a die has visible cracks, significant structural deformation, or if the cutting edge has been ground down beyond the manufacturer’s recommended limit, it should be replaced.
- Does HARSLE provide training on die maintenance? Yes, HARSLE offers comprehensive support and training resources to help operators maintain their equipment and tooling for maximum efficiency.
Conclusion: Sustaining Excellence in Metal Fabrication
Mastering the intricacies of punching machine die damage: root causes and practical repair steps is essential for any professional in the metal fabrication industry. By understanding the mechanical and thermal stresses that lead to tool failure, you can implement a maintenance strategy that shifts the focus from reactive repairs to proactive optimization. Remember that the health of your dies is directly linked to the quality of your finished products and the overall profitability of your shop.
Regular inspections, proper lubrication, and the use of high-quality, application-specific tooling are the pillars of a successful maintenance program. When damage does occur, following the systematic repair steps outlined in this guide will help you restore your equipment to its optimal state quickly and safely. Never underestimate the value of documentation and operator training in maintaining a high-performance production environment.
At HARSLE, we are committed to providing not only the best metal fabrication equipment but also the knowledge required to excel in your operations. By applying these principles, you ensure that your punching machines continue to deliver precision, speed, and reliability. Stay vigilant, maintain your tools with care, and continue to push the boundaries of what your fabrication shop can achieve.












