
Punching Machine Punch Head Problems: Diagnosis, Adjustment, and Repair


Introduction to Punching Machine Punch Head Integrity
In the high-stakes world of metal fabrication, the punching machine serves as a cornerstone of productivity. Among its various components, the punch head is arguably the most critical element, bearing the brunt of mechanical stress and repetitive impact. When a punch head begins to fail or perform inconsistently, the entire production line suffers, leading to increased scrap rates, damaged workpieces, and costly downtime. Understanding the nuances of Punching Machine Punch Head Problems: Diagnosis, Adjustment, and Repair is essential for any facility manager or machine operator aiming to maintain peak operational efficiency.
HARSLE recognizes that precision is the lifeblood of industrial manufacturing. A punch head that is misaligned or worn can lead to burrs, uneven hole geometry, and premature tool degradation. By mastering the diagnostic process, operators can identify minor issues before they escalate into catastrophic mechanical failures. This guide provides a comprehensive look at the lifecycle of punch head maintenance, from initial symptom detection to advanced mechanical adjustments and long-term repair strategies.
The complexity of modern CNC punching machines requires a systematic approach to troubleshooting. Whether you are dealing with hydraulic systems or mechanical drive units, the punch head remains the point of contact where force meets material. This article explores the technical intricacies of these components, offering actionable advice for HARSLE equipment users and general metal fabrication professionals alike.
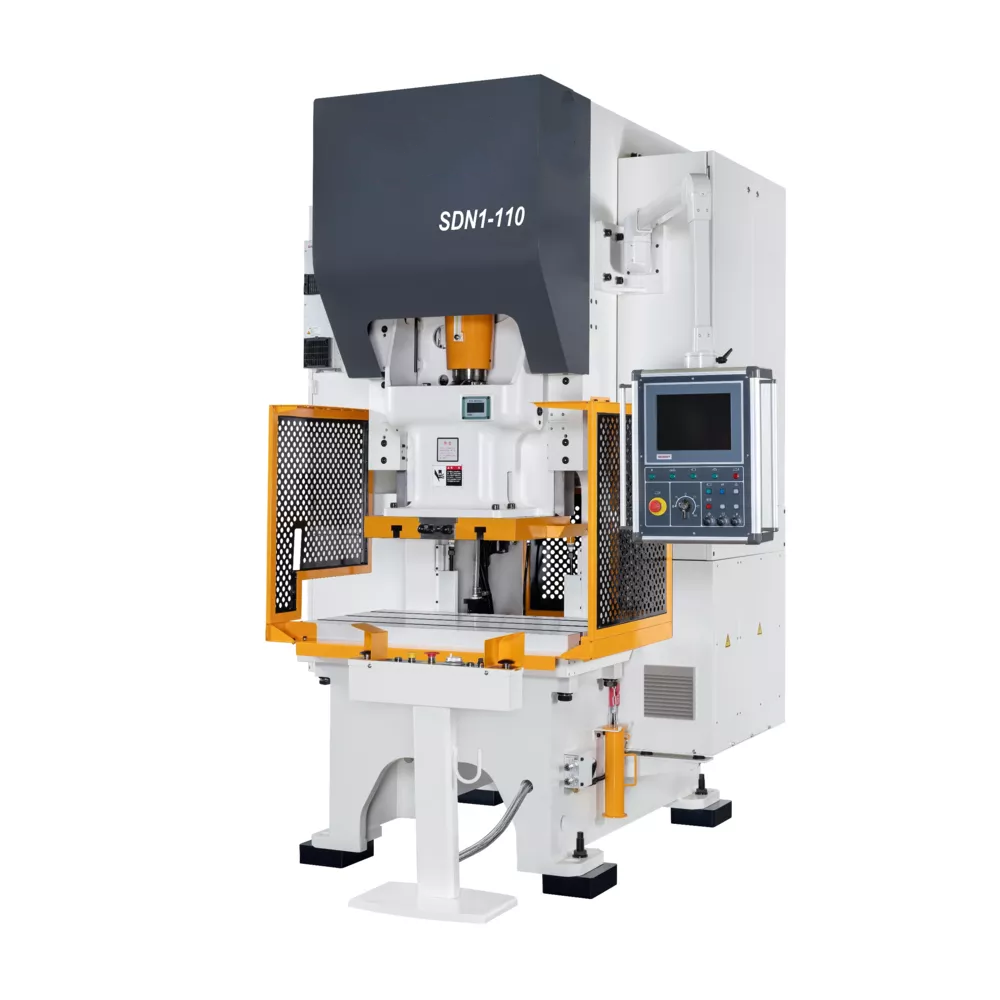
Key Considerations for Punch Head Performance
Before diving into repairs, it is vital to understand the environmental and operational factors that contribute to punch head degradation. The most common culprit is improper lubrication. Friction is the enemy of high-speed punching; without adequate lubrication, the punch head and guide assembly generate excessive heat, leading to galling and material buildup. Operators must ensure that the lubrication system is calibrated to the specific material thickness and punching frequency being utilized.
Material selection also plays a significant role in punch head longevity. Punching high-tensile steel or abrasive materials requires specific tool coatings and clearance settings. If the punch head is not matched to the material properties, the resulting shock loads can cause micro-fractures in the punch head housing. Regular inspection of the punch head for signs of fatigue, such as hairline cracks or surface pitting, is a mandatory part of any preventative maintenance schedule.
Another key consideration is the alignment of the punch and die. Even a slight deviation in the vertical axis can cause the punch head to strike the die edge, leading to chipping or complete tool breakage. This is often caused by loose mounting bolts or worn guide bushings. Operators should perform a daily check of the punch head alignment, especially after changing tools or performing maintenance on the turret or tool holder assembly.
Finally, consider the impact of vibration. Modern punching machines operate at high speeds, and any imbalance in the punch head assembly can lead to harmonic vibrations that loosen fasteners and degrade internal components. Ensuring that the punch head is properly balanced and that the machine is anchored correctly to the factory floor is essential for minimizing these vibrations and extending the life of the punch head.
Technical Details: Diagnosing Punch Head Problems
Diagnosing Punching Machine Punch Head Problems: Diagnosis, Adjustment, and Repair begins with a thorough visual inspection. Look for signs of uneven wear on the punch tip, which often indicates that the punch is not entering the die squarely. If the punch head shows signs of mushrooming, it is a clear indicator that the material being punched is too hard for the current punch material or that the clearance between the punch and die is insufficient.
Auditory diagnostics are equally important. A healthy punching machine produces a consistent, rhythmic sound. A change in the pitch or a metallic ‘clatter’ during the punching cycle often signals that the punch head is loose or that the internal springs are failing. Operators should be trained to listen for these subtle changes, as they often precede visible damage by several hours or even days of operation.
Thermal monitoring is another advanced diagnostic technique. Using infrared thermometers, operators can check the temperature of the punch head assembly during operation. If one punch head is significantly hotter than others in the turret, it suggests excessive friction, likely due to poor lubrication or a misaligned guide. Addressing this heat buildup early can prevent the punch head from seizing in the guide.
Data-driven diagnostics are becoming standard in modern HARSLE machines. By analyzing the force curves provided by the CNC controller, operators can identify spikes in pressure that indicate a dull punch or a material feeding issue. If the machine requires more force than usual to complete a punch, it is time to stop and inspect the punch head for wear or debris buildup.
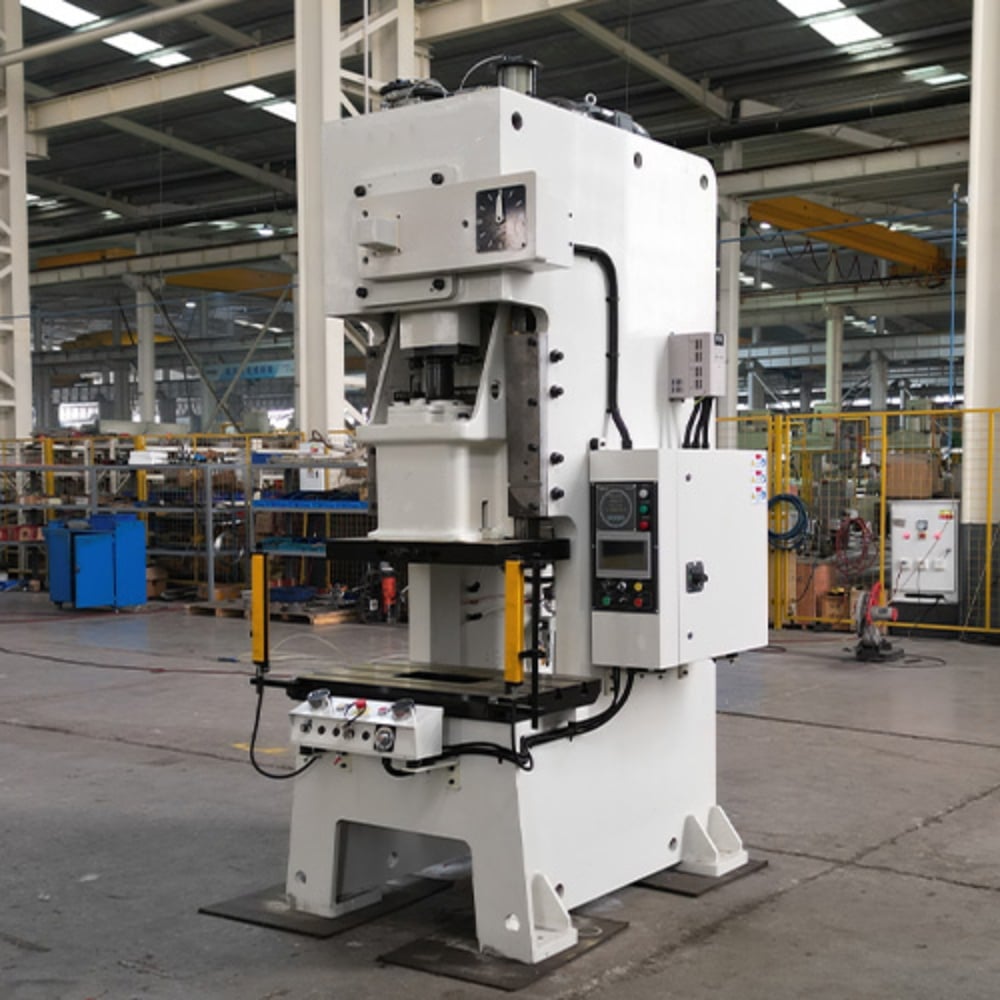
Adjustment and Repair Procedures
When a problem is identified, the first step in the repair process is a precise adjustment. Many punch head issues are simply the result of loose mounting hardware. Ensure that all bolts are torqued to the manufacturer’s specifications. Using a calibrated torque wrench is non-negotiable, as over-tightening can warp the punch head housing, while under-tightening leads to vibration and eventual failure.
If the punch head is misaligned, the adjustment process involves checking the concentricity of the punch and die. This often requires the use of precision shims or specialized alignment pins. For HARSLE machines, follow the specific alignment procedure outlined in the service manual. This usually involves locking the turret in place and using a dial indicator to ensure the punch head is perfectly centered within the die opening.
Repairing a worn punch head often involves regrinding the punch tip. This must be done with extreme care to ensure the face remains perfectly flat and perpendicular to the axis of travel. If the punch head has suffered significant damage, such as chipping, it is often more cost-effective to replace the component entirely rather than attempting a repair that may compromise the structural integrity of the tool.
For internal components like springs or seals, a full teardown may be required. During this process, clean all parts thoroughly with an industrial degreaser and inspect for signs of fatigue. Replace any springs that show signs of compression set, as these will no longer provide the necessary force to strip the material from the punch, leading to ‘slug pulling’—a common issue where the scrap material is pulled back up through the sheet.
Selection Advice for Punching Machine Components
Choosing the right replacement parts is just as important as the repair itself. When selecting a new punch head, always prioritize OEM parts from the machine manufacturer. HARSLE-certified components are engineered to meet the exact metallurgical and dimensional requirements of your machine, ensuring seamless integration and optimal performance.
Consider the coating options available for your punch heads. Titanium Nitride (TiN) or other specialized coatings can significantly reduce friction and extend the life of the punch head, especially when working with stainless steel or other difficult materials. While these components may have a higher upfront cost, the reduction in downtime and the increase in tool life provide a superior return on investment.
When upgrading or replacing, evaluate the entire punch assembly, not just the head. Sometimes, the guide bushings or the stripper plate are the actual sources of the problem. Replacing a punch head without addressing a worn guide will only lead to the same problem recurring in a short period. A holistic approach to component replacement is the hallmark of a professional maintenance strategy.
Finally, maintain a well-organized inventory of spare parts. Having a set of critical components—such as punch heads, springs, and seals—on hand can mean the difference between a one-hour repair and a three-day production delay. Work with your HARSLE representative to identify the most common wear items for your specific machine model and keep them in stock at all times.
FAQ: Common Questions on Punch Head Maintenance
- How often should I inspect the punch head? Daily visual inspections are recommended, with a more thorough mechanical check every 500 hours of operation.
- What causes slug pulling? Slug pulling is usually caused by a dull punch, insufficient stripping force, or incorrect die clearance.
- Can I regrind my own punch heads? Yes, provided you have the proper precision grinding equipment and the expertise to maintain the correct geometry and surface finish.
- Why is my punch head overheating? Overheating is typically caused by lack of lubrication, excessive punching speed, or misalignment causing friction against the guide.
- Is it better to repair or replace a damaged punch head? If the damage is minor, regrinding is an option. However, if there is structural cracking or significant deformation, replacement is the only safe choice.
Conclusion
Maintaining the punch head of your punching machine is a continuous process that requires vigilance, technical knowledge, and the right tools. By focusing on Punching Machine Punch Head Problems: Diagnosis, Adjustment, and Repair, you can ensure that your HARSLE equipment continues to deliver the precision and reliability that your business depends on. Remember that preventative maintenance is always more cost-effective than emergency repairs. By implementing a rigorous inspection schedule, using high-quality OEM parts, and training your operators to recognize the early signs of wear, you can maximize the lifespan of your machinery and maintain a competitive edge in the metal fabrication industry. For further assistance or to source genuine HARSLE parts, always consult your machine’s service manual or contact our technical support team.












