Laser Cutting Machine Troubleshooting: How to Fix Poor Cut Quality and Burrs

Introduction to Laser Cutting Precision and Quality Control
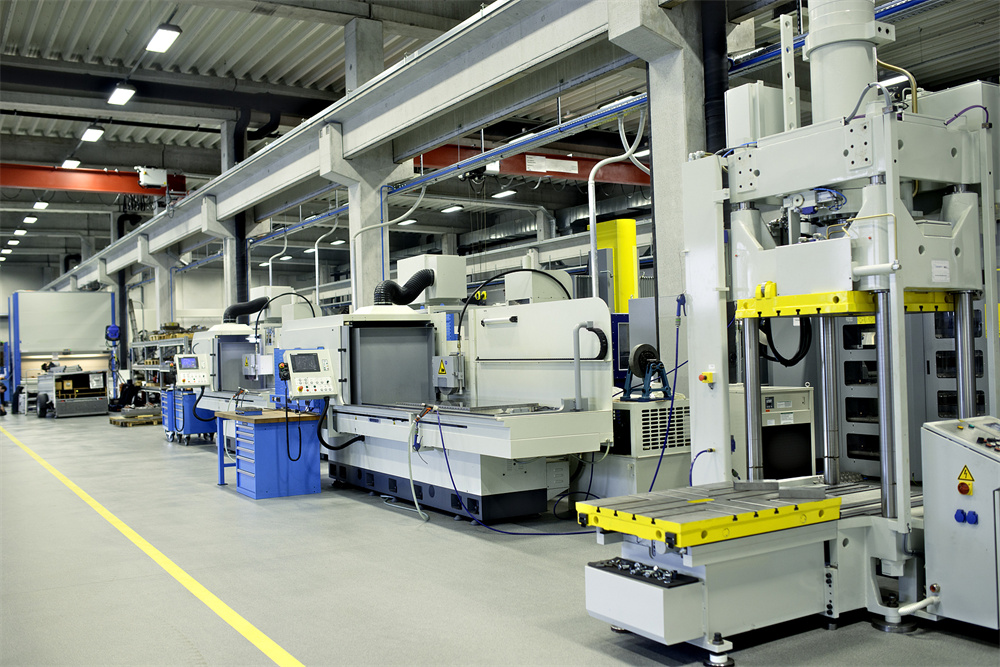
In the modern metal fabrication industry, the fiber laser cutting machine has become the gold standard for precision, speed, and versatility. However, even the most advanced equipment, such as those manufactured by HARSLE, can occasionally encounter issues with cut quality. The presence of burrs (dross), rough edges, or inconsistent finishes can lead to increased secondary processing costs and material waste. Understanding the root causes of these issues is essential for any operator or shop manager looking to maintain high productivity and professional standards.
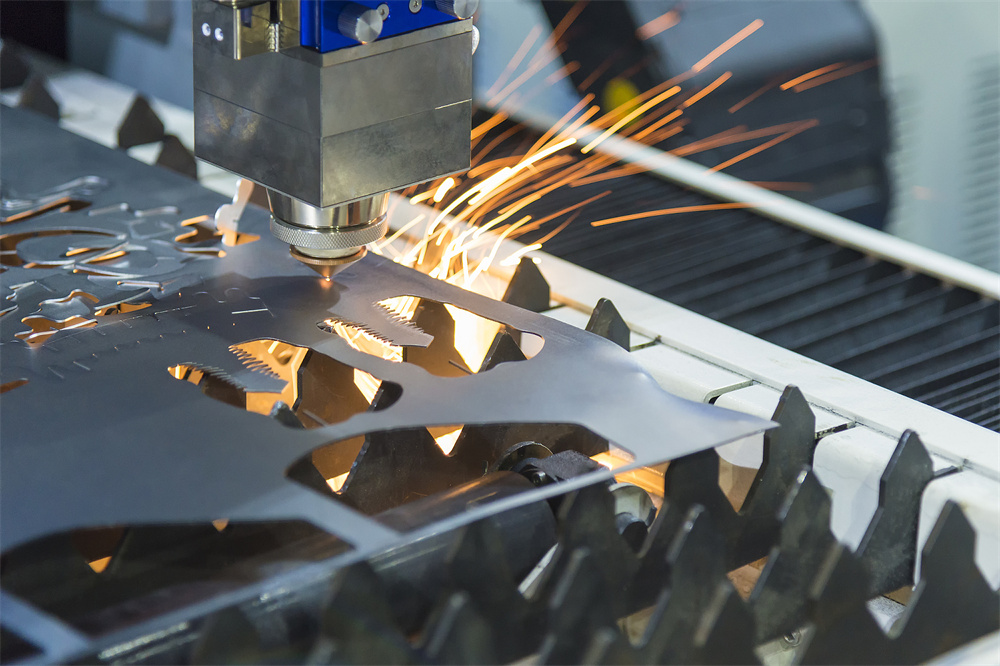
Laser cutting is a complex thermal process where a high-power laser beam melts, burns, or vaporizes material, while a high-pressure gas stream blows the molten material away. When the balance between laser power, cutting speed, gas pressure, and focus position is disrupted, the result is often poor cut quality. This guide is designed to provide a comprehensive deep dive into Laser Cutting Machine Troubleshooting: Fix Poor Cut Quality Burrs, offering technical solutions and maintenance strategies to ensure your machine operates at peak performance.
Achieving a “clean cut” means the edge is smooth, perpendicular, and free of slag or burrs. While fiber lasers are incredibly stable, variables such as material composition, environmental conditions, and consumable wear can all influence the final output. By following a systematic troubleshooting approach, operators can quickly identify whether a problem stems from the machine’s software settings, its mechanical components, or the raw materials being processed.
Key Considerations for High-Quality Laser Cutting
Before diving into specific troubleshooting steps, it is vital to understand the foundational factors that dictate cut quality. These considerations serve as the first line of defense against defects. If any of these elements are neglected, even the most precise adjustments to the CNC controller may fail to produce the desired results.
1. Material Quality and Surface Condition
The quality of the metal sheet itself is often overlooked. Rust, oil, scale, or uneven coatings on the surface of the material can interfere with the laser’s absorption and the flow of the auxiliary gas. For instance, hot-rolled steel with a heavy scale layer often produces more dross than cold-rolled steel. Similarly, aluminum alloys with high reflectivity require specific beam modulations to prevent back-reflection and ensure a clean melt.
2. Auxiliary Gas Selection and Purity
The choice of auxiliary gas—Oxygen (O2), Nitrogen (N2), or Compressed Air—is critical. Oxygen is typically used for carbon steel, acting as a fuel to assist the melting process through an exothermic reaction. Nitrogen is used for stainless steel and aluminum to prevent oxidation and provide a bright, clean edge. If the gas purity is low (e.g., Nitrogen below 99.99%), the cut edge will likely show discoloration or stubborn burrs. Furthermore, the gas pressure must be consistent; fluctuations can lead to intermittent dross formation.
3. Optical Path and Lens Integrity
The laser beam must be perfectly centered through the nozzle. If the beam is slightly off-center, it will hit the side of the nozzle, distorting the beam profile and causing asymmetrical burrs. Additionally, the protective window and focusing lens must be pristine. Even a microscopic speck of dust or a faint smudge can cause thermal lensing, where the lens heats up and shifts the focus point during the cut, leading to a gradual degradation in quality as the job progresses.
Technical Details: Identifying and Fixing Common Defects
When troubleshooting, it is helpful to categorize defects by their appearance. This allows the operator to narrow down the likely culprit among the many variables in the laser cutting process. Below are the most common issues encountered during Laser Cutting Machine Troubleshooting: Fix Poor Cut Quality Burrs.
Solving Bottom Burrs (Dross)
Bottom burrs are the most common issue in laser cutting. They occur when the molten metal is not completely ejected from the kerf (the cut slot) and solidifies on the underside of the sheet. This can be caused by several factors:
- Cutting Speed Too Fast: If the speed is too high, the laser doesn’t have enough time to melt the material through its entire thickness, and the gas cannot blow the slag out effectively. Solution: Gradually decrease the cutting speed.
- Cutting Speed Too Slow: Conversely, if the speed is too slow, the material over-melts, creating a wider kerf and excessive slag that clings to the bottom. Solution: Increase the cutting speed.
- Incorrect Focus Position: The focus point determines the energy density at different depths of the material. For thick plates, the focus is usually deeper. Solution: Adjust the focus position in small increments (0.5mm) to find the sweet spot.
- Low Gas Pressure: If the auxiliary gas pressure is insufficient, it won’t have the kinetic energy to push the molten metal out. Solution: Increase the gas pressure or check for leaks in the gas line.
Addressing Top Burrs
Top burrs are less common but equally problematic. They usually appear as small beads of metal on the upper edge of the cut. This is typically a sign that the laser is focusing too high above the material surface or that the gas pressure is too low to clear the initial melt. In some cases, it can also be caused by a worn-out nozzle that is creating turbulent gas flow.
Correcting Striations and Rough Edges
Striations are the vertical lines or ridges visible on the cut face. While some striation is normal, deep or irregular ridges indicate a problem. This is often related to the frequency and duty cycle of the laser pulse. If the frequency is too low, the laser “steps” through the material rather than flowing smoothly. Adjusting the pulse settings and ensuring the machine’s motion system (rails and motors) is vibrating-free can significantly smoothen the edge.
Tapered Cuts
A tapered cut occurs when the top of the kerf is wider than the bottom (or vice versa). This is usually a result of the focus position being too far from the center of the material thickness or the use of an incorrect nozzle size. For thicker materials, using a larger nozzle diameter can help maintain a more columnar gas flow, reducing the taper effect.
Advanced Parameter Optimization Table
To assist in Laser Cutting Machine Troubleshooting: Fix Poor Cut Quality Burrs, refer to the following general guidelines for parameter adjustment. Note that these are starting points and may vary based on your specific HARSLE model and laser power (kW).
| Issue Observed | Primary Variable to Adjust | Secondary Variable to Adjust | Recommended Action |
|---|---|---|---|
| Heavy dross on carbon steel (O2) | Cutting Speed | Gas Pressure | Decrease speed or increase O2 pressure. |
| Blue/Black edge on stainless (N2) | Gas Purity | Cutting Speed | Check N2 purity; increase speed to reduce heat. |
| Rough surface / Deep striations | Frequency (Hz) | Focus Position | Increase frequency or adjust focus deeper. |
| Incomplete cutting / Sparks flying up | Cutting Speed | Laser Power | Decrease speed or increase power immediately. |
| Corner melting / Over-burning | Power Ramp/Cooling | Corner Speed | Implement power reduction at corners or use “cooling points”. |
| Asymmetrical burrs (one side only) | Nozzle Centering | Nozzle Condition | Center the beam and check for nozzle damage. |
Selection Advice: Choosing the Right Machine to Minimize Issues
While troubleshooting is a necessary skill, many quality issues can be avoided by selecting the right equipment and components from the outset. When investing in a laser cutting machine, consider the following technical specifications to ensure long-term cut quality:
1. Laser Power vs. Material Thickness
Always choose a machine with a power rating that exceeds your average daily requirements. Running a 1kW laser at its absolute limit to cut 10mm carbon steel will result in more quality fluctuations than using a 3kW laser at 60% capacity. Higher power allows for faster speeds and cleaner cuts on thicker materials.
2. Motion System Stability
The mechanical frame and drive system (gantry, linear guides, and rack-and-pinion) must be robust. Any vibration at high speeds will manifest as wavy lines or burrs on the cut edge. HARSLE machines utilize heavy-duty, heat-treated frames to ensure thermal stability and vibration dampening, which is crucial for maintaining micron-level precision over years of operation.
3. Intelligent Control Systems
Modern CNC controllers, such as those integrated into HARSLE fiber lasers, offer advanced features like automatic focus adjustment, gas pressure control, and “leapfrog” movement. These systems can automatically compensate for variations in material height or thickness, reducing the need for manual troubleshooting and ensuring consistent quality across large batches.
4. Quality of Consumables
Do not compromise on nozzles, protective windows, and ceramic rings. High-quality copper nozzles provide better thermal conductivity and more stable gas flow. Using cheap, third-party consumables is one of the leading causes of poor cut quality and frequent downtime.
Frequently Asked Questions (FAQ)
Q1: Why does my laser cut perfectly for the first 10 minutes and then start producing burrs?
This is a classic symptom of “thermal lensing.” As the laser operates, dust or contamination on the protective window or focusing lens absorbs a small amount of laser energy, causing the lens to heat up and slightly deform. This shifts the focus point. Clean your optics and check the cooling system of the laser head.
Q2: Can I use compressed air to cut stainless steel without burrs?
Yes, but it requires high pressure (usually above 15 bar) and a high-power laser. The edge will be oxidized (brownish) rather than the bright silver finish achieved with Nitrogen, but for many industrial applications, this is acceptable and much more cost-effective.
Q3: How often should I calibrate the nozzle centering?
Nozzle centering should be checked at the start of every shift and whenever you change the nozzle or notice a change in cut quality. It only takes a minute using the “tape test” method but is vital for preventing asymmetrical burrs.
Q4: What is the “Focus Position” and how does it affect burrs?
The focus position is the point where the laser beam is at its smallest diameter and highest intensity. For thin materials, the focus is usually on the surface (0). For thick carbon steel, it is often positive (above the surface), and for thick stainless steel, it is negative (inside the material). Incorrect focus prevents the laser from melting the material efficiently, leading to dross.
Q5: Does the temperature of the water chiller affect cut quality?
Absolutely. The chiller maintains the temperature of the laser source and the cutting head. If the water temperature fluctuates, the laser wavelength and the focal length of the optics can shift slightly, leading to inconsistent cutting results. Ensure your chiller is sized correctly for your laser’s wattage.
Q6: Why are my corners melting while the straight lines are perfect?
When the machine slows down to navigate a corner, the heat input per unit of area increases significantly. To fix this, use the “Power Mapping” or “Corner Power Control” feature in your CNC software to automatically reduce the laser power as the machine decelerates.
Conclusion: Mastering the Art of the Perfect Cut
Mastering Laser Cutting Machine Troubleshooting: Fix Poor Cut Quality Burrs is an ongoing process of observation, adjustment, and maintenance. By understanding the relationship between the laser beam, the auxiliary gas, and the material, operators can transform a frustrating production bottleneck into a streamlined, high-quality output. Remember that most issues are not caused by a single catastrophic failure but by a combination of small factors—a slightly dirty lens, a minor drop in gas pressure, or a speed setting that is just 5% too fast.
At HARSLE, we are committed to providing not only world-class metal fabrication machinery but also the technical knowledge required to succeed. Regular maintenance, the use of high-quality consumables, and a disciplined approach to parameter optimization will ensure that your laser cutting machine remains a reliable asset for years to come. Whether you are cutting thin decorative panels or thick structural plates, the goal remains the same: precision, efficiency, and a burr-free finish that reflects the quality of your craftsmanship.


