Press Brake Punch Die Misalignment: Troubleshooting Setup Calibration Guide

Introduction to Press Brake Punch and Die Alignment
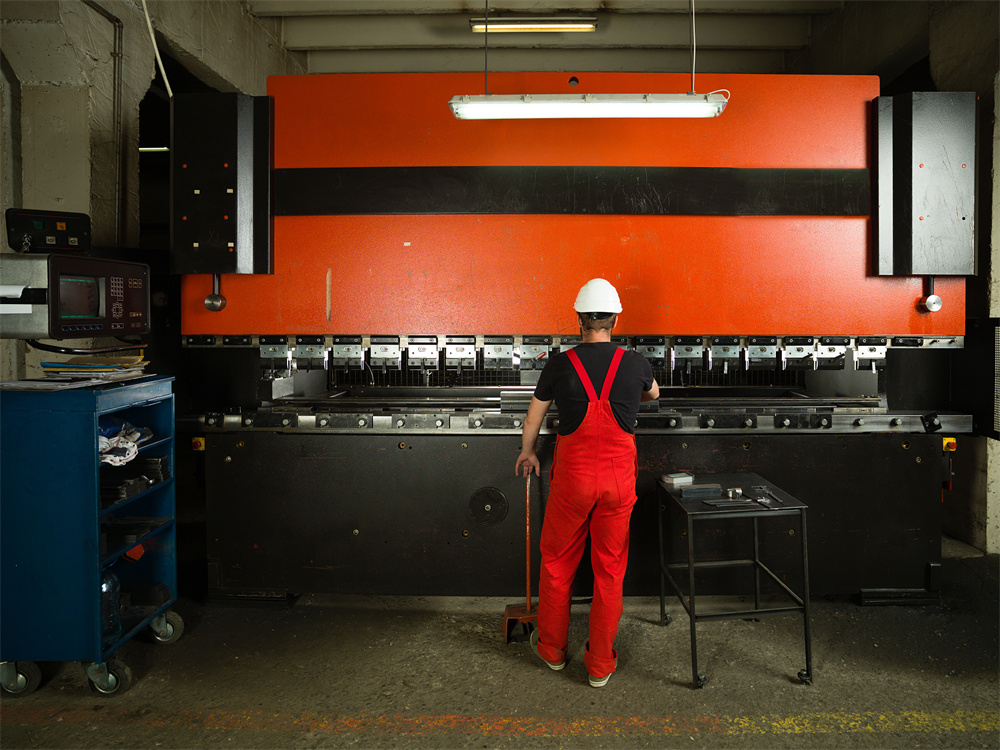
In the world of precision metal fabrication, the accuracy of a finished part is heavily dependent on the mechanical integrity of the machinery used. Among the most critical factors in achieving consistent, high-quality bends is the perfect alignment between the punch (upper tool) and the die (lower tool). When operators encounter Press Brake Punch Die Misalignment: Troubleshooting Setup Calibration issues, the consequences can range from minor dimensional inaccuracies to catastrophic tool failure and machine damage. HARSLE, a leader in metalworking technology, emphasizes that understanding the nuances of tool alignment is not just a maintenance task but a fundamental requirement for operational excellence.
Misalignment occurs when the centerline of the upper punch does not perfectly coincide with the centerline of the lower die V-opening. This discrepancy can be lateral (front-to-back), longitudinal (left-to-right), or angular. Even a deviation of a few thousandths of an inch can lead to uneven flange lengths, inconsistent bend angles across the length of the workpiece, and increased wear on the machine’s hydraulic components. As modern fabrication demands tighter tolerances, the ability to troubleshoot and calibrate these systems becomes a vital skill for any technician or shop manager.
This comprehensive guide explores the root causes of misalignment, the technical procedures for calibration, and the best practices for maintaining a press brake in peak condition. Whether you are operating a manual torsion bar machine or a high-end multi-axis CNC hydraulic press brake, the principles of alignment remain the same: stability, parallelism, and precision. By following the structured approach outlined below, fabricators can minimize downtime and maximize the lifespan of their HARSLE equipment.
Key Considerations for Tooling Alignment
The Impact of Misalignment on Part Quality
The primary symptom of punch and die misalignment is the “dog-leg” bend or an uneven bend angle. When the punch enters the die off-center, it exerts asymmetrical force on the workpiece. This causes the material to slide slightly to one side before the bending process fully engages, resulting in a flange that is longer or shorter than specified. Furthermore, if the punch is not parallel to the die along the entire length of the bed, the bend angle will vary from one end of the machine to the other—a phenomenon often mistaken for poor crowning adjustment.
Beyond dimensional errors, misalignment introduces lateral forces into the ram and the bed. Press brakes are designed to handle massive vertical loads, but they are significantly less resistant to side-loading. Constant lateral stress can lead to premature wear of the ram guides (gibbing), seals, and even the tooling itself. In extreme cases, a severely misaligned punch can strike the shoulder of the die, leading to tool breakage and potential injury to the operator.
Safety and Machine Longevity
Safety is the most critical consideration when discussing Press Brake Punch Die Misalignment: Troubleshooting Setup Calibration. A punch that is not seated correctly or is misaligned can “kick out” under pressure. This is particularly dangerous when using high-tonnage settings or hardened tool steel that can shatter upon impact. Regular alignment checks ensure that the force is distributed evenly across the tool’s surface area, maintaining the structural integrity of the setup.
From a longevity perspective, a well-aligned machine requires less maintenance. When the ram moves perfectly vertically and the tools meet centered, the hydraulic system operates at peak efficiency. There is less friction in the guides and less strain on the cylinders. For owners of HARSLE machinery, adhering to strict alignment protocols ensures that the machine’s high-precision capabilities are preserved for decades of service.
Technical Details: Troubleshooting and Calibration Procedures
Identifying the Root Cause of Misalignment
Before attempting to calibrate the machine, it is essential to determine why the misalignment is occurring. Common causes include:
- Improper Tool Seating: Dirt, scale, or metal chips trapped between the punch and the ram or the die and the bolster can cause the tool to sit at an angle.
- Worn Ram Guides: Over time, the gibs that guide the ram’s vertical movement can wear down, allowing the ram to shift or tilt during the stroke.
- Foundation Issues: If the floor beneath the press brake is not perfectly level or has settled unevenly, the machine frame can twist, leading to permanent misalignment.
- Hydraulic Imbalance: In dual-cylinder machines, if the Y1 and Y2 axes are not perfectly synchronized, the ram will tilt, causing longitudinal misalignment.
- Tooling Wear: Uneven wear on the punch tip or the die shoulders can mimic the symptoms of machine misalignment.
Step-by-Step Calibration Process
To perform a professional calibration, follow these technical steps. Ensure the machine is in “Adjustment” or “Manual” mode and that all safety blocks are available if needed.
1. Cleaning and Inspection
Thoroughly clean the ram’s clamping surface and the bed’s bolster. Use a fine abrasive stone to remove any burrs or high spots. Inspect the tooling for any signs of deformation. Even a microscopic piece of debris can cause a significant deviation when amplified over the height of the tool.
2. Checking Ram Parallelism (Y1/Y2 Balance)
For CNC hydraulic press brakes, the parallelism of the ram to the bed is controlled by the Y1 and Y2 encoders. Use a dial indicator attached to the ram and move it across the length of the bed. If the reading varies, the electronic synchronization needs adjustment via the CNC controller. On older torsion bar machines, this is adjusted mechanically by shortening or lengthening the connection links.
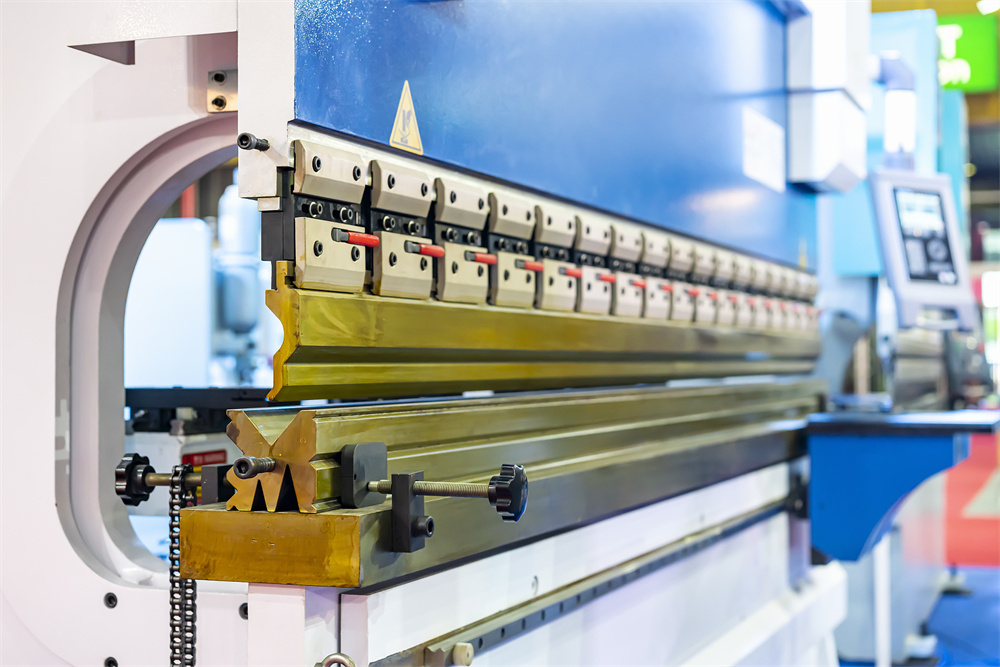
3. Centering the Punch and Die
The most common method for centering is the “Bottoming Method.” Place the die in the holder but do not fully tighten the clamps. Lower the punch slowly until it enters the die V-opening. As the punch seats into the die, it will naturally pull the die into alignment. Once seated under light pressure, tighten the die clamps. For higher precision, use a centering pin or a laser alignment tool to verify that the centerlines match within 0.01mm to 0.02mm.
Advanced Calibration: Crowning and Bed Deflection
Even with perfect lateral alignment, a press brake may produce inconsistent bends due to frame deflection. When the machine applies pressure, the center of the ram and bed tend to bow outward. This is corrected using a crowning system. Troubleshooting misalignment often involves checking if the crowning system (whether hydraulic or mechanical) is applying the correct amount of compensation. If the crowning is over-adjusted, the center of the part will have a tighter angle than the ends; if under-adjusted, the center will be wider.
| Component | Check Frequency | Tolerance | Adjustment Method |
|---|---|---|---|
| Ram Parallelism | Weekly | ±0.01mm | CNC Parameter / Torsion Bar |
| Tool Centering | Every Setup | ±0.02mm | Manual Shifting / Centering Pins |
| Bed Leveling | Annually | 0.05mm/m | Foundation Bolts / Shims |
| Gib Clearance | Monthly | 0.03mm – 0.08mm | Gib Adjustment Screws |
Selection Advice for Tooling and Clamping Systems
Choosing the Right Tooling Interface
The ease of alignment often depends on the type of tooling system used. HARSLE machines support various standards, each with its own alignment characteristics:
- European Standard (Amada/Promecam): Features a tang and hook system. It is widely used and relatively easy to align, though it may require manual centering for each setup.
- New Standard (Wila/Trumpf): These tools are self-centering and often feature hydraulic clamping. They provide the highest level of alignment accuracy and are ideal for high-speed CNC operations.
- American Standard: Uses a traditional tongue-and-groove. While robust, it often requires more manual adjustment to ensure the punch is perfectly centered over the die.
The Role of Precision-Ground Tooling
When troubleshooting Press Brake Punch Die Misalignment: Troubleshooting Setup Calibration, never overlook the quality of the tools themselves. Precision-ground tooling is manufactured to extremely tight tolerances (often ±0.01mm). In contrast, cheaper, non-ground tooling can have variations in the height and centerline of the punch. If you are using a mix of old and new tools, or tools from different manufacturers, alignment becomes significantly more difficult. Investing in high-quality, matched sets of tooling from HARSLE ensures that the calibration process is straightforward and repeatable.
Hydraulic vs. Manual Clamping
For shops that change setups frequently, hydraulic clamping systems are a game-changer. These systems apply uniform pressure across the entire length of the tool, automatically pulling the punch into the correct seated position against the ram. Manual clamps, if tightened unevenly, can actually pull the punch out of alignment. If your production involves high-mix, low-volume parts, upgrading to a hydraulic clamping system can reduce setup time by 80% while improving alignment consistency.
Frequently Asked Questions (FAQ)
How often should I check the alignment of my press brake?
For high-precision work, alignment should be checked at the start of every shift and whenever tooling is changed. A quick visual check and a test bend on scrap material are usually sufficient for daily operations. A full technical calibration using dial indicators should be performed monthly or after any incident, such as a tool crash.
What are the signs that my ram guides (gibs) need adjustment?
If you notice that the ram “shudders” during movement, or if the bend angle changes significantly when the workpiece is moved from the center to the side of the machine, the gibs may be loose. You can check this by placing a dial indicator on the ram and attempting to move it front-to-back by hand. Any movement over 0.1mm usually indicates that the gibs need tightening.
Can I use shims to correct tool misalignment?
Shimming is a common practice to correct minor height variations in the die, but it should be used sparingly for lateral misalignment. If you find yourself constantly shimming tools to get a straight bend, it is a sign of a deeper mechanical issue with the machine’s bed or ram parallelism that needs to be addressed at the source.
Why does my CNC controller show the ram is level, but my bends are uneven?
This usually indicates a mechanical deflection or wear that the encoders cannot see. The encoders measure the position of the hydraulic cylinders, but they don’t account for the flex in the ram or the bed under load. This is where the crowning system comes into play. Ensure your crowning parameters are correctly calibrated for the material thickness and length you are bending.
Conclusion: Achieving Bending Excellence
Mastering Press Brake Punch Die Misalignment: Troubleshooting Setup Calibration is an essential journey for any metal fabricator aiming for perfection. As we have explored, alignment is not a static state but a dynamic balance of mechanical precision, electronic control, and proper maintenance. By understanding the relationship between the ram, the bed, and the tooling, operators can diagnose issues before they result in wasted material or damaged equipment.
HARSLE remains committed to providing fabricators with the tools and knowledge necessary to succeed in a competitive market. Our machines are engineered with rigidity and precision in mind, featuring advanced CNC controls that simplify the calibration process. However, even the best machine requires a skilled operator who respects the importance of a clean, well-aligned setup. By implementing the troubleshooting steps and maintenance schedules discussed in this guide, you ensure that every bend is accurate, every part is consistent, and your HARSLE press brake continues to perform at its peak for years to come. Precision is not just a goal; it is the standard that defines the quality of your craftsmanship.


