Laser Cutting Machine Setup Guide for Precise First-Pass Cutting

Technical Overview: The Science of First-Pass Precision
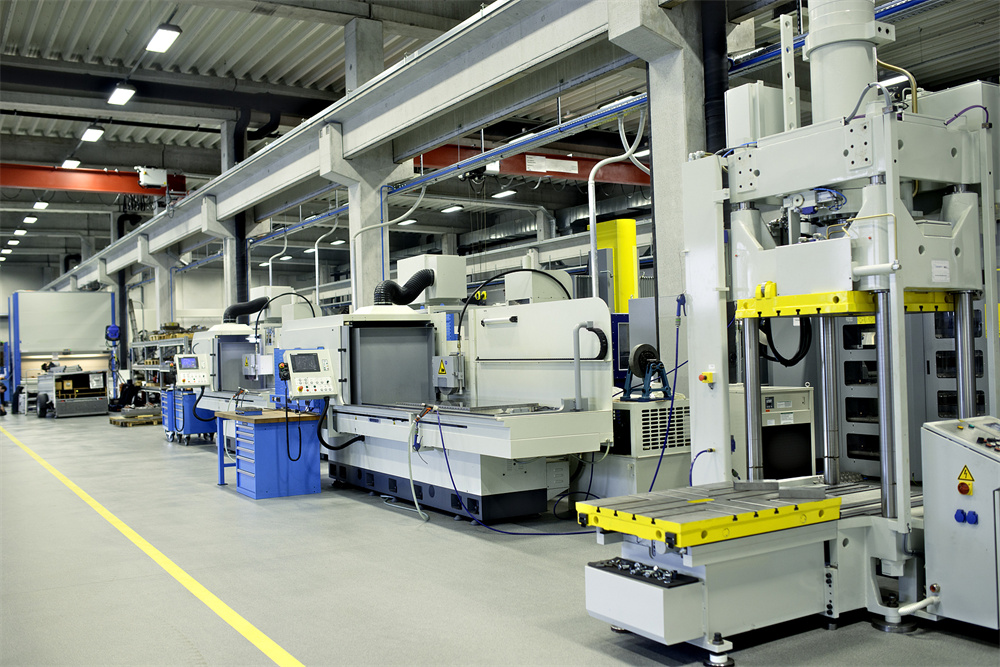
In the competitive landscape of modern metal fabrication, achieving a ‘first-pass’ cut—where the part is dimensionally perfect and aesthetically clean on the first attempt—is the ultimate goal for any operator. Laser Cutting Machine Setup for Precise First-Pass Cutting is not merely about turning on the machine and loading a file; it is a complex orchestration of thermodynamics, optics, and mechanical synchronization. At HARSLE, we emphasize that precision begins with understanding how the laser beam interacts with the material substrate at a microscopic level. When a fiber laser beam is focused onto a metal surface, it must deliver enough energy density to melt or vaporize the material instantaneously, while the assist gas clears the molten pool without leaving dross or heat-affected zones (HAZ).
The ‘First-Pass’ philosophy is central to lean manufacturing. Every failed cut represents wasted material, lost electricity, and, most importantly, wasted machine time. To achieve this, the machine’s motion system must be perfectly calibrated with the laser source’s pulse frequency and power output. A Laser Cutting Machine Setup for Precise First-Pass Cutting requires a deep dive into the beam’s focal point, the nozzle’s aerodynamic profile, and the purity of the assist gases used. HARSLE machines are engineered to provide the stability needed for these high-precision operations, but the operator’s setup remains the final variable in the equation of quality.
Technically, the precision of a cut is defined by its kerf width, perpendicularity, and surface roughness. For a first-pass success, the kerf compensation must be calculated based on the specific beam diameter at the focal point. If the setup is off by even 0.1mm, the resulting part may fall outside of tolerance, especially in industries like aerospace or medical device manufacturing. Therefore, the technical overview of a precise setup involves a holistic check of the optical path, ensuring that the protective windows are pristine and the beam is perfectly centered within the nozzle orifice.
Core Parameters for Laser Cutting Machine Setup
To master the Laser Cutting Machine Setup for Precise First-Pass Cutting, one must understand the seven core parameters that govern the cutting process. The first is **Laser Power**. While it is tempting to run at maximum power to increase speed, this often leads to excessive melting and a wider kerf. The power must be balanced against the material thickness to ensure a clean vapor path. For thinner materials, lower power with higher frequency often yields a smoother edge.
The second parameter is **Cutting Speed**. This is perhaps the most visible variable. If the speed is too high, the laser cannot penetrate the material fully, leading to ‘incomplete cuts’ or sparks flying upward. If the speed is too low, the heat input becomes excessive, causing the material to warp or the edges to melt away. Finding the ‘sweet spot’ is essential for first-pass precision. HARSLE provides baseline charts, but fine-tuning is always required for specific alloy grades.
Thirdly, we look at **Focus Position**. This refers to where the smallest point of the laser beam (the waist) is located relative to the material surface. For thin sheets, the focus is usually on or slightly above the surface. For thick plates, the focus is often buried deep within the material to allow the assist gas to push the molten metal through the bottom of the cut. Incorrect focus is the leading cause of dross (slag) accumulation on the underside of the workpiece.
The fourth and fifth parameters are **Gas Pressure and Gas Type**. Oxygen is typically used for carbon steel as it creates an exothermic reaction that aids the cutting process, allowing for higher speeds. However, it leaves an oxide layer. Nitrogen is used for stainless steel and aluminum to prevent oxidation, resulting in a shiny, weld-ready edge. The pressure must be sufficient to evacuate the melt but not so high that it creates turbulence, which can destabilize the arc.
Finally, **Nozzle Selection and Pulse Frequency** round out the core parameters. A double-layer nozzle is standard for oxygen cutting, while a single-layer nozzle is preferred for nitrogen. The pulse frequency and duty cycle control the ‘heat’ of the cut in intricate corners, preventing the ‘burn-off’ effect where sharp points melt away due to heat accumulation. Mastering these variables is the cornerstone of Laser Cutting Machine Setup for Precise First-Pass Cutting.
Calculation Method for Precision Calibration
Achieving precision is not a matter of guesswork; it involves specific mathematical calculations. The most critical calculation for Laser Cutting Machine Setup for Precise First-Pass Cutting is the **Kerf Compensation Value**. The kerf is the width of the material removed by the laser. To calculate this, an operator should cut a simple 50mm x 50mm square and measure the actual dimensions with a calibrated micrometer. If the square measures 49.8mm, the kerf is 0.2mm. The compensation value in the CNC software should then be set to 0.1mm (half the kerf) to ensure the laser path is offset correctly.
Another vital calculation is the **Heat Input Formula**: HI = (Power / Speed). This helps in predicting the thermal distortion of the part. For high-precision components, maintaining a consistent Heat Input across different geometries is vital. If the machine slows down for a curve, the power should ideally be modulated (ramped) to keep the HI constant, preventing localized overheating.
Furthermore, the **Nozzle Standoff Distance** must be calculated and maintained. Usually, this is between 0.5mm and 1.5mm. A capacitive height sensor on HARSLE machines maintains this distance automatically, but the initial calibration must be precise. If the standoff varies, the gas pressure at the cut zone fluctuates, leading to inconsistent edge quality. Operators should also calculate the ‘Lead-in’ length, ensuring the laser stabilizes its piercing pressure before entering the actual part geometry.
Parameter Table for Common Materials
The following table provides a reference for Laser Cutting Machine Setup for Precise First-Pass Cutting across various materials using a standard 3kW Fiber Laser. Note that these are starting points and may require adjustment based on specific material grades.
| Material Type | Thickness (mm) | Power (W) | Speed (m/min) | Gas Type | Pressure (Bar) | Focus (mm) |
|---|---|---|---|---|---|---|
| Mild Steel | 1.0 | 1000 | 25-30 | Oxygen | 0.8 – 1.2 | -1.0 |
| Mild Steel | 6.0 | 2500 | 2.0-2.5 | Oxygen | 0.5 – 0.8 | -3.5 |
| Stainless Steel | 1.0 | 1500 | 30-40 | Nitrogen | 12 – 14 | -0.5 |
| Stainless Steel | 5.0 | 3000 | 3.5-4.5 | Nitrogen | 16 – 18 | -4.0 |
| Aluminum | 2.0 | 2000 | 15-20 | Nitrogen | 14 – 16 | -1.5 |
| Aluminum | 8.0 | 3000 | 1.2-1.8 | Nitrogen | 18 – 20 | -6.0 |
| Brass | 2.0 | 2500 | 10-12 | Nitrogen | 16 – 18 | -1.0 |

Common Engineering Mistakes in Setup
Even with the best equipment, certain engineering mistakes can derail a Laser Cutting Machine Setup for Precise First-Pass Cutting. The most common is **Poor Nozzle Centering**. If the laser beam is not perfectly centered in the nozzle, the assist gas will flow unevenly around the beam. This results in a cut that is clean on one side but has heavy dross on the other. Operators should perform a ‘tape test’ at the start of every shift to ensure the beam is dead-center.
Another frequent error is **Ignoring Protective Window Contamination**. A tiny speck of dust on the protective lens can absorb laser energy, causing ‘thermal lensing.’ This shifts the focal point during the cut, meaning the first few inches of a part might be perfect, but the rest of the part—and subsequent parts—will be out of spec. Regular inspection and cleaning in a dust-free environment are mandatory for precision.
Thirdly, **Inadequate Gas Purity** often goes unnoticed. If nitrogen contains even a small percentage of oxygen, the edges of stainless steel will discolor (yellow or blue) and lose their corrosion resistance. Similarly, moisture in the air lines for compressed air cutting can ruin the optics and cause inconsistent arc stability. Using high-quality gas regulators and filtration systems is a non-negotiable part of a professional setup.
Finally, many operators fail to account for **Material Internal Stress**. When cutting large parts or thick plates, the heat from the laser can release internal stresses in the metal, causing it to bow or shift during the cut. This ruins the dimensional accuracy of the first pass. Using a ‘stitching’ or ‘tabbing’ technique, where the part remains attached to the skeleton until the very end, can mitigate this issue and ensure the final dimensions remain true to the CAD drawing.
Selection Checklist for High-Precision Equipment
When selecting or auditing a machine for Laser Cutting Machine Setup for Precise First-Pass Cutting, use the following checklist to ensure the hardware is capable of meeting your tolerances:
- Laser Source Stability: Does the laser source (e.g., IPG, Raycus) have a stable power output with less than 1% fluctuation?
- Motion System Accuracy: Are the linear guides and rack-and-pinion systems (like those used in HARSLE machines) rated for high acceleration without vibration?
- Cutting Head Technology: Does the head feature autofocus and a high-speed capacitive sensor for real-time height adjustment?
- Frame Rigidity: Is the machine bed heat-treated and stress-relieved to prevent deformation over years of thermal cycling?
- Software Capabilities: Does the CNC software support advanced features like nesting, lead-in/lead-out optimization, and corner power ramping?
- Gas Control: Does the machine feature electronic proportional valves for precise gas pressure management?
- Cooling System: Is the dual-circuit chiller capable of maintaining the laser source and cutting head within 1 degree of the set temperature?
Frequently Asked Questions (FAQ)
1. Why is my laser cutting machine leaving dross on the bottom of the cut?
Dross is usually caused by an imbalance between cutting speed, gas pressure, and focus position. If the dross is ‘bubbly’ and easy to remove, your speed might be too slow or your focus too high. If the dross is hard and metallic, your speed is likely too fast or your gas pressure is insufficient to clear the melt. For a Laser Cutting Machine Setup for Precise First-Pass Cutting, start by adjusting the focus downward in 0.5mm increments.
2. How often should I calibrate the kerf compensation?
Kerf compensation should be checked whenever you change material type, thickness, or nozzle size. Even different batches of the same material can have slightly different melting points, affecting the kerf. For high-precision shops, a daily check on a scrap piece is recommended to ensure the Laser Cutting Machine Setup for Precise First-Pass Cutting remains accurate.
3. Can I achieve first-pass precision with compressed air?
Yes, but it requires a very high-quality air compressor and filtration system. The air must be completely dry and oil-free. Compressed air is an excellent, cost-effective choice for thin mild steel and some aluminum grades, but for the highest precision on stainless steel, nitrogen is still the industry standard to avoid oxidation.
4. What is the role of the ‘Lead-in’ in a precise setup?
The lead-in is the path the laser takes before it reaches the actual part geometry. It allows the piercing process to finish and the gas flow to stabilize. Without a proper lead-in, the start point of your part will often have a ‘blow-out’ or a notch, ruining the first-pass precision. Always place lead-ins on a straight edge or a non-critical part of the geometry.
5. How does nozzle wear affect cutting precision?
As a nozzle is used, the orifice can become slightly oval or develop tiny nicks from ‘back-splatter’ during piercing. This distorts the gas flow, leading to an asymmetrical cut. For precise first-pass cutting, inspect the nozzle every 4-8 hours of cutting time and replace it if any visible wear or deformation is present.
6. Why does my machine cut differently in the center of the bed vs. the corners?
This is often due to beam divergence or a slight misalignment in the machine’s gantry. While fiber lasers are less susceptible to this than CO2 lasers, it can still happen. Ensure your machine is perfectly leveled and that the beam delivery fiber is not under any stress or tight bends at the extremities of the machine’s travel.


