How to Maintain a Laser Cutting Machine for Stable Cutting Accuracy: A Comprehensive Guide

The Critical Importance of Laser Cutting Machine Maintenance
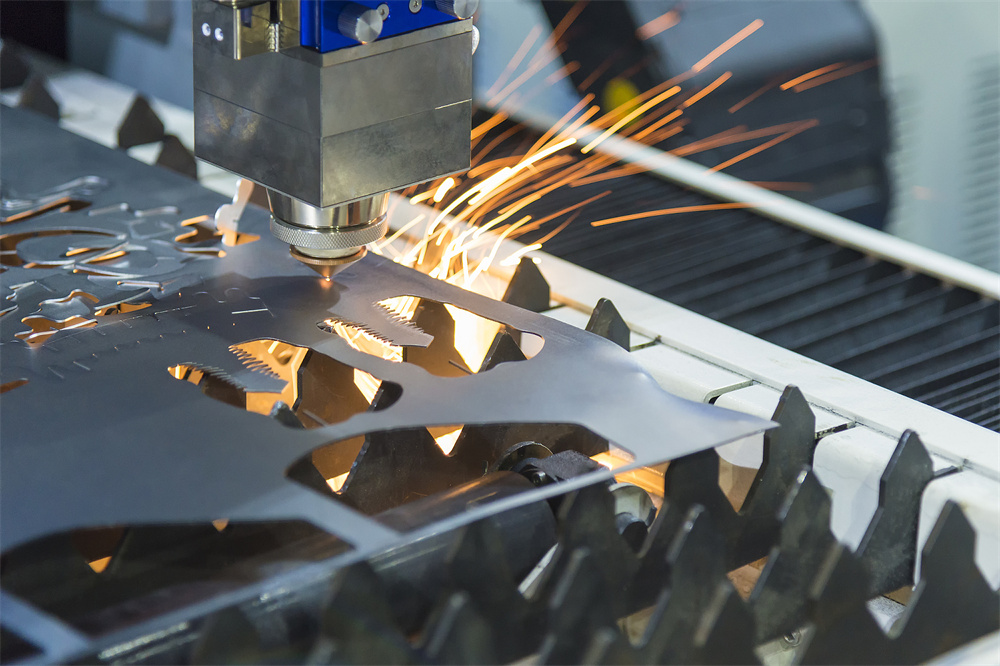
In the modern metal fabrication industry, the fiber laser cutting machine has become the cornerstone of high-precision production. However, the sophisticated nature of these machines means that their performance is directly proportional to the quality of care they receive. To maintain a laser cutting machine stable cutting accuracy, operators and facility managers must move beyond reactive repairs and embrace a rigorous, proactive maintenance philosophy. When a machine is neglected, the first casualty is precision. Minor misalignments or dust accumulation can lead to significant deviations, resulting in wasted material, increased secondary processing costs, and potential damage to the machine’s most expensive components, such as the laser source and the cutting head.
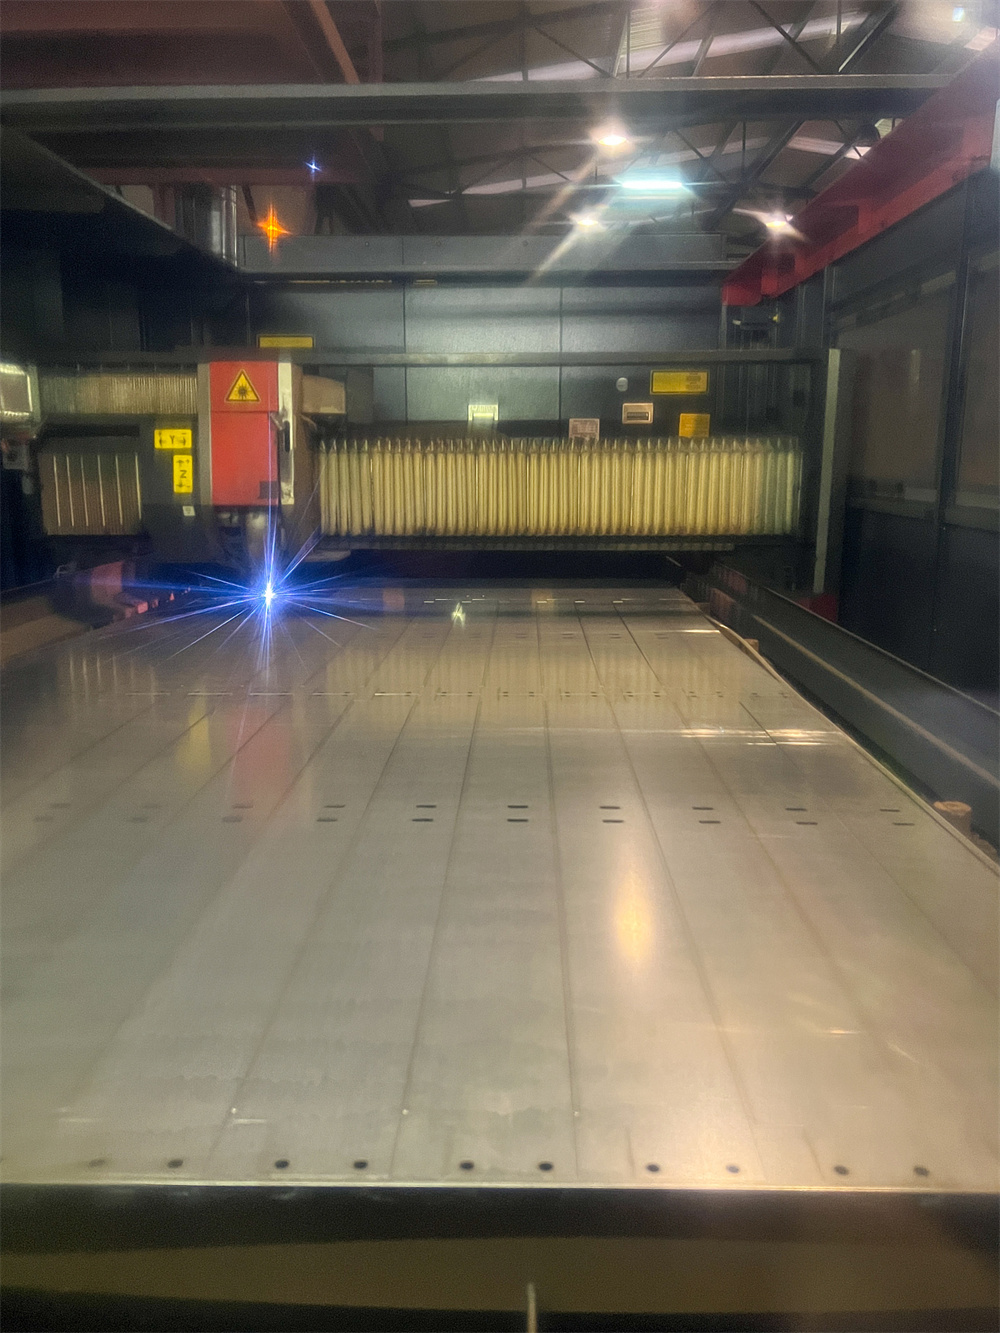
Stable cutting accuracy is not just about the initial calibration; it is about managing the environmental and mechanical variables that change during daily operation. High-speed movements, thermal expansion, and the byproduct of the cutting process—fine metallic dust—all conspire to degrade the machine’s performance. By implementing a structured maintenance routine, you ensure that the laser beam remains perfectly focused, the motion system remains fluid and responsive, and the structural integrity of the gantry is preserved. This guide provides a deep dive into the technical requirements for keeping your HARSLE laser cutting machine at peak performance.
Why Precision Fluctuates Over Time
Precision in laser cutting is the result of a complex harmony between optical, mechanical, and electronic systems. Over time, several factors can disrupt this harmony. Thermal effects are perhaps the most significant; as the machine operates, heat is generated not only by the laser beam but also by the friction in the drive systems. If the cooling system is not functioning optimally, this heat can cause microscopic expansions in the mechanical components, leading to ‘drift’ in cutting dimensions. Furthermore, the optical path—even in fiber lasers where the beam is delivered via a cable—requires a pristine environment at the cutting head. Any contamination on the protective lens can cause the beam to scatter or lose power, directly affecting the kerf width and edge quality.
Mechanical wear is another inevitable factor. The rack and pinion systems, linear guides, and bearings that facilitate the rapid movement of the cutting head are subject to friction. Without proper lubrication and cleaning, these parts develop play or ‘backlash,’ which manifests as jagged edges or dimensional inaccuracies in finished parts. Therefore, understanding how to maintain a laser cutting machine stable cutting accuracy requires a holistic view of the machine’s anatomy and a commitment to preventing these small issues from escalating into systemic failures.
Daily Inspection: The First Line of Defense
The daily inspection is the most effective way to catch potential problems before they affect production. This routine should be performed at the start of every shift and takes approximately 15 to 20 minutes. The primary focus of the daily check is the cleanliness of the optical components and the stability of the auxiliary systems. The protective lens is the most vulnerable part of the cutting head. It must be inspected for dust, oil spots, or ‘burn marks’ caused by reflected laser light. Even a microscopic particle can absorb laser energy, heat up, and eventually crack the lens or damage the internal optics of the cutting head.
Beyond the optics, the gas pressure and purity must be verified. Whether using Oxygen, Nitrogen, or Compressed Air, the consistency of the gas flow is vital for blowing away molten metal and protecting the lens from backsplash. Operators should also check the nozzle for any signs of deformation or slag buildup. A damaged nozzle will disrupt the coaxiality of the gas flow and the laser beam, leading to uneven cuts or excessive dross on one side of the workpiece. Finally, the water chiller’s status—specifically its temperature and water level—must be confirmed. The chiller is the heart of the machine’s thermal management system, and any fluctuation outside the recommended range can lead to laser source instability.
Key Daily Checklist Items
- Optical Path Inspection: Check the protective lens for contamination. Clean only with approved optical-grade wipes and high-purity alcohol.
- Nozzle Centering: Perform a ‘tape test’ to ensure the laser beam is exiting exactly through the center of the nozzle.
- Chiller Operation: Verify that the water temperature is within the set parameters (usually 20-25°C for the laser source and slightly higher for the cutting head to prevent condensation).
- Gas Supply: Check the remaining pressure in gas tanks and ensure there are no leaks in the delivery hoses.
- Work Area Cleanliness: Remove any scrap metal or debris from the shuttle table that could interfere with the movement of the cutting head or the sensors.
Mechanical, Electrical, and Cooling System Checks
To maintain a laser cutting machine stable cutting accuracy, one must look deeper into the machine’s core systems on a weekly and monthly basis. The mechanical system, comprising the gantry, rails, and drive motors, is responsible for the physical positioning of the laser. Over time, the vibrations from high-speed cutting can loosen bolts or cause the gantry to lose its squareness. Periodically checking the tightness of all mechanical fasteners and using a dial indicator to verify the squareness of the X and Y axes is essential for maintaining tight tolerances.
The electrical system is often overlooked until a failure occurs. However, the electrical cabinet is a magnet for fine metallic dust, which is conductive. If this dust settles on circuit boards or drivers, it can cause short circuits or erratic behavior in the CNC controller. Monthly cleaning of the electrical cabinet with a vacuum (never compressed air, which pushes dust deeper into components) and checking the integrity of the cables and drag chains will prevent unexpected downtime. Additionally, ensure that the machine’s grounding is secure, as electrical noise can interfere with the sensitive feedback loops of the servo motors.
Cooling System Deep Dive
The cooling system, or chiller, is critical for the longevity of the fiber laser source. Unlike CO2 lasers, fiber lasers are highly efficient but still generate significant heat. The chiller must use deionized or distilled water to prevent mineral buildup inside the narrow cooling channels of the laser source. On a monthly basis, the water should be inspected for clarity. If the water appears cloudy or contains algae, it must be drained, the system flushed, and refilled with fresh deionized water and the appropriate amount of algaecide. Furthermore, the dust filters on the chiller’s condenser must be cleaned weekly to ensure efficient heat exchange; a clogged filter forces the compressor to work harder, shortening its lifespan and causing temperature fluctuations that affect cutting accuracy.
The Lubrication Plan: Ensuring Fluid Motion
Lubrication is the ‘lifeblood’ of the mechanical motion system. Without it, the friction between the linear guides and the slider blocks will lead to rapid wear, heat generation, and eventually, mechanical seizure. To maintain a laser cutting machine stable cutting accuracy, a strict lubrication schedule must be followed. Most modern HARSLE machines are equipped with an automatic lubrication system, but this does not mean it can be ignored. The operator must ensure the lubricant reservoir is always full and that the distribution lines are not blocked or pinched.
For machines requiring manual lubrication, the type of grease used is paramount. Typically, a high-quality lithium-based grease is recommended for the linear guides and the rack and pinion. Before applying new grease, it is vital to wipe down the rails to remove the old, contaminated grease that has mixed with metal dust. This ‘sludge’ acts as an abrasive paste if left on the rails. Lubrication should be performed every 50 to 100 hours of operation, depending on the intensity of the work and the cleanliness of the environment. Properly lubricated components move with minimal resistance, allowing the servo motors to position the cutting head with sub-micron precision.
Troubleshooting Signals: Identifying Accuracy Issues
Even with the best maintenance, components will eventually wear out. The key to maintain a laser cutting machine stable cutting accuracy is recognizing the early warning signs of degradation. One of the most common signals is a change in the ‘dross’ or ‘burr’ on the bottom of the cut. If a machine that previously produced clean edges starts leaving heavy dross, it usually indicates a problem with the focal position, gas pressure, or a contaminated lens. If the dross is only on one side of the cut, the nozzle is likely off-center or damaged.
Another signal is dimensional deviation. If a circular hole becomes slightly elliptical, it points to a mechanical issue in one of the axes—perhaps a loose belt, a worn pinion, or a failing bearing in the servo motor. Unusual noises, such as grinding or high-pitched squealing during high-speed traverses, are immediate red flags that the lubrication has failed or a mechanical component is failing. Finally, if the laser fails to penetrate the material consistently, the laser source’s power may be fluctuating, or the delivery fiber may be damaged. Monitoring these signals allows for ‘predictive maintenance,’ where parts are replaced before they cause a total machine stoppage.
Comprehensive Maintenance Schedule Table
The following table summarizes the essential tasks required to keep your laser cutting machine in top condition. Adhering to this schedule is the most effective way to ensure long-term stability and ROI.
| Frequency | Component | Action Required | Goal |
|---|---|---|---|
| Daily | Protective Lens | Inspect and clean if necessary | Prevent beam scattering and lens damage |
| Daily | Nozzle | Check for slag and verify centering | Ensure coaxial gas flow and beam path |
| Daily | Water Chiller | Check water level and temperature | Maintain thermal stability of the laser source |
| Weekly | Linear Guides | Clean dust and check lubrication | Ensure smooth mechanical movement |
| Weekly | Chiller Filters | Clean air filters on the chiller unit | Optimize cooling efficiency |
| Monthly | Electrical Cabinet | Vacuum dust from components | Prevent electrical shorts and overheating |
| Monthly | Cooling Water | Check for contamination/replace water | Prevent clogging in the laser source |
| Quarterly | Rack and Pinion | Deep clean and re-grease | Maintain positioning accuracy and reduce wear |
| Quarterly | Exhaust System | Clean fans and ductwork | Ensure efficient smoke and dust removal |
| Yearly | Full Calibration | Check squareness and laser power output | Reset machine to factory precision standards |
Frequently Asked Questions (FAQ)
1. How often should I replace the protective lens?
There is no fixed timeframe for replacing the protective lens. Its lifespan depends entirely on the cleanliness of your environment and the quality of your cutting gas. In a clean shop with high-purity gas, a lens can last several months. However, if it becomes pitted or has ‘burn spots’ that cannot be cleaned, it must be replaced immediately to avoid damaging the more expensive internal optics.
2. Why is my laser cutting machine losing accuracy on large parts?
Accuracy loss on large parts is often related to the ‘leveling’ of the machine or the squareness of the gantry. If the machine bed is not perfectly level, the gantry may twist slightly as it moves to the extremities of the table. Additionally, check for thermal expansion; if the shop temperature fluctuates significantly, the long steel rails can expand, changing the physical distance between points.
3. Can I use regular tap water in my chiller?
No, you should never use tap water. Tap water contains minerals like calcium and magnesium that will form scale inside the laser source and the cutting head’s cooling channels. This scale acts as an insulator, causing the laser to overheat. Always use deionized or distilled water as specified by HARSLE.
4. What is the best gas for maintaining a clean cut?
The choice of gas depends on the material. Nitrogen is best for stainless steel and aluminum to prevent oxidation and provide a shiny, clean edge. Oxygen is typically used for carbon steel as it aids the cutting process through an exothermic reaction, but it leaves an oxide layer. Using high-purity gases (99.99% or higher) is essential to protect your optics from contamination.
5. How do I know if my servo motors are failing?
Signs of failing servo motors include unusual vibrations during movement, an increase in the ‘following error’ reported by the CNC software, or the motor becoming excessively hot. If you notice these symptoms, check the mechanical load first (ensure nothing is binding) before assuming the motor itself is faulty.
Conclusion: The Path to Long-Term Precision
To maintain a laser cutting machine stable cutting accuracy is a continuous commitment that pays dividends in the form of high-quality parts and minimal downtime. By following the daily, weekly, and monthly protocols outlined in this guide, you protect your investment and ensure that your HARSLE machine remains a competitive asset in your production line. Remember that maintenance is not just a chore; it is a critical part of the manufacturing process that directly impacts your bottom line. A clean, well-lubricated, and properly cooled machine will always outperform a neglected one, providing the precision your customers demand for years to come.


