
How to Troubleshoot Burrs and Poor Edge Quality in Punching Machine Operations


Introduction to Precision in Punching Machine Operations
In the world of metal fabrication, the quality of a finished part is often judged by the cleanliness of its edges. When utilizing high-speed CNC punching machines, achieving a perfect cut without secondary deburring processes is the ultimate goal for efficiency and cost-effectiveness. However, operators frequently encounter the frustrating issue of burrs and poor edge quality. To Troubleshoot Burrs Poor Edge Quality In Punching Machine Operations, one must understand that a punch is not merely a blunt force instrument; it is a precision tool that relies on the perfect harmony of clearance, alignment, and material science.
Burrs are essentially unwanted protrusions of material extending beyond the intended edge of the workpiece. They occur when the material is stretched and torn rather than cleanly sheared. Poor edge quality can manifest as excessive rollover, a large fracture zone, or secondary shear marks (double burnish). These defects not only compromise the aesthetic value of the part but can also lead to assembly issues, safety hazards for handlers, and increased wear on downstream tooling. For manufacturers using HARSLE equipment, maintaining the highest standards of edge quality is essential to maximizing the ROI of their industrial machinery.
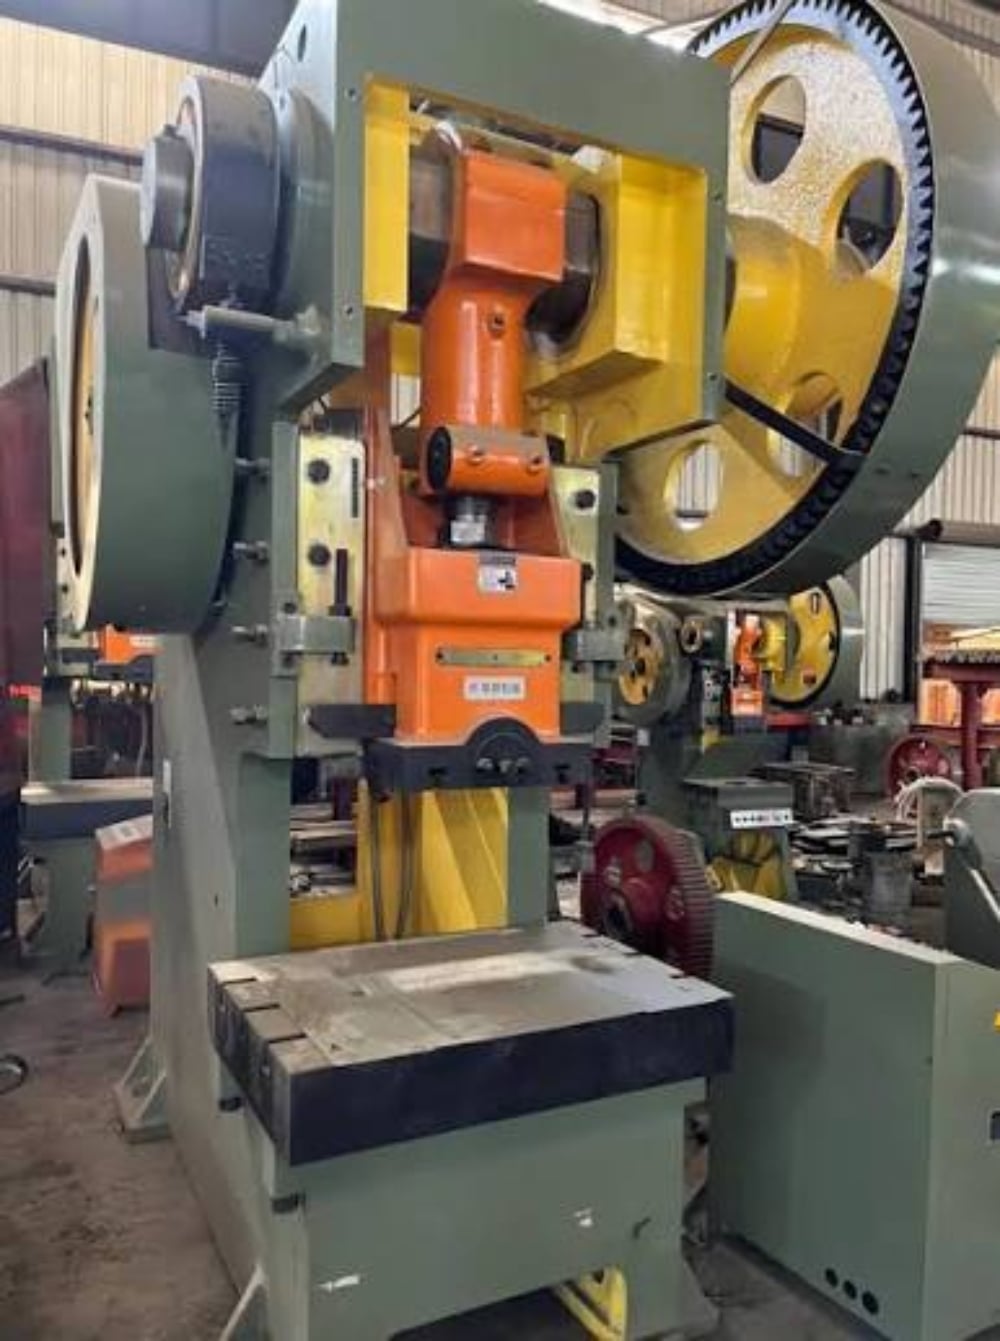
This guide provides a deep dive into the technical variables that influence edge quality. We will explore why burrs form, how to calculate the ideal die clearance, and the maintenance protocols necessary to keep your punching operations running at peak performance. By the end of this article, you will have a comprehensive framework to diagnose and resolve edge quality issues in real-time.
Key Considerations for Edge Quality
Material Characteristics and Their Impact
The first step to Troubleshoot Burrs Poor Edge Quality In Punching Machine Operations is analyzing the material being processed. Different metals react differently to the shearing force of a punch. For instance, soft aluminum tends to “gall” or stick to the punch, leading to larger burrs, while high-tensile stainless steel requires significantly more force and precise clearance to prevent rapid tool wear and edge degradation.
Ductility plays a major role. Highly ductile materials stretch more before they fracture, which naturally leads to a larger “rollover” at the top of the hole and a potential for larger burrs at the bottom. Conversely, brittle materials fracture quickly, often resulting in a cleaner edge but requiring careful clearance management to avoid cracking the surrounding material. Understanding the tensile strength and thickness of your sheet metal is the foundation of setting up your punching machine correctly.
The Mechanics of the Punching Process
To troubleshoot effectively, an operator must visualize what happens during the millisecond the punch hits the metal. The process consists of three distinct stages: initial deformation (rollover), the shearing phase (burnish), and the fracture phase (break). In a perfect punch, the fracture initiated from the top by the punch meets the fracture initiated from the bottom by the die. When these fractures do not meet cleanly, the material is forced to tear, resulting in a burr.
If the clearance is too tight, the fractures miss each other, causing a “secondary shear” or a double-burnished edge, which increases the force required and generates excessive heat. If the clearance is too wide, the material is pulled down into the die before it fractures, creating a large rollover and a heavy burr. Balancing these forces is the key to industrial-grade edge quality.
Technical Details: Root Causes and Solutions
Optimizing Die Clearance
Die clearance is the most critical factor when you need to Troubleshoot Burrs Poor Edge Quality In Punching Machine Operations. Die clearance is defined as the total difference between the diameter of the die and the diameter of the punch. It is typically expressed as a percentage of the material thickness.
| Material Type | Recommended Clearance (% of Thickness) | Common Edge Issues if Incorrect |
|---|---|---|
| Mild Steel | 15% – 20% | Large burrs (too wide), Double burnish (too tight) |
| Stainless Steel | 20% – 25% | Rapid tool wear, Work hardening |
| Aluminum (Soft) | 10% – 15% | Galling, Material pull-through |
| Galvanized Steel | 15% – 18% | Zinc buildup on tools, Flaking edges |
Using the wrong clearance is the leading cause of poor edge quality. For example, if you are punching 2mm mild steel with a 10% clearance (0.2mm total), the edge might look shiny but the machine is working harder than necessary. Increasing that to 20% (0.4mm) might actually produce a cleaner fracture and extend the life of your HARSLE punch press components.
Tool Sharpening and Maintenance
A dull punch is like a dull knife; it pushes rather than cuts. As the cutting edge of the punch rounds off, the pressure required to penetrate the material increases. This extra pressure causes the material to deform more before the shear begins, leading to excessive burrs. Regular inspection of the punch and die edges is mandatory.
When sharpening tools, it is vital to remove enough material to reach “clean” metal but not so much that the tool loses its structural integrity. Furthermore, after grinding, the tools must be demagnetized and polished. Small grinding burrs left on the tool itself can transfer to the workpiece or cause premature wear. A consistent sharpening schedule based on hit counts is the best way to prevent edge quality from deteriorating over time.
Turret and Station Alignment
If your burrs are inconsistent—for example, larger on one side of the hole than the other—the issue is likely alignment. In a CNC turret punch press, the punch and die must be perfectly centered. Misalignment causes the clearance to be uneven around the perimeter of the cut. On the side where the clearance is too tight, you get secondary shear; on the side where it is too wide, you get a heavy burr.
Alignment issues can stem from worn turret bores, damaged die holders, or even the machine being unlevel. For HARSLE machines, utilizing high-quality alignment tools and performing periodic checks on the turret’s indexing stations will ensure that the punch enters the die exactly in the center every time, regardless of the hit speed.
Selection Advice: Choosing the Right Equipment and Tooling
Selecting the Right Punching Machine
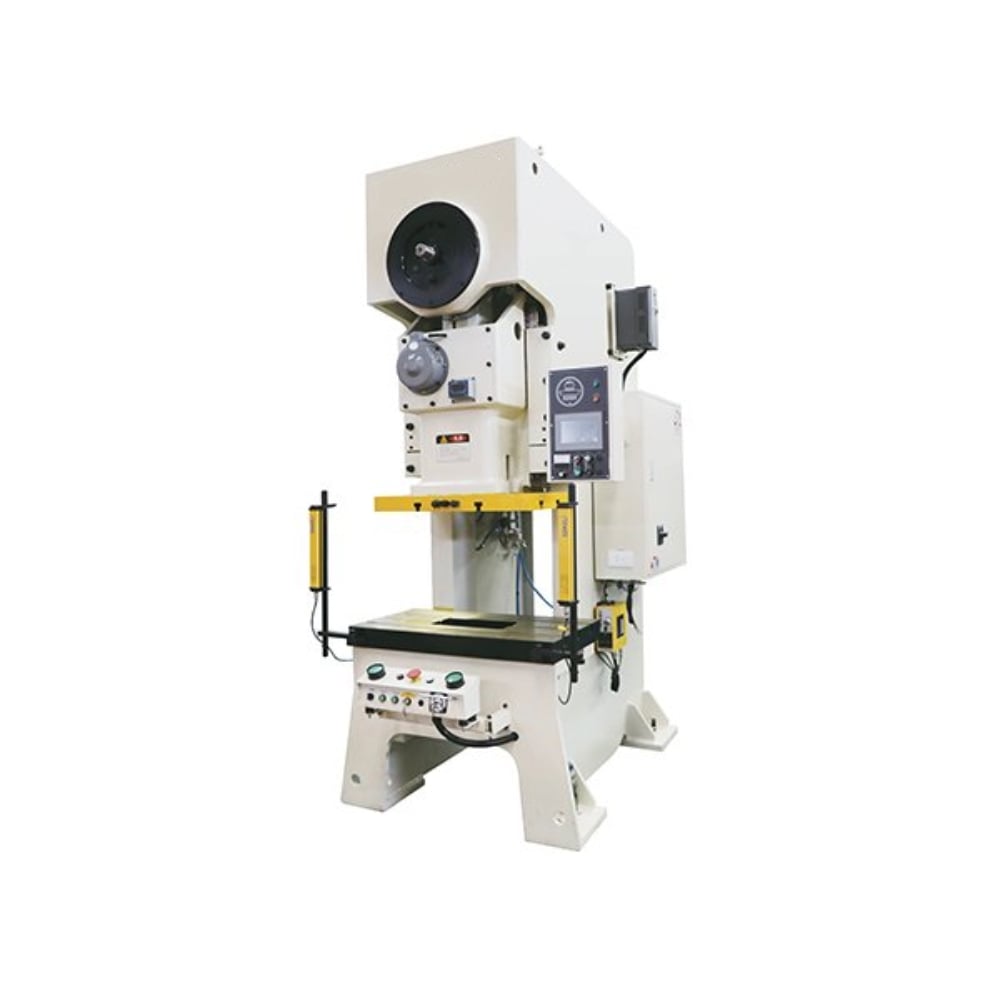
When purchasing a new punching machine, consider the rigidity of the frame. A “C-frame” machine may experience more “yaw” or deflection under high tonnage than an “O-frame” or bridge-frame machine. This deflection can momentarily throw off the alignment during the stroke, leading to poor edge quality on thicker materials. HARSLE’s advanced CNC turret presses are designed with high-rigidity frames to minimize this deflection, ensuring consistent clearance even at maximum capacity.
Additionally, look for machines with sophisticated hydraulic control. The ability to control the speed of the punch through the material (soft-punch technology) can significantly reduce the shock to the material and the tool, resulting in a smoother edge and less noise. This is particularly useful when working with delicate or highly polished materials where surface integrity is paramount.
Tooling Material and Coating Selection
Not all punches are created equal. For high-volume operations, investing in high-speed steel (HSS) or premium tool steels with specialized coatings (like TiCN or Altin) can make a massive difference in edge quality. These coatings reduce friction and prevent “slug pulling” and galling. When you Troubleshoot Burrs Poor Edge Quality In Punching Machine Operations, sometimes the solution isn’t in the settings, but in the metallurgy of the tool itself. A coated punch stays sharper longer, maintaining that crisp edge for thousands of additional hits compared to standard uncoated tooling.
Troubleshooting Checklist for Operators
If you encounter poor edge quality during a production run, follow this systematic checklist to identify the culprit:
- Check the Die Clearance: Is the die currently in the machine correct for the material thickness? Double-check the laser-etched size on the die.
- Inspect Tool Sharpness: Remove the punch and die. Feel the edges. If they feel rounded or show visible nicks, it’s time to sharpen.
- Verify Lubrication: Is the auto-lube system functioning? Is there a light film of oil on the sheet? Lack of lubrication causes heat and galling.
- Examine the Slug: The slug tells the story. A good slug should have a shiny sheared section (about 1/3 of the thickness) and a consistent fractured section. If the slug is lopsided, check alignment.
- Check Stripper Pressure: If the material is moving or vibrating during the punch, the edge will be jagged. Ensure the stripper plate is holding the material firmly against the die.
- Monitor Machine Leveling: Ensure the machine hasn’t shifted. An unlevel machine can cause subtle frame twists that affect turret alignment.
Frequently Asked Questions (FAQ)
What is the most common cause of burrs in punching?
The most common cause is excessive die clearance. When the gap between the punch and die is too large for the material thickness, the metal is stretched into the die rather than being cut, resulting in a prominent burr at the bottom of the hole.
How often should I sharpen my punching tools?
This depends on the material. For mild steel, you might sharpen every 50,000 to 100,000 hits. For stainless steel, this might drop to every 20,000 hits. The best practice is to monitor the edge quality and sharpen as soon as a burr exceeds 10% of the material thickness.
Can lubrication really improve edge quality?
Yes, significantly. Lubrication reduces the friction between the punch and the material, which lowers the heat generated. Heat is a major contributor to material sticking to the punch (galling), which leads to ragged edges and burrs.
What is “secondary shear” and why is it bad?
Secondary shear occurs when die clearance is too tight. The fractures from the top and bottom don’t meet, so the punch has to cut through the material a second time. This creates a very straight but “double-stepped” edge, increases tool wear, and can even break the punch due to excessive force.
Why does my machine produce burrs only on one side of the hole?
This is a classic sign of misalignment. The punch is not entering the die perfectly centered, meaning the clearance is too tight on one side and too wide on the other. You need to realign the station or check for wear in the turret keys.
Conclusion: Achieving Excellence in Metal Punching
To effectively Troubleshoot Burrs Poor Edge Quality In Punching Machine Operations, one must adopt a holistic approach that encompasses machine maintenance, tooling precision, and material knowledge. Burrs are not an inevitable part of punching; they are a symptom of a variable that has moved out of its optimal range. By maintaining a strict regimen of tool sharpening, ensuring precise die clearance, and utilizing high-quality machinery like HARSLE CNC turret presses, fabricators can produce parts that require zero post-processing.
Investing time in understanding the mechanics of the shear and fracture zones will pay dividends in reduced scrap rates and higher customer satisfaction. Remember, the goal of industrial metal fabrication is not just to make a hole, but to make a perfect hole every single time. Keep your tools sharp, your alignment true, and your clearances calculated, and you will master the art of the clean edge.












