
Best Practices for Punching Machine Die Clearance Inspection and Adjustment


Introduction to Die Clearance in Punching Operations
In the world of metal fabrication, precision is the boundary between a high-quality component and scrap metal. Among the various factors that influence the success of a punching operation, die clearance stands as perhaps the most critical variable. Die clearance is defined as the total space between the punch and the die, typically expressed as a percentage of the material thickness. When this clearance is optimized, the punching process produces clean edges, minimal burrs, and extends the life of the machinery. However, maintaining this precision requires a rigorous adherence to best practices for punching machine die clearance inspection and adjustment.
HARSLE, a leader in metal fabrication machinery, emphasizes that understanding the physics of the punch-and-die interaction is essential for any operator. As the punch descends, it penetrates the material, causing initial plastic deformation. Eventually, fractures initiate from both the punch and die edges. If the clearance is correct, these fractures meet cleanly, resulting in a smooth shear zone and a clean break. If the clearance is incorrect, the fractures do not align, leading to secondary shearing, excessive tool wear, and increased energy consumption by the machine.
The Critical Importance of Regular Maintenance
The importance of maintaining proper die clearance cannot be overstated. Regular maintenance ensures that the machine operates within its designed parameters, preventing premature failure of expensive tooling. When die clearance is neglected, several negative outcomes occur. First, tool wear accelerates. A clearance that is too tight causes the punch to rub excessively against the die, generating heat and leading to galling. Conversely, a clearance that is too wide causes the material to be pulled into the die, resulting in large burrs and potential damage to the stripper plate.
Furthermore, consistent maintenance impacts the structural integrity of the punching machine itself. Improper clearance increases the tonnage required to pierce the material. This unnecessary stress vibrates through the frame, hydraulic cylinders, and mechanical linkages, leading to long-term misalignment. By following best practices for punching machine die clearance inspection and adjustment, operators can reduce downtime and ensure that every stroke of the machine is as efficient as possible. This proactive approach is the hallmark of a high-performing fabrication shop.

Daily Inspection Protocols for Operators
Daily inspections are the first line of defense against clearance-related issues. Before starting any shift, operators should perform a visual and tactile check of the tooling. This begins with cleaning the die bed and the punch holder. Even a small amount of metal dust or debris can cause a slight tilt in the die, effectively changing the clearance on one side. Using compressed air or a specialized industrial vacuum, ensure that all mating surfaces are pristine.
Next, operators should inspect the quality of the slugs produced during the first few hits of a production run. The slug is a window into the health of the die clearance. A perfect slug should have a shiny ‘burnished’ area on the top third and a rougher ‘fracture’ zone on the bottom two-thirds. If the burnished area is uneven around the circumference of the slug, it indicates that the punch is not centered in the die. This daily habit of slug inspection allows for immediate corrective action before a full batch of parts is ruined.
Finally, listen to the machine. An experienced operator can often hear when die clearance is off. A sharp, clean ‘crack’ usually indicates good clearance, while a dull ‘thud’ or a double-clicking sound may suggest that the material is being dragged or that the punch is struggling to exit the die. These sensory checks, combined with precision measurements, form the foundation of effective daily maintenance.
Hydraulic, Electrical, and Mechanical System Checks
Beyond the tooling itself, the machine’s internal systems play a vital role in maintaining clearance. In hydraulic punching machines, the consistency of the stroke is paramount. If the hydraulic pressure fluctuates or if there is air in the lines, the punch may not enter the die at a perfectly perpendicular angle. Regularly checking hydraulic fluid levels, filter cleanliness, and valve responsiveness is essential. Any hesitation in the ram’s movement can lead to lateral forces that shift the die clearance during the hit.
Electrical systems, particularly on CNC-controlled punching machines, must be calibrated to ensure the turret or tool changer aligns perfectly with the die base. Sensors that detect the position of the ram and the die holder should be checked for accuracy. Over time, vibration can loosen electrical connections or cause sensors to drift. A routine check of the machine’s software diagnostics can reveal hidden errors in positioning that might otherwise go unnoticed until tool damage occurs.
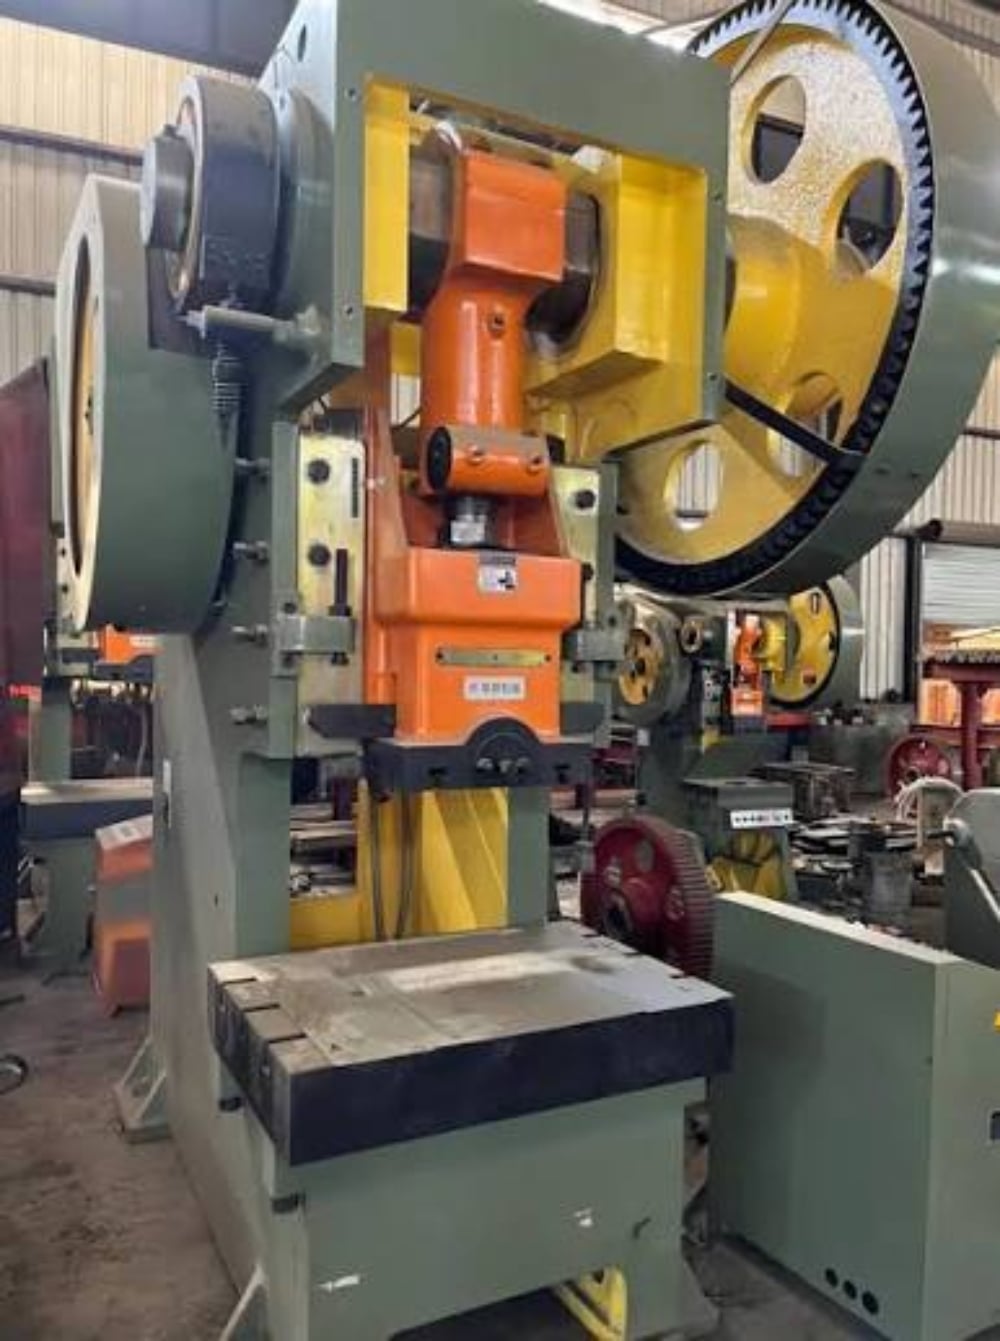
Mechanical checks focus on the physical alignment of the machine frame and the tool-holding components. The ‘gib’ clearances—the guides that the ram slides within—must be checked and adjusted according to the manufacturer’s specifications. If the gibs are too loose, the ram can ‘float,’ causing the punch to hit the die off-center. This mechanical play is a common culprit behind inconsistent die clearance. Ensuring that all bolts are torqued to the correct specifications and that there is no visible wear on the guide bushings is a critical step in the maintenance process.
Comprehensive Lubrication Plan
Lubrication is the lifeblood of any industrial machine, and in punching operations, it serves a dual purpose: reducing friction and managing heat. A comprehensive lubrication plan should specify the type of lubricant used for different parts of the machine. For the punch and die themselves, a specialized vanishing oil or a heavy-duty punching lubricant should be applied. This prevents the material from welding to the punch (galling), which can effectively change the punch diameter and ruin the clearance.
The machine’s moving parts, such as the ram guides, crankshaft bearings, and turret rotation gears, require regular greasing or oiling. Automated lubrication systems should be monitored to ensure they are delivering the correct volume of oil at the right intervals. If a manual system is used, a strict schedule must be followed. Lack of lubrication leads to heat expansion; as components heat up, they expand, which can tighten clearances to dangerous levels, leading to catastrophic tool failure.
It is also important to consider the environment. In dusty fabrication shops, oil can mix with metal particles to create an abrasive paste. Therefore, part of the lubrication plan must include cleaning away old, contaminated grease before applying new lubricant. This ensures that the lubrication reduces wear rather than accelerating it.
Identifying Troubleshooting Signals
Recognizing the signs of improper die clearance early can save thousands of dollars in repairs. The most common signal is the appearance of the ‘burr.’ While all punching processes produce a small burr, an excessive or sharp burr indicates that the clearance is too large. The material is being stretched into the die rather than being sheared. On the other hand, if the edge of the hole shows a ‘double shear’—two shiny bands separated by a fracture zone—the clearance is too tight.
Another troubleshooting signal is the ‘pull-down’ or ‘rollover’ at the top of the hole. While some rollover is normal, an excessive amount suggests that the die clearance is too wide for the material thickness or hardness. Operators should also watch for ‘slug pulling,’ where the slug sticks to the punch and is pulled back out of the die. This is often a sign of improper clearance combined with a lack of lubrication or a dull punch.
Machine vibration and noise are also key indicators. If the machine begins to shake more than usual or if the punching sound becomes muffled, it is time to stop and inspect the die clearance. Using a feeler gauge to check the gap between the punch and die at four points (90 degrees apart) can quickly confirm if the tool is centered and if the clearance is uniform.
Detailed Maintenance Schedule Table
To maintain peak performance, follow this structured maintenance schedule designed for HARSLE punching machines and similar industrial equipment.
| Frequency | Component | Action Required | Objective |
|---|---|---|---|
| Daily | Punch & Die | Clean and visual inspection for chips or wear. | Prevent debris interference. |
| Daily | Slugs | Inspect for uniform burnish and fracture zones. | Verify clearance accuracy. |
| Daily | Lubrication System | Check oil levels and pump operation. | Ensure friction reduction. |
| Weekly | Tool Holders | Check for tightness and alignment. | Prevent tool shifting. |
| Weekly | Hydraulic System | Check for leaks and monitor pressure gauges. | Maintain stroke consistency. |
| Monthly | Ram Gibs | Inspect for play and adjust if necessary. | Ensure perpendicular travel. |
| Monthly | Electrical Sensors | Clean and test for accurate positioning. | Maintain CNC precision. |
| Quarterly | Machine Frame | Check leveling and anchor bolts. | Prevent vibration-induced drift. |
| Annually | Complete Overhaul | Deep clean, replace worn seals, and recalibrate. | Extend machine longevity. |
Best Practices for Adjusting Die Clearance
When an inspection reveals that the die clearance is incorrect, adjustment must be performed with precision. The first step is to determine the required clearance based on the material type and thickness. For example, mild steel typically requires a total clearance of 15-20% of the material thickness, while stainless steel may require 20-25% due to its work-hardening properties. Aluminum, being softer, often performs best with a tighter clearance of 10-12%.
Adjustment methods vary by machine. On many modern HARSLE machines, die clearance is adjusted by changing the die itself to one with a larger or smaller opening. It is vital to ensure that the die is perfectly seated in the die holder. If the machine allows for manual centering, use a centering tool or a dial indicator to ensure the punch enters the die exactly in the middle. Even a few thousandths of an inch of misalignment can cause uneven wear and poor part quality.
After making an adjustment, always perform a ‘dry run’ or a test hit on a scrap piece of the same material. Re-inspect the slug and the hole quality. It is also a best practice to document the adjustment in the machine’s maintenance log. This history helps in diagnosing future issues and ensures that all operators are aware of the current setup. Remember, adjusting die clearance is not just about the gap; it is about the total alignment of the punching system.
Frequently Asked Questions (FAQ)
1. How often should I check my punching machine’s die clearance?
Die clearance should be checked at the beginning of every shift and whenever you change the material type or thickness. A quick slug inspection should be done periodically throughout the day to ensure nothing has shifted during high-volume production.
2. What happens if the die clearance is too small?
If the clearance is too small, the fractures from the punch and die do not meet. This results in a ‘double shear’ effect, which requires significantly more force to punch the hole. This leads to rapid tool wear, increased heat, and potential breakage of the punch tip.
3. Can I use the same die clearance for all materials?
No. Different materials have different shear strengths and ductilities. Harder materials like stainless steel generally require larger clearances to allow the fractures to meet correctly, while softer materials like aluminum require tighter clearances to prevent the material from being pulled into the die.
4. How do I calculate the correct die clearance?
The standard formula is: Material Thickness x Recommended Percentage = Total Clearance. For example, if you are punching 2mm mild steel and the recommended clearance is 20%, the total clearance should be 0.4mm (0.2mm per side).
5. What are the signs of a dull punch versus incorrect clearance?
A dull punch typically leaves a rounded edge on the top of the hole and requires more force, often causing the machine to labor. Incorrect clearance usually manifests as an uneven burr or a double-sheared edge on the slug, even if the punch itself is sharp.
6. Why is my machine making a loud ‘bang’ during the stroke?
A loud, explosive sound often indicates ‘breakthrough shock.’ This can happen if the die clearance is too tight or if the material is very hard. It can also be a sign that the machine’s hydraulic cushioning is not functioning correctly, or the ram is not properly aligned.
Conclusion
Mastering the best practices for punching machine die clearance inspection and adjustment is a journey of continuous improvement. By implementing a rigorous daily inspection routine, maintaining the machine’s core systems, and understanding the nuances of material behavior, fabricators can achieve unparalleled precision. HARSLE remains committed to providing the tools and knowledge necessary for shops to thrive in a competitive market. Remember, the quality of your finished product is only as good as the maintenance of the machine that creates it. Treat your punching machine with the care it deserves, and it will provide years of reliable, high-quality service.


