
Comprehensive Guide: How to Clean and Maintain Punching Machine Components After Production


The Critical Importance of Post-Production Maintenance for Punching Machines
In the high-stakes world of metal fabrication, the punching machine stands as a cornerstone of productivity. Whether you are operating a mechanical power press or a high-precision CNC turret punch, the environment is inherently harsh. During a standard production shift, these machines are subjected to immense pressure, high-speed friction, and the constant generation of metal debris, dust, and heat. Failing to clean and maintain punching machine components after production is not merely a lapse in housekeeping; it is a direct threat to the machine’s operational lifespan and the quality of the finished product.
Regular maintenance ensures that the intricate components of the machine—ranging from the hydraulic valves to the precision-ground dies—remain in peak condition. When metal shavings or ‘slugs’ are left to accumulate, they can migrate into sensitive areas, causing abrasive wear on sliding surfaces or clogging lubrication channels. Over time, this neglect leads to a decrease in punching accuracy, increased burr formation on workpieces, and eventually, catastrophic mechanical failure that results in expensive downtime.
Furthermore, a well-maintained machine is a safer machine. Many industrial accidents in metalworking shops can be traced back to poorly maintained braking systems, loose fasteners, or electrical shorts caused by metallic dust accumulation. By implementing a rigorous post-production cleaning and maintenance protocol, manufacturers can protect their capital investment, ensure the safety of their operators, and maintain a competitive edge through consistent part quality and reliable delivery schedules.
This guide provides a deep dive into the technical requirements for maintaining punching machines. We will explore the specific steps needed to clean and inspect hydraulic, electrical, and mechanical systems, providing you with a roadmap to operational excellence. By following these industry-standard practices, you can ensure that your HARSLE equipment or any industrial punching machine continues to perform at its theoretical maximum efficiency for years to come.
Daily Inspection: The First Line of Defense
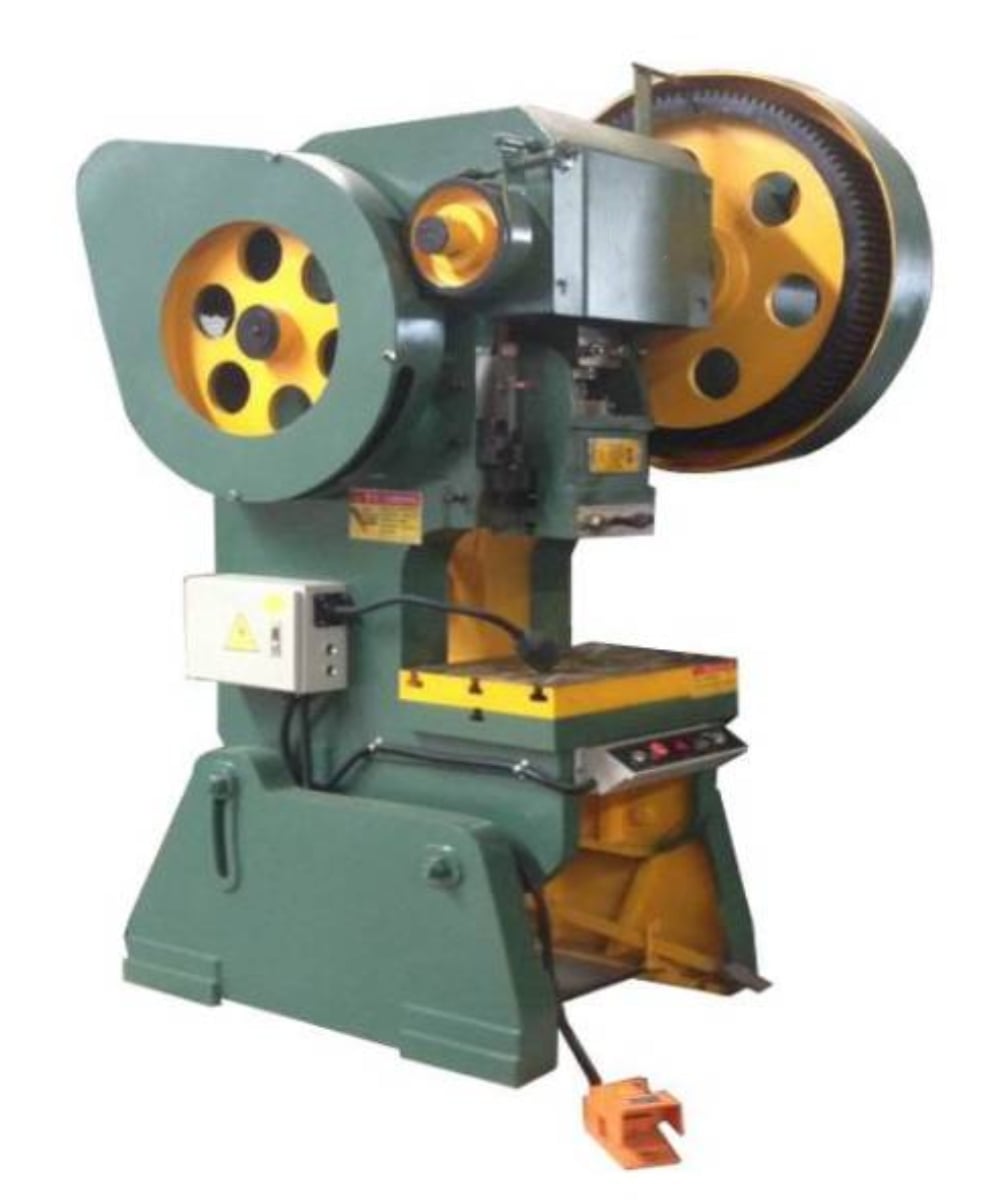
The daily inspection routine is perhaps the most vital aspect of the clean and maintain punching machine components after production process. This routine should begin immediately after the final part of the shift has been processed and the machine has been safely powered down (following proper Lockout/Tagout procedures where necessary). The goal of the daily inspection is to identify minor issues before they escalate into major repairs.
Start by clearing the worktable and the surrounding area of all scrap metal, slugs, and offcuts. Slugs are particularly notorious for causing damage; if they are not properly evacuated by the vacuum or air-blow system, they can pile up and interfere with the movement of the sheet metal or even damage the lower die. Use a soft brush or industrial vacuum rather than compressed air to clean sensitive areas. While compressed air is fast, it often forces fine metallic dust deeper into bearings and electrical cabinets, where it can cause significantly more harm than good.
Once the debris is cleared, perform a visual sweep of the machine’s exterior. Look for signs of oil leaks around hydraulic fittings and cylinders. Even a small ‘weep’ of oil can indicate a failing seal that could lead to a loss of pressure during operation. Check the condition of the tooling currently installed in the machine. Look for signs of galling (material pickup) on the punches and dulling of the die edges. If the tooling looks worn, it should be flagged for sharpening or replacement before the next production run begins.
Finally, check the tension of any visible drive belts and the security of external fasteners. The vibration inherent in punching operations can slowly loosen bolts over time. A quick check with a wrench on critical mounting points can prevent a component from vibrating loose during the next shift. Documenting these daily checks in a logbook creates a historical record that can be invaluable for identifying recurring issues and planning long-term maintenance strategies.
Hydraulic System Maintenance: Ensuring Power and Precision
The hydraulic system is the heart of many modern punching machines, providing the force necessary to shear through thick metal plates. Maintaining this system requires a focus on fluid cleanliness and temperature regulation. After production, the hydraulic oil is often at its peak operating temperature. This is an ideal time to check the oil level in the reservoir, as it reflects the system’s state under thermal expansion. Ensure the oil level is within the specified range; low oil levels can lead to aeration, which causes ‘spongy’ machine action and accelerates component wear.
Contamination is the primary enemy of hydraulic systems. Even microscopic particles can score the precision-honed surfaces of directional valves and piston rods. As part of your post-production routine, inspect the hydraulic filters. Many modern machines feature clogging indicators that signal when a filter element needs replacement. If your machine lacks these, follow a strict hourly schedule for filter changes. Additionally, wipe down the piston rods of the main cylinders with a clean, lint-free cloth to remove any dust that could be pulled past the wiper seals during the next operation.
Heat management is another critical factor. Check the cooling system, whether it is an air-cooled heat exchanger or a water-cooled system. Ensure that the cooling fins are not clogged with dust or shop grime. If the hydraulic oil consistently runs too hot (typically above 60°C or 140°F), it will begin to oxidize and break down, losing its lubricating properties and damaging seals. Regular oil analysis—sending a sample to a lab once or twice a year—is highly recommended for high-volume production environments to monitor for internal component wear and oil degradation.
Lastly, inspect all hydraulic hoses for signs of cracking, bulging, or abrasion. Hoses are wear items and have a finite lifespan. A burst hose during production is not only a major mess but a significant safety hazard. If a hose shows any sign of outer jacket damage or if the reinforcement wire is visible, it must be replaced immediately. Proper clean and maintain punching machine components after production protocols must prioritize these high-pressure lines to ensure a safe working environment.
Electrical and Control System Care
The electrical system of a punching machine, especially CNC models, is highly sensitive to the industrial environment. Metallic dust is conductive; if it enters the electrical cabinet, it can cause short circuits, erratic behavior, or the total failure of expensive PLC (Programmable Logic Controller) units and servo drives. After production, ensure that all electrical cabinet doors are tightly sealed. If the cabinet uses a cooling fan, check the filter. A clogged filter will cause the internal temperature of the cabinet to rise, significantly shortening the life of electronic components.
Inspect the external wiring and conduits. In a punching environment, vibration and the movement of the machine axes can cause cables to rub against sharp edges or become pinched. Look for any signs of frayed insulation or loose connectors. Pay particular attention to the foot pedal cable and the cables leading to the limit switches and sensors. These are often in ‘splash zones’ where they may be exposed to oil or mechanical impact.
Sensors and encoders are the ‘eyes’ of the machine. If a proximity sensor is covered in oily grime and metal shavings, it may fail to trigger, leading to a machine crash or an out-of-tolerance part. Gently clean the faces of all sensors with a damp cloth. Do not use harsh solvents that could damage the plastic faces of the sensors. Similarly, if the machine uses optical scales for positioning, ensure they are clean and that the protective covers are intact.
Software and data management are also part of modern maintenance. After a production run, it is good practice to back up any new programs or parameters that were adjusted during the shift. Ensure the control interface (HMI) is cleaned of fingerprints and shop grease using a screen-safe cleaner. This maintains visibility and ensures that touchscreens remain responsive to operator input.
Mechanical Components and Tooling Maintenance
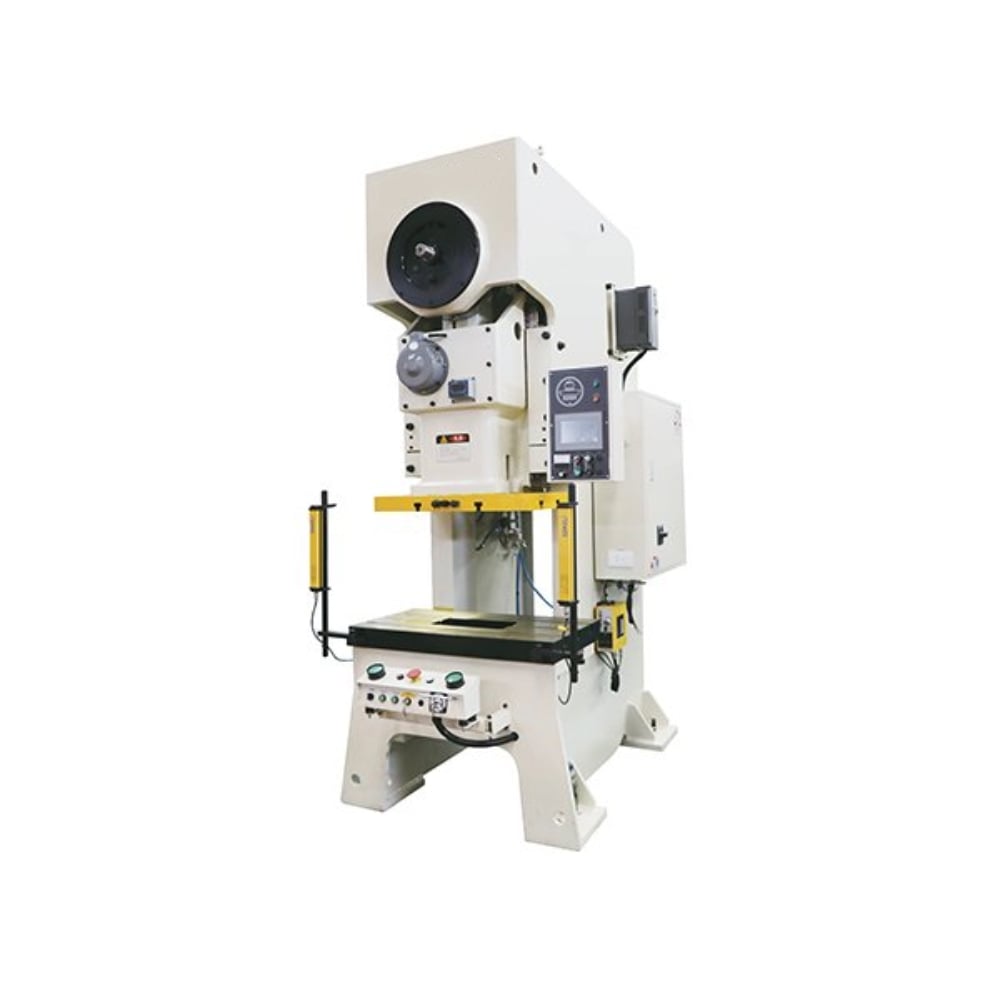
The mechanical integrity of the punching machine determines the accuracy of every hole punched. The most critical mechanical components are the ram, the guides (gibways), and the tooling itself. After production, the ram and its guides should be cleaned of any old grease that has become contaminated with metal dust. This ‘grinding paste’ can quickly wear down the precision surfaces, leading to ‘ram play’ and poor punching quality. Once cleaned, apply a fresh layer of the manufacturer-recommended lubricant.
Tooling maintenance is a specialized task that must be performed after every production run. Remove the punches and dies from the machine and inspect them under good lighting. Look for ‘slug pulling,’ where the scrap material sticks to the punch, or ‘galling,’ where the workpiece material welds itself to the tool. These issues are often caused by improper lubrication or incorrect die clearance. Clean the tools using a specialized degreaser and, if necessary, use a fine abrasive stone to remove minor surface imperfections. Always apply a light coat of rust-preventative oil before storing tools in a clean, dry environment.
The flywheel and clutch/brake assembly (on mechanical presses) require specific attention. The brake is a friction-based component that generates dust as it wears. This dust must be cleaned out periodically to ensure the brake remains effective. Check the air pressure in the pneumatic clutch system; if the pressure is too low, the clutch may slip, causing excessive heat and wear. Listen for any unusual sounds from the flywheel bearings, such as grinding or whining, which could indicate that the bearings are reaching the end of their service life.
Finally, inspect the workpiece clamping system. On CNC machines, the clamps are subjected to high acceleration and deceleration forces. Ensure the ‘teeth’ of the clamps are clean and sharp so they can securely grip the sheet metal without slipping. Check the pneumatic lines leading to the clamps for leaks. A slipping clamp can lead to ruined workpieces and can even cause the sheet to collide with the tooling, resulting in significant machine damage.
Developing a Robust Lubrication Plan
Lubrication is the lifeblood of any mechanical system. To effectively clean and maintain punching machine components after production, you must adhere to a strict lubrication schedule. Most modern punching machines utilize a combination of automatic lubrication systems and manual grease points. The automatic system typically handles the main bearings and guides, but it is the operator’s responsibility to ensure the lubricant reservoir is always full and that the pump is functioning correctly.
Different components require different types of lubricants. For example, high-speed bearings may require a light, high-velocity grease, while heavy-duty slides might require a tacky, extreme-pressure (EP) oil. Using the wrong lubricant can be as damaging as using no lubricant at all. Always refer to the machine’s manual for the specific grades of oil and grease required. When applying grease manually, always wipe the grease fitting (zirk) clean before attaching the grease gun to prevent pushing dirt into the bearing.
The frequency of lubrication depends on the intensity of production. In a multi-shift environment, some points may require lubrication every eight hours, while others may only need attention weekly. A common mistake is over-lubrication, which can lead to grease ‘churning’ and overheating in high-speed bearings, or the accumulation of excess grease that attracts more dust and debris. The goal is to maintain a consistent, thin film of lubricant on all moving surfaces.
In addition to the machine itself, the tooling requires lubrication during the punching process. Many machines are equipped with an automatic tool spray system. After production, check the nozzles of this system to ensure they are not clogged. The lubricant used for tooling is often different from the machine’s internal lubricants, as it must be compatible with the workpiece material and easy to remove before subsequent processes like painting or welding.
Troubleshooting Signals: What to Listen and Look For
A skilled operator develops an ear for the machine. During the post-production phase, reflecting on the machine’s performance during the shift can provide clues for necessary maintenance. Did the machine sound different? A change in the ‘thud’ of the punch can indicate that the tooling is becoming dull or that the ram alignment is shifting. A high-pitched squeal might suggest a failing bearing or a slipping belt. These auditory signals are often the first warning signs of impending trouble.
Vibration is another key indicator. While punching is naturally a high-vibration process, an increase in the intensity or a change in the frequency of vibration can point to loose mounting bolts, an unbalanced flywheel, or worn-out vibration isolation pads. If the machine is moving or ‘walking’ on the factory floor, it is a sign that the foundation bolts need tightening or that the machine needs to be re-leveled. Leveling is crucial for maintaining the geometric accuracy of the machine frame.
Heat is a byproduct of friction and electrical resistance. After a shift, use an infrared thermometer to check the temperature of motors, bearings, and hydraulic manifolds. If one motor is significantly hotter than the others, it may be overloaded or failing. Similarly, a hot bearing is a clear sign of inadequate lubrication or internal damage. Monitoring these temperatures over time allows you to establish a ‘baseline’ for normal operation, making it easy to spot anomalies.
Finally, look at the quality of the scrap slugs. The slugs can tell you a lot about the state of the machine and tooling. A clean, consistent slug indicates good tool alignment and proper clearance. If the slugs are deformed, have excessive burrs, or show signs of ‘burning,’ it is time to inspect the die clearance and the sharpness of the punch. By treating the machine as a holistic system, you can use these signals to guide your clean and maintain punching machine components after production efforts more effectively.
Maintenance Schedule Table
To simplify your maintenance routine, use the following table as a template for your facility. Adjust the frequencies based on your specific machine model and production volume.
| Frequency | Component | Action Required |
|---|---|---|
| Daily (Post-Shift) | Worktable & Die Area | Remove all slugs, scrap, and dust; vacuum sensitive areas. |
| Daily (Post-Shift) | Tooling | Inspect for wear/galling; clean and apply rust preventative. |
| Daily (Post-Shift) | Hydraulic System | Check oil levels and inspect for leaks around fittings. |
| Weekly | Electrical Cabinet | Clean/replace air filters; check for loose wiring. |
| Weekly | Mechanical Guides | Wipe down and apply fresh lubricant to ram gibs. |
| Monthly | Pneumatic System | Drain water from air filters; check for leaks in lines. |
| Quarterly | Drive Belts/Chains | Check tension and inspect for wear or cracking. |
| Annually | Hydraulic Oil | Perform oil analysis or replace oil and all filters. |
Frequently Asked Questions (FAQ)
1. Why shouldn’t I use compressed air to clean my punching machine?
While compressed air is convenient, it often blows fine metal particles and dust into sensitive areas like bearing races, electrical components, and hydraulic seals. This can cause abrasive wear and electrical shorts. Using an industrial vacuum or a brush is a much safer and more effective way to clean and maintain punching machine components after production.
2. How often should I sharpen my punching tools?
The frequency of sharpening depends on the material being punched (stainless steel wears tools faster than aluminum) and the thickness of the material. A general rule is to sharpen the tool when the burr height on the workpiece exceeds 10% of the material thickness. Regular, light sharpening is better than waiting until the tool is severely chipped or dull.
3. What is the best way to prevent rust on the machine table?
After cleaning the table at the end of the shift, apply a light coating of a specialized machine table protectant or a thin layer of light machine oil. This is especially important in humid environments or if the machine will be idle over a weekend. Always wipe off the excess oil before starting the next production run to prevent it from staining the workpieces.
4. My machine’s hydraulic oil is turning milky. What does this mean?
Milky oil is a classic sign of water contamination. This can happen due to condensation in the reservoir or a leak in a water-cooled heat exchanger. Water in the hydraulic oil reduces its lubricating ability and can cause rust on internal components. The oil should be changed immediately, and the source of the water must be identified and repaired.
5. Can I use any grease for the automatic lubrication system?
No. Automatic lubrication systems are designed for specific viscosities. Using a grease that is too thick can clog the distribution lines and injectors, while a grease that is too thin may leak out too quickly. Always use the specific lubricant grade recommended by the manufacturer (e.g., HARSLE) to ensure the system functions correctly.
6. How do I know if my machine needs re-leveling?
If you notice uneven wear on the ram guides, or if the punching accuracy varies depending on where the sheet is on the table, the machine may be out of level. You can check this using a precision machinist’s level on the main bed of the machine. Re-leveling should be part of your annual comprehensive maintenance check.


