
Punching Machine Die Wear Issues: Signs, Troubleshooting, and Maintenance Tips


Introduction to Punching Machine Die Longevity
In the high-precision world of metal fabrication, the efficiency of a CNC punching machine is inextricably linked to the condition of its tooling. Punching machine die wear issues are not merely a nuisance; they are a critical factor that influences part quality, machine downtime, and overall operational costs. When a die begins to degrade, the ripple effects are felt throughout the production line, leading to increased scrap rates and potential damage to the machine’s internal components. Understanding the nuances of die wear is essential for any operator or facility manager looking to maintain a competitive edge in the industrial sector.
Die wear is an inevitable consequence of the intense mechanical stress, friction, and heat generated during the punching process. However, the rate at which this wear occurs can vary significantly based on material selection, machine settings, and maintenance protocols. A well-maintained set of tools can produce hundreds of thousands of clean hits, whereas neglected tooling may fail after only a fraction of its expected lifespan. This guide aims to provide a deep dive into the signs of wear, the underlying causes, and the best practices for troubleshooting and maintenance to ensure your HARSLE punching machine operates at peak performance.
Modern metal fabrication demands tighter tolerances and faster turnaround times. To meet these demands, one must move beyond reactive maintenance and adopt a proactive approach to tool management. By recognizing the early warning signs of die wear, manufacturers can schedule maintenance before a catastrophic failure occurs, thereby saving time and resources. This article serves as a comprehensive resource for identifying, resolving, and preventing punching machine die wear issues, ensuring that your equipment remains a reliable asset in your workshop.
Key Considerations for Die Wear Management
Managing die wear begins with understanding the environment in which the tools operate. The primary factors influencing wear include the type of material being punched, the thickness of that material, and the clearance between the punch and the die. For instance, punching stainless steel creates significantly more heat and friction than punching aluminum, necessitating different tool coatings and more frequent lubrication. If the clearance is too tight, the friction increases exponentially; if it is too loose, the material will tear rather than shear, leading to excessive burrs and tool stress.
Another critical consideration is the alignment of the turret and the tool holders. Even the highest quality die will wear prematurely if the punch does not enter the die perfectly centered. Misalignment causes uneven wear on one side of the tool, which can lead to chipping or even breakage. Regular calibration of the punching machine is therefore a prerequisite for maximizing tool life. Furthermore, the tonnage required for a specific job must be within the machine’s and the tool’s rated capacity. Overloading the tool causes microscopic fractures that eventually lead to total failure.
Lubrication is often overlooked but is perhaps the most cost-effective way to mitigate wear. Proper lubrication reduces the friction between the punch tip and the workpiece, as well as between the punch and the die walls. This not only keeps the tools cooler but also helps in the ejection of the slug, preventing a common issue known as “slug pulling.” Operators must ensure that the lubrication system is functioning correctly and that the lubricant used is appropriate for the material being processed.
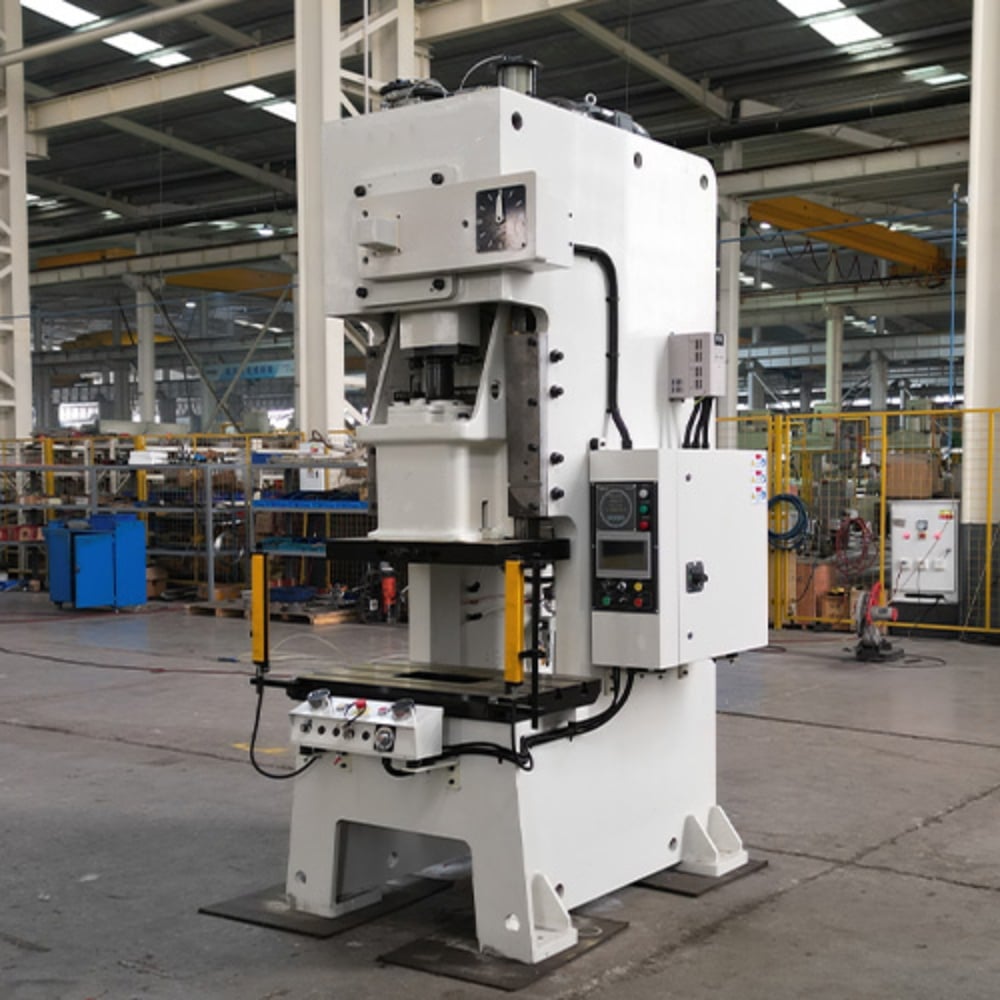
Signs of Punching Machine Die Wear
1. Excessive Burr Height
The most common and visible sign of die wear is the appearance of excessive burrs on the edges of the punched holes. A sharp punch and die set will produce a clean shear followed by a clean break. As the edges of the tool become rounded, the material is pushed into the die opening rather than being cut, resulting in a raised, sharp edge known as a burr. Industry standards typically dictate a maximum allowable burr height (often 10% of the material thickness), and exceeding this limit is a clear indicator that the tools need sharpening.
2. Increased Noise and Vibration
Experienced operators can often “hear” when a tool is getting dull. A sharp tool produces a crisp, clean sound upon impact. As the die wears, the sound changes to a heavier, duller thud. This is because the machine must exert more force to penetrate the material, leading to increased vibration throughout the machine frame. If you notice the machine shaking more than usual or a change in the acoustic profile of the punching cycle, it is time to inspect the dies.
3. Dimensional Inaccuracy
Wear doesn’t just affect the edge quality; it can also affect the dimensions of the finished part. As the punch diameter decreases slightly due to abrasive wear, or as the die opening widens, the resulting hole size will drift away from the specified tolerances. In precision fabrication, even a few microns of deviation can lead to part rejection, especially in industries like aerospace or electronics where fitment is critical.
4. Slug Pulling and Galling
Slug pulling occurs when the waste material (the slug) sticks to the punch tip and is pulled back up out of the die, often landing on the sheet and causing damage during the next hit. This is frequently caused by a dull punch or a lack of proper clearance. Galling, on the other hand, is the transfer of material from the workpiece to the punch tip due to heat and pressure. Both issues are symptomatic of tool wear and inadequate lubrication, and they can lead to significant surface defects on the finished product.
Technical Details: The Mechanics of Wear and Clearance
To effectively troubleshoot die wear, one must understand the technical relationship between the punch and the die. The “clearance” is the total difference between the punch diameter and the die diameter. The ideal clearance is usually expressed as a percentage of the material thickness. For example, mild steel typically requires a total clearance of 15% to 20% of the material thickness. If the clearance is incorrect, the fracture lines from the punch and the die will not meet, causing the machine to use more tonnage and accelerating the rounding of the tool edges.
| Material Type | Recommended Total Clearance (% of Thickness) | Common Wear Characteristics |
|---|---|---|
| Aluminum | 10% – 15% | Galling, material buildup on punch |
| Mild Steel | 15% – 20% | Abrasive wear, edge rounding |
| Stainless Steel | 20% – 25% | High heat, rapid dulling, chipping |
| Copper/Brass | 8% – 12% | Flaking, edge deformation |
The metallurgy of the tool itself also plays a vital role. Most high-quality punches are made from M2 or D2 tool steel, which offers a balance of toughness and wear resistance. For high-volume applications, powdered metal steels like PM-M4 are used because they can withstand higher impact forces without chipping. Furthermore, surface treatments such as Titanium Nitride (TiN) or Titanium Carbonitride (TiCN) coatings can significantly reduce friction and increase surface hardness, extending the time between sharpenings by up to 3 to 10 times depending on the application.
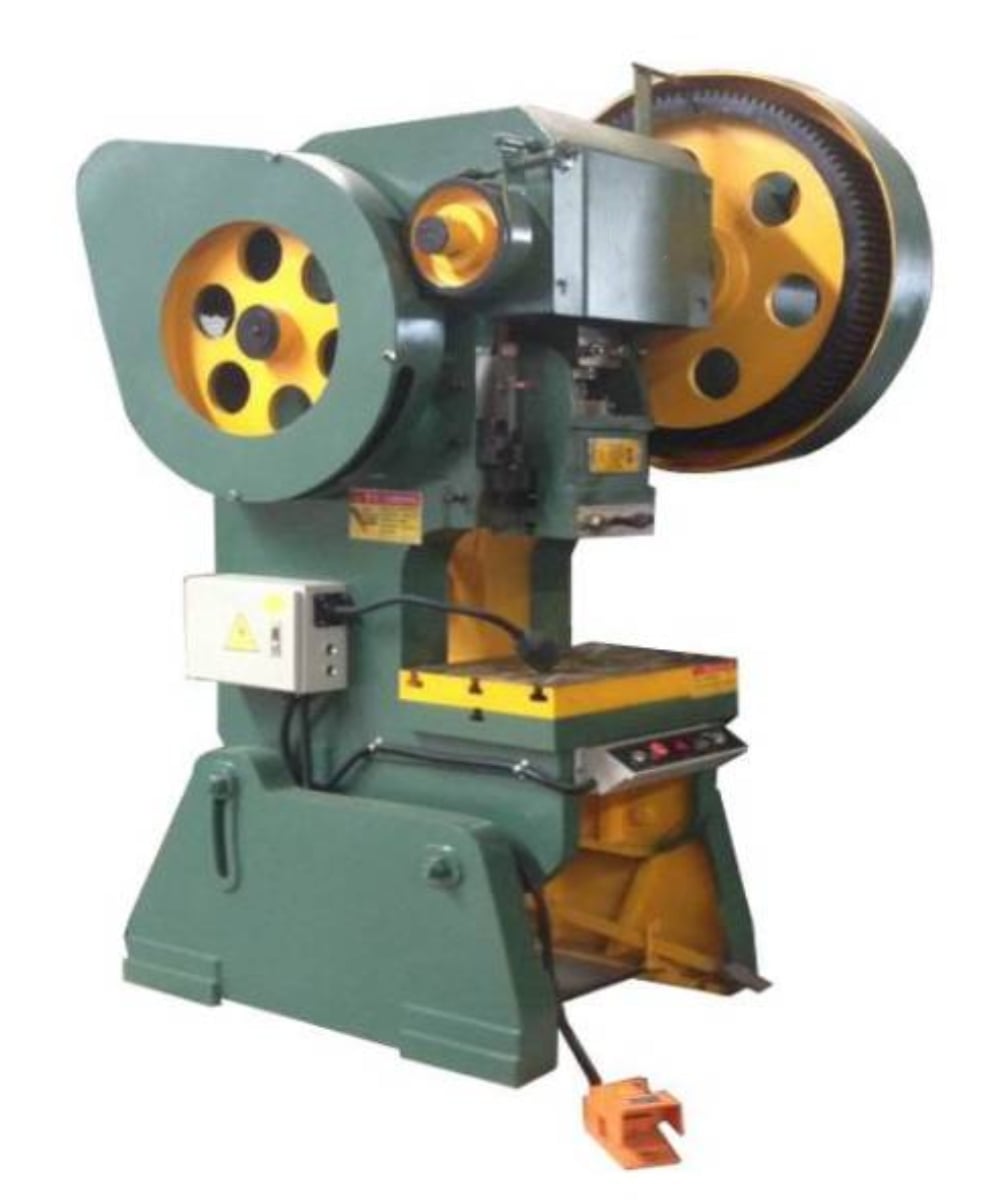
Troubleshooting Common Die Wear Issues
When troubleshooting, the first step is to isolate the variable. If a specific station in the turret is consistently producing poor results, the issue likely lies with the alignment of that station or the specific tool set used there. Check the turret bores for debris or wear, as even a small amount of dust can tilt the tool holder. Use a centering tool to verify that the punch and die are perfectly concentric. If the alignment is correct, move on to inspecting the tool’s physical condition under magnification.
If the issue is widespread across different tools, the problem might be the material itself. Variations in material hardness or thickness can cause unexpected wear. For instance, if a batch of “mild steel” is actually harder than specified, the standard clearance will be insufficient, leading to rapid dulling. In such cases, increasing the clearance or using a more robust tool steel may be necessary. Additionally, check the machine’s hydraulic system; inconsistent pressure can lead to partial shears and increased tool stress.
Another troubleshooting area is the stripping mechanism. If the stripper plate is not applying even pressure or if the springs are weak, the material may move during the punching process. This lateral movement puts side-load on the punch, causing it to rub against the die wall. Ensure that the stripper is in good condition and that the punch is fully retracted before the sheet moves to the next position. Modern CNC controllers often have diagnostic tools to monitor tonnage per hit; a sudden spike in tonnage is a definitive sign that the tool has dulled or that there is a mechanical obstruction.
Maintenance Tips for Maximum Tool Life
1. Establish a Sharpening Schedule
Do not wait for the tool to fail before sharpening it. A proactive sharpening schedule based on hit counts is the best way to maintain quality. Sharpening removes the rounded edge and restores the flat face of the punch and die. It is important to remove only as much material as necessary (usually 0.1mm to 0.2mm). Removing too much material shortens the overall life of the tool, while removing too little fails to restore the sharp edge. Always use a dedicated tool grinder with plenty of coolant to prevent overheating the steel, which can ruin its temper.
2. Proper Demagnetization
After sharpening, tools often become magnetized. This is a major cause of slug pulling, as the magnetized punch tip attracts the metal slug. Always use a demagnetizer after every sharpening session. This simple step can prevent hours of troubleshooting and potential damage to the machine and the workpiece.
3. Lubrication and Cleaning
Clean tools are happy tools. Regularly remove the tools from the turret to clean off metal dust and old lubricant. Re-apply a high-quality, pressure-resistant lubricant to the guides and the punch tip. For high-speed punching, consider an automated mist lubrication system that applies a consistent amount of oil to the sheet or the tool during operation. This reduces heat buildup, which is the primary enemy of tool steel.
4. Storage and Handling
When not in use, tools should be stored in a clean, dry environment, preferably in organized racks that prevent the cutting edges from touching each other. Applying a thin coat of rust-preventative oil is essential, especially in humid environments. Handling tools with care—avoiding dropping them or banging them against hard surfaces—prevents micro-chipping that can quickly escalate into a major crack during operation.
Selection Advice: Choosing the Right Tools
Selecting the right tooling is a balance between cost and performance. For short-run jobs in soft materials, standard D2 steel tools are often sufficient. However, for high-production environments or when working with abrasive materials like stainless steel or galvanized steel, investing in premium powdered metal (PM) steels is highly recommended. While the initial cost is higher, the reduction in downtime and the increased number of hits between sharpenings provide a much better return on investment.
Consider the geometry of the punch as well. For thick materials, a “whisper” or “rooftop” shear on the punch tip can reduce the required tonnage by up to 30-50%. This not only protects the machine but also significantly reduces the shock and vibration that contribute to tool wear. When selecting a vendor, look for those who provide detailed clearance charts and technical support. A reputable manufacturer like HARSLE ensures that their machines are compatible with industry-standard tooling, giving you the flexibility to choose the best tools for your specific needs.
Finally, don’t overlook the importance of tool coatings. As mentioned earlier, TiN and TiCN coatings are excellent for general purpose and hard materials, respectively. For aluminum, a Chromium Nitride (CrN) coating is often preferred as it prevents the aluminum from “sticking” to the tool. Matching the coating to the material is a technical detail that can double or triple your tool life.
Frequently Asked Questions (FAQ)
How often should I sharpen my punching machine dies?
There is no universal rule, as it depends on the material and thickness. However, a good rule of thumb is to inspect the tools every 50,000 to 100,000 hits. If the burr height exceeds 10% of the material thickness, it is time to sharpen. Keeping a log of hit counts for each tool set is highly recommended.
What causes a punch to chip?
Chipping is usually caused by excessive hardness of the workpiece, improper clearance (too tight), or misalignment of the turret. It can also occur if the tool is overheated during the sharpening process, which makes the steel brittle. Using a more shock-resistant tool steel like M2 can help mitigate this.
Can I use the same clearance for all materials?
No. Different materials have different shear-to-break ratios. Stainless steel requires a larger clearance (up to 25%) to prevent excessive heat and tool wear, while softer materials like aluminum or thin copper require tighter clearances to prevent the material from being drawn into the die.
Why is my machine making a loud ‘bang’ during punching?
A loud bang often indicates that the tool is dull or that the clearance is too tight, causing the machine to build up excessive pressure before the material finally fractures. It can also be a sign of “slug hitting,” where a slug has failed to drop and is being compressed by the next hit.
Conclusion
Mastering the management of punching machine die wear issues is a journey of continuous observation and refinement. By recognizing the early signs of wear—such as increased burr height, changes in sound, and dimensional drift—operators can intervene before quality suffers or equipment is damaged. Troubleshooting requires a systematic approach, looking at alignment, clearance, and material properties to find the root cause of premature failure.
Implementing a robust maintenance routine, including proactive sharpening, proper lubrication, and careful storage, is the most effective way to extend tool life and ensure the longevity of your HARSLE punching machine. In the competitive landscape of metal fabrication, the difference between profit and loss often comes down to these technical details. By investing time in tool care and selecting the right materials and coatings for the job, you ensure that your production line remains efficient, precise, and cost-effective for years to come.


